
Materials
-chalk pastels
-cardstock or construction paper
-scrap paper
-cotton swab
-damp paper towel or rag
Instructions
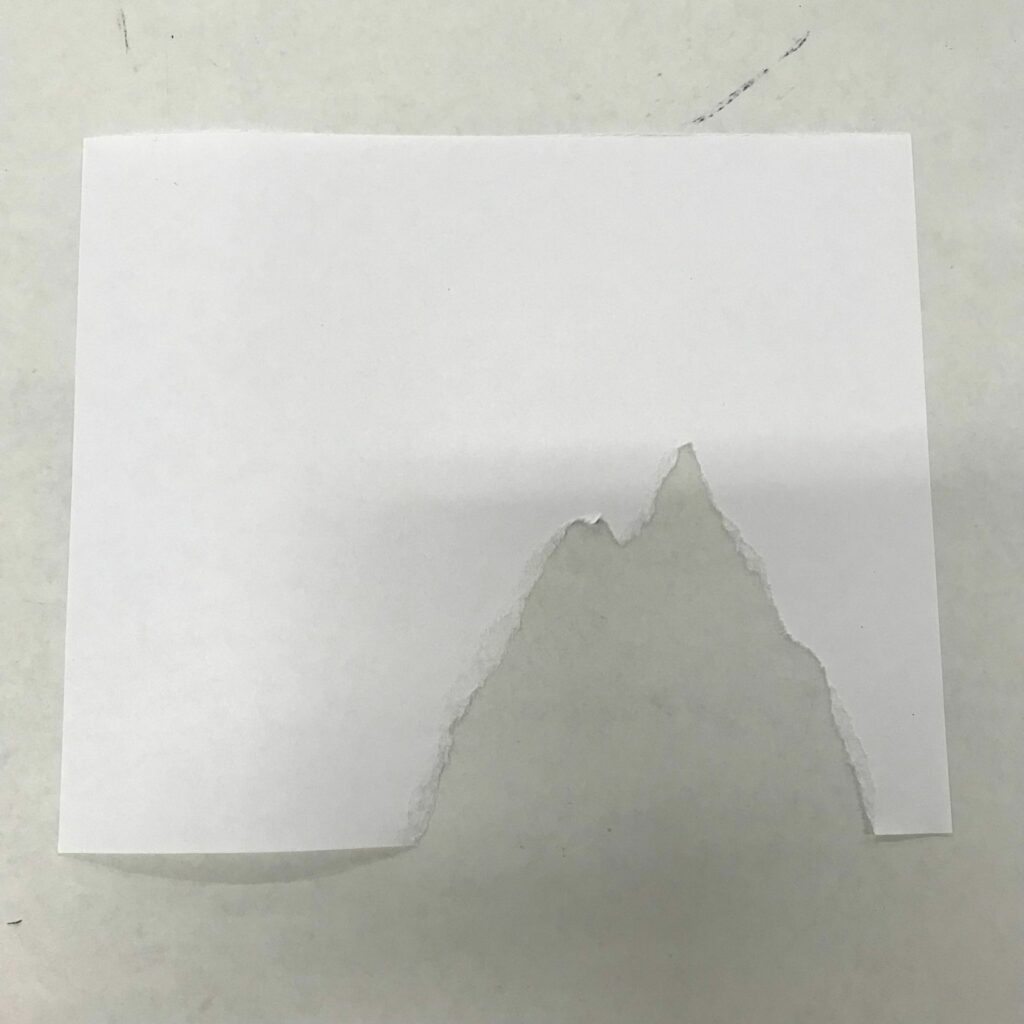
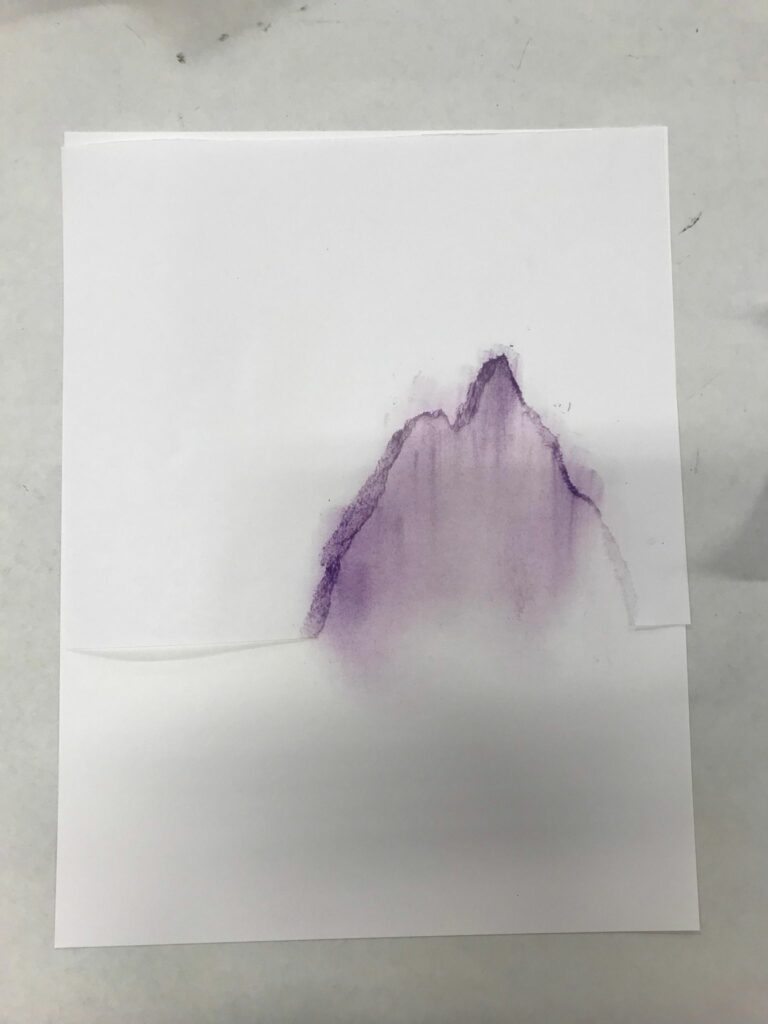
1. Tear scrap paper into a triangle shape for the mountain. They don’t have to be perfect, in fact, they will look more natural! This will be the stencil for the mountains.
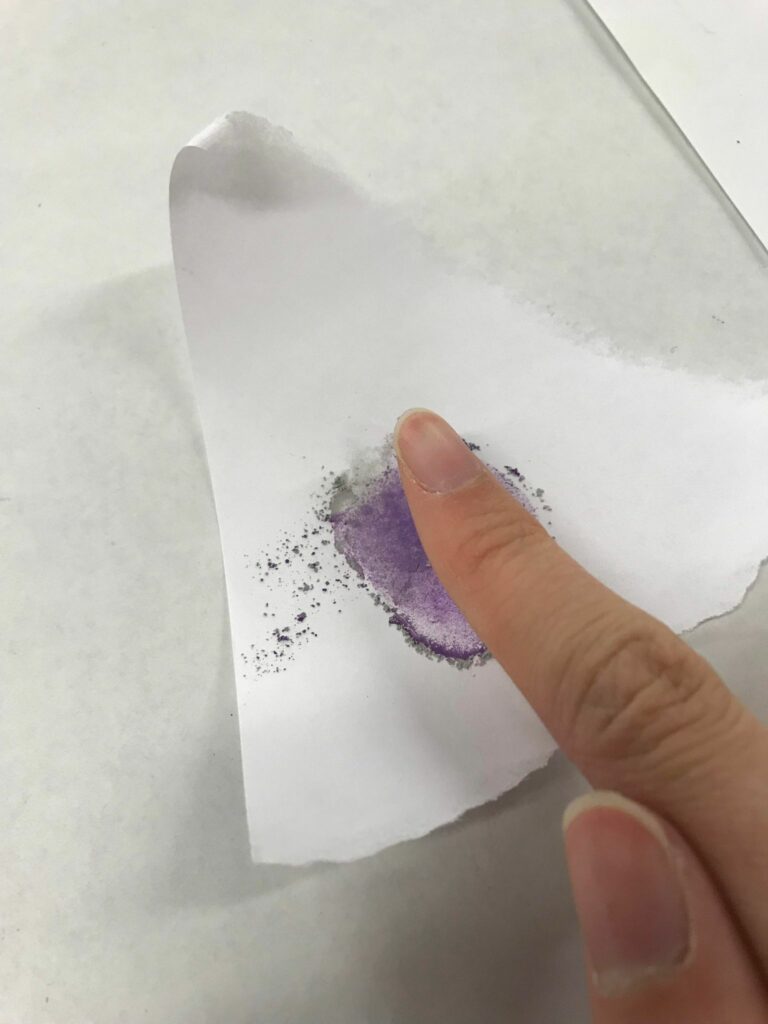
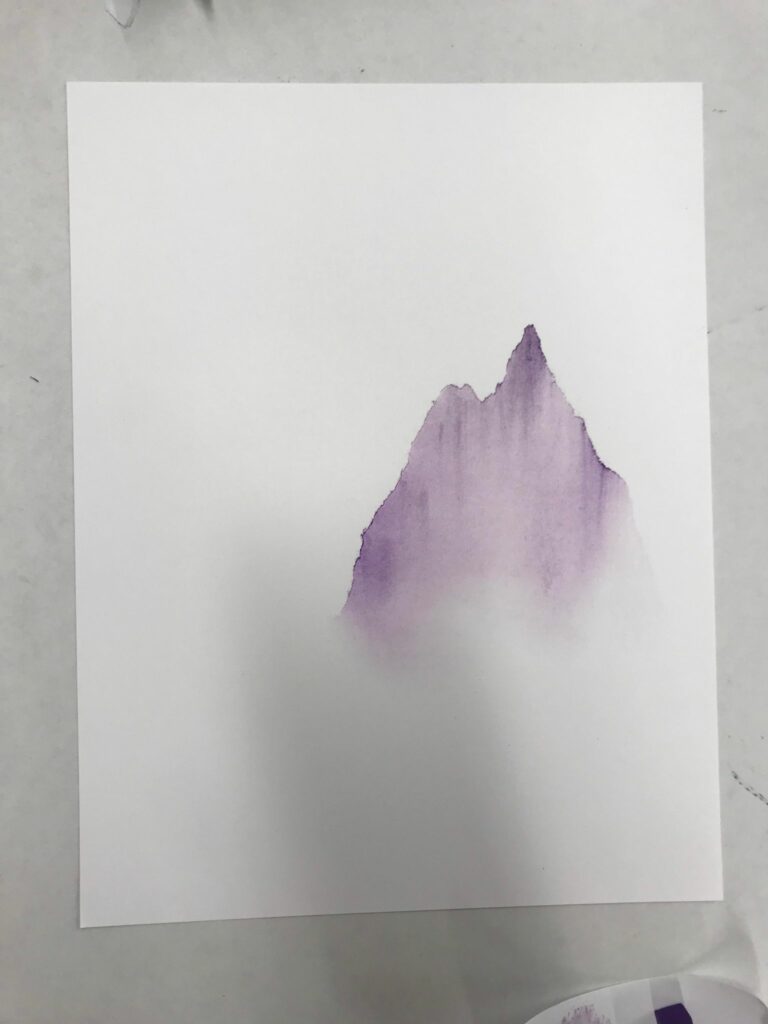
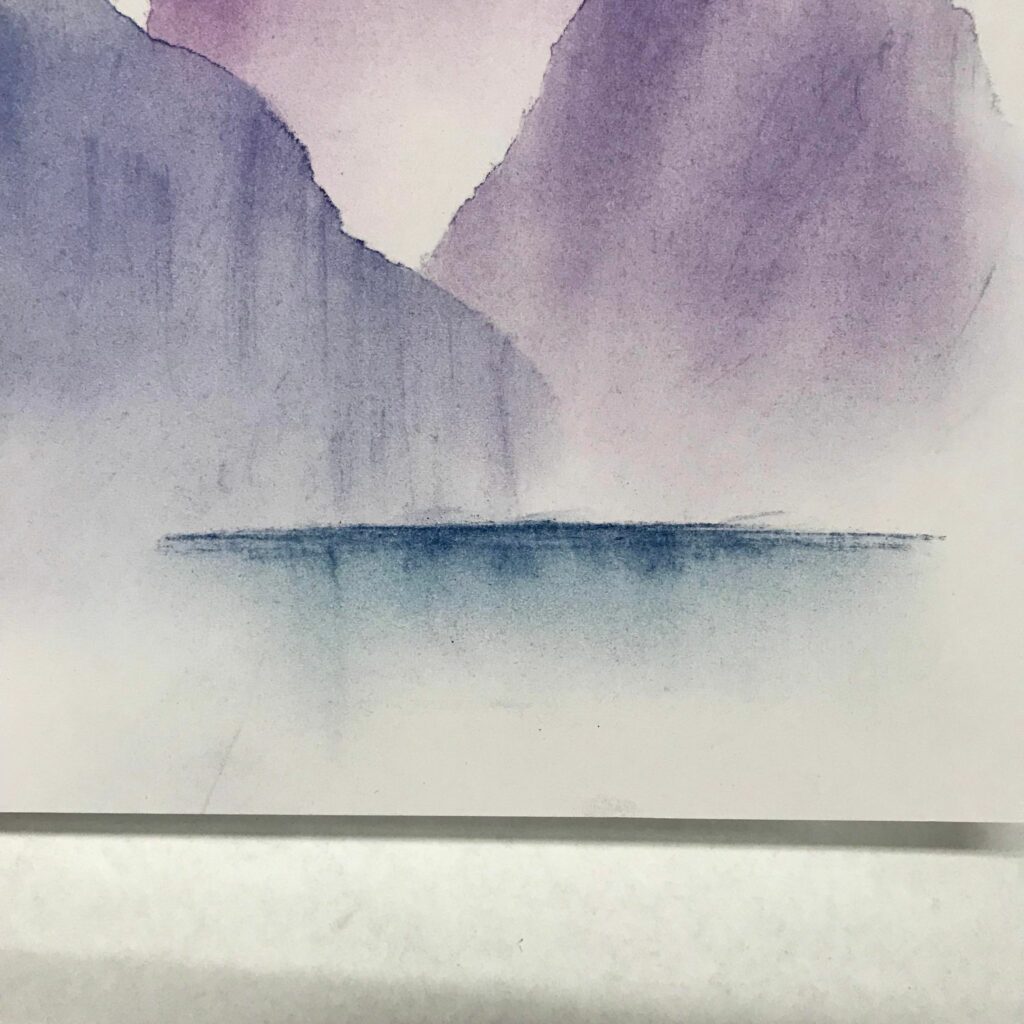
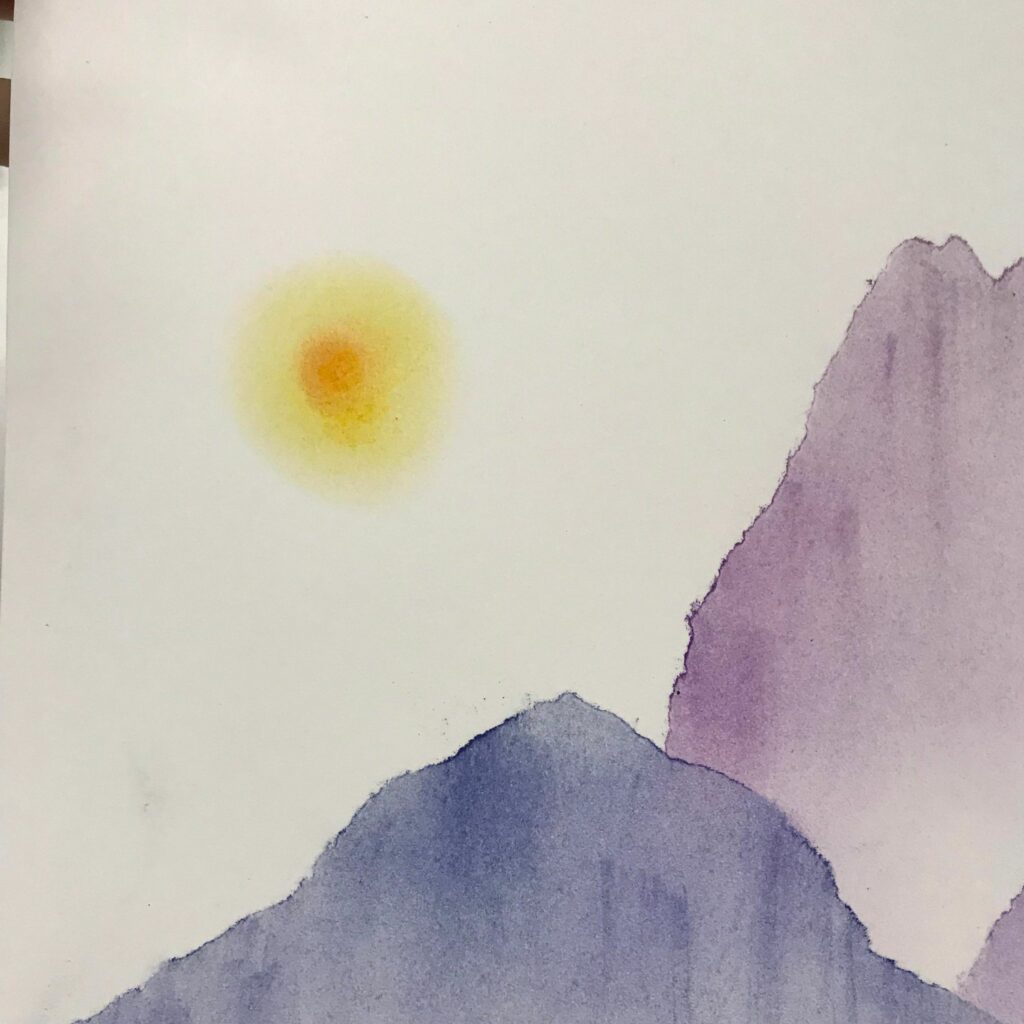
2. On another piece of scrap paper on the side, rub a chalk pastel until a small amount of dust forms. Dip your finger into the dust. Place the stencil on a piece of cardstock or construction paper wherever you want your mountain. Then rub the pastel in with a downwards motion. This will prevent the pastel from getting underneath the stencil. Blend out the bottom of the mountain to create a soft, misty effect.

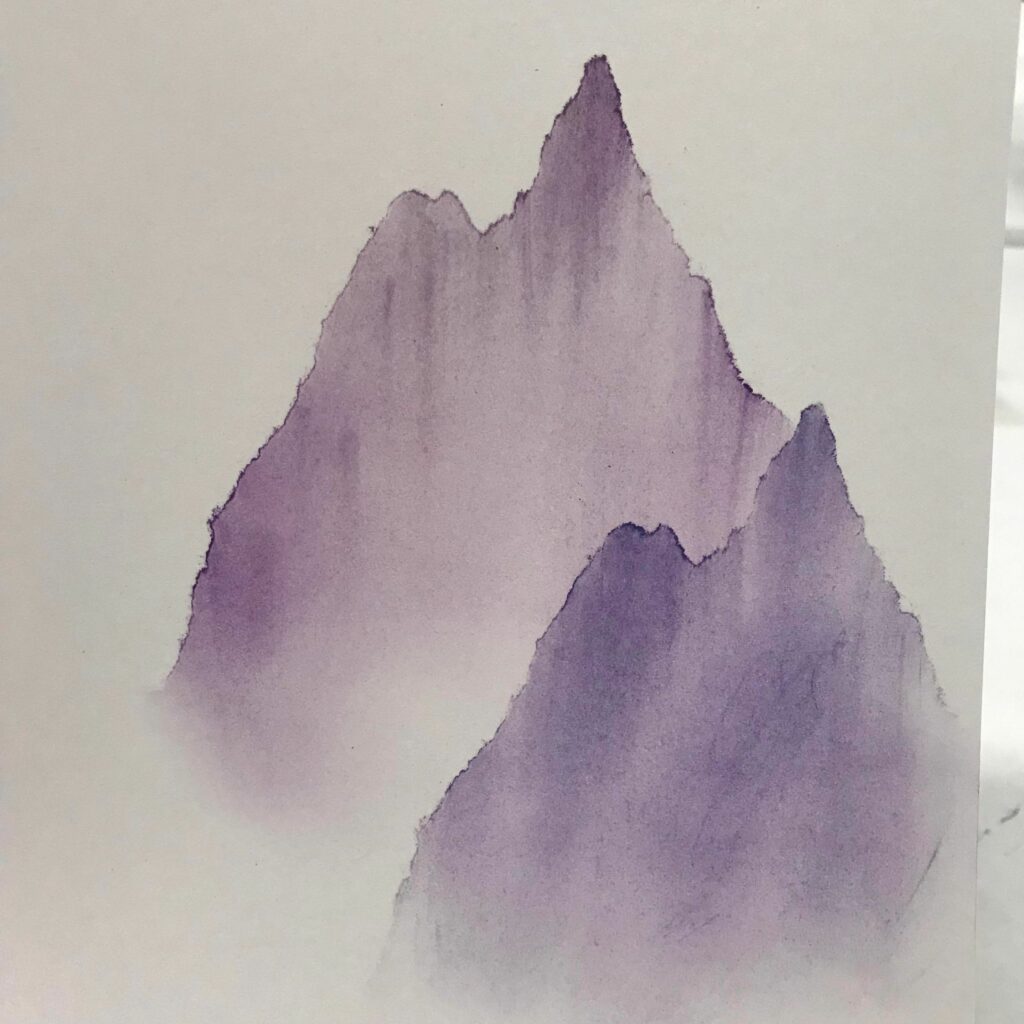
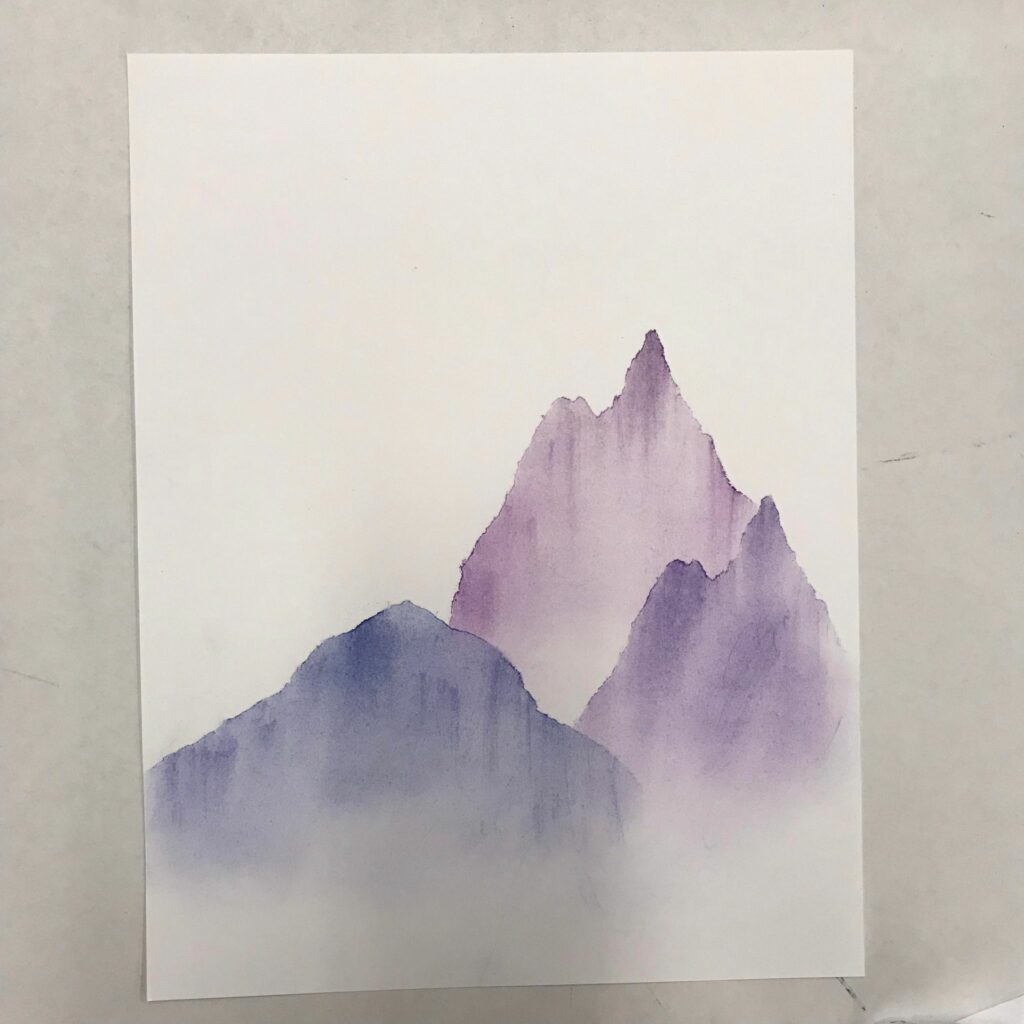
3. Keep doing this for more mountains. You can use the same triangle or tear other different shapes. Keep a damp paper towel or rag beside you to clean your fingers between colours You can also layer different colours to create a sense of depth so some mountains look like they are in the distance!
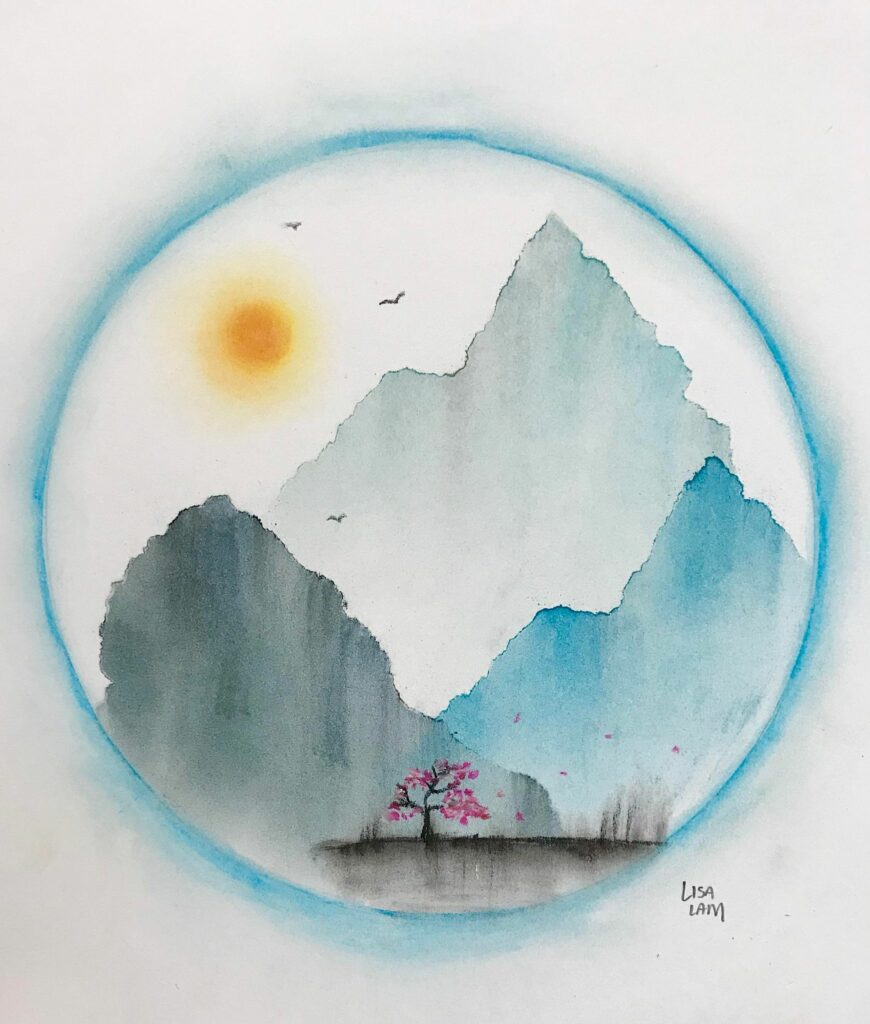
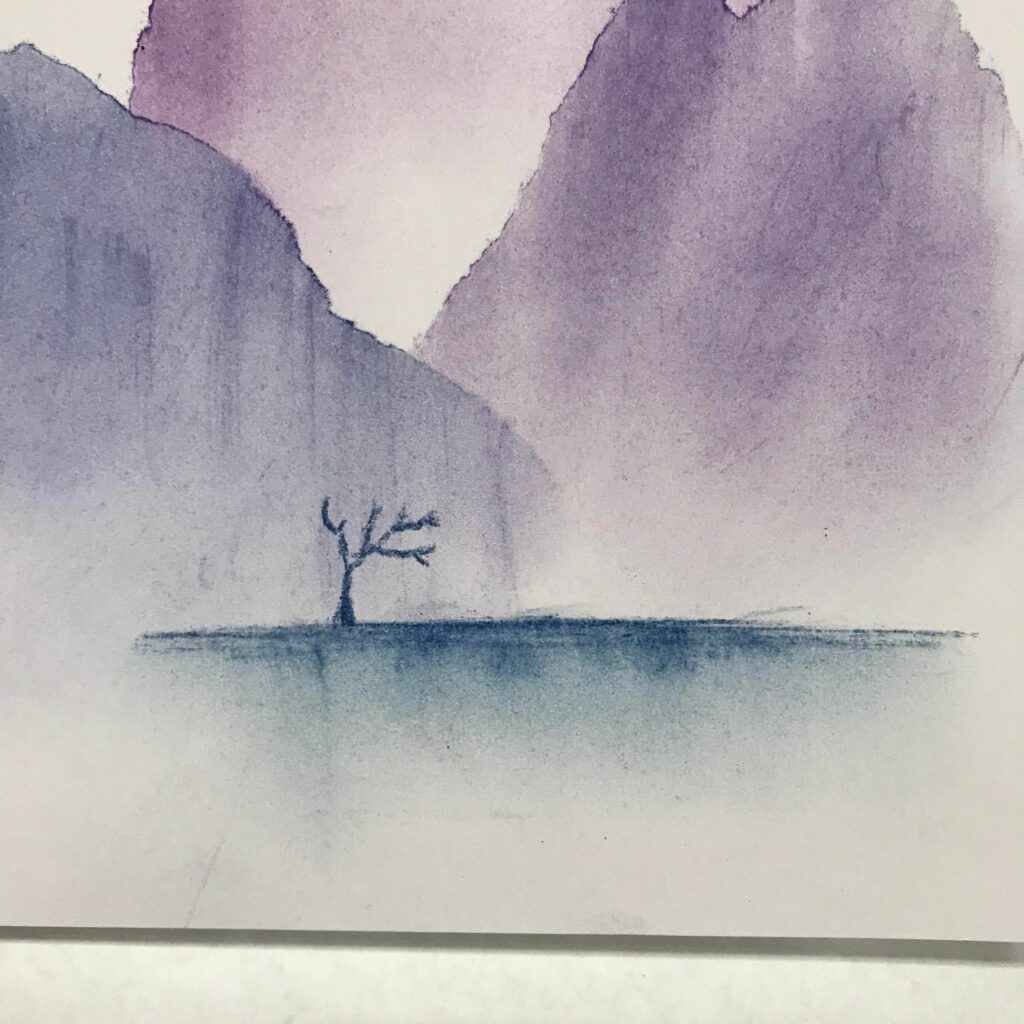
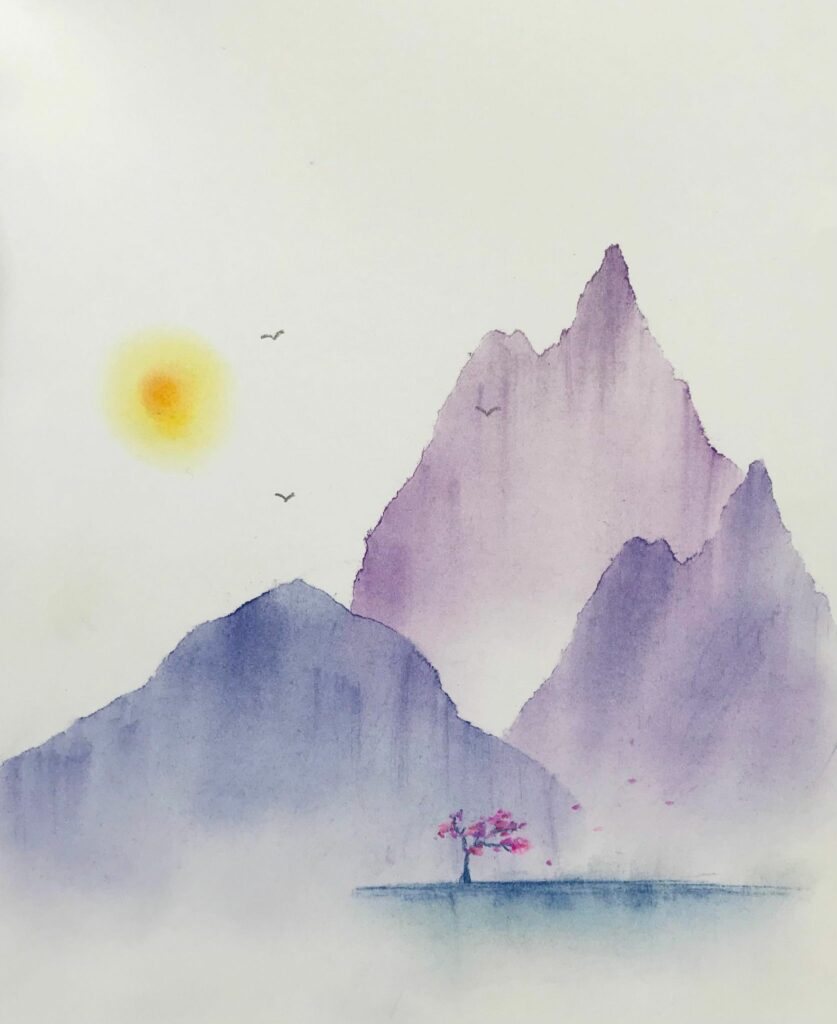
4. To make the tree, draw a line with pastel. Blend downwards with your finger or cotton swab. Then draw a line for the tree trunk. Draw shorter lines coming out of it for branches.
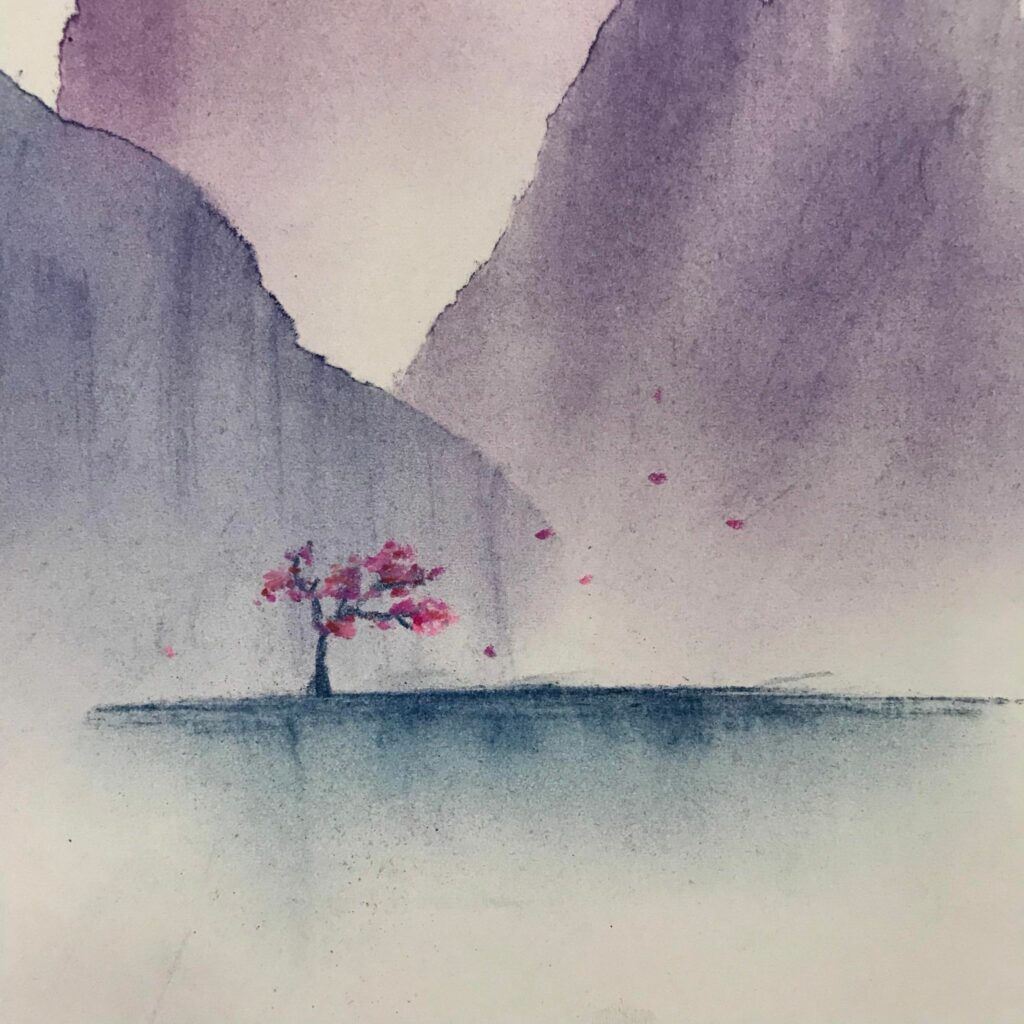
For the leaves and foliage, dab pastels around making small dots and dashes. Combine a darker shade for shadows. Then add white for highlights.

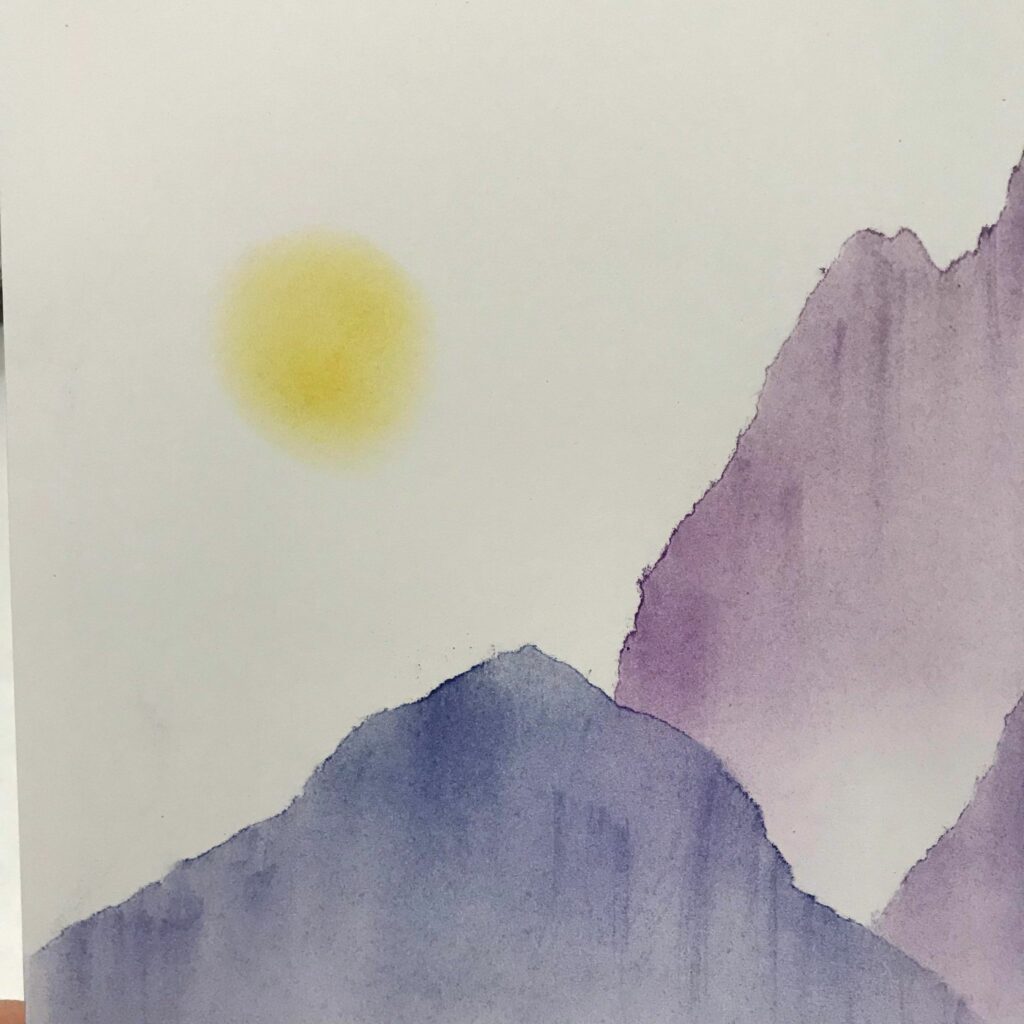
5. To make the sun, draw a small circle with pastel. Then blend out in a circular motion. Add a darker orange or red pastel in the middle and blend slightly in a circular motion.
Add any last details like birds or clouds and you’re done!
Try different colours and shapes!