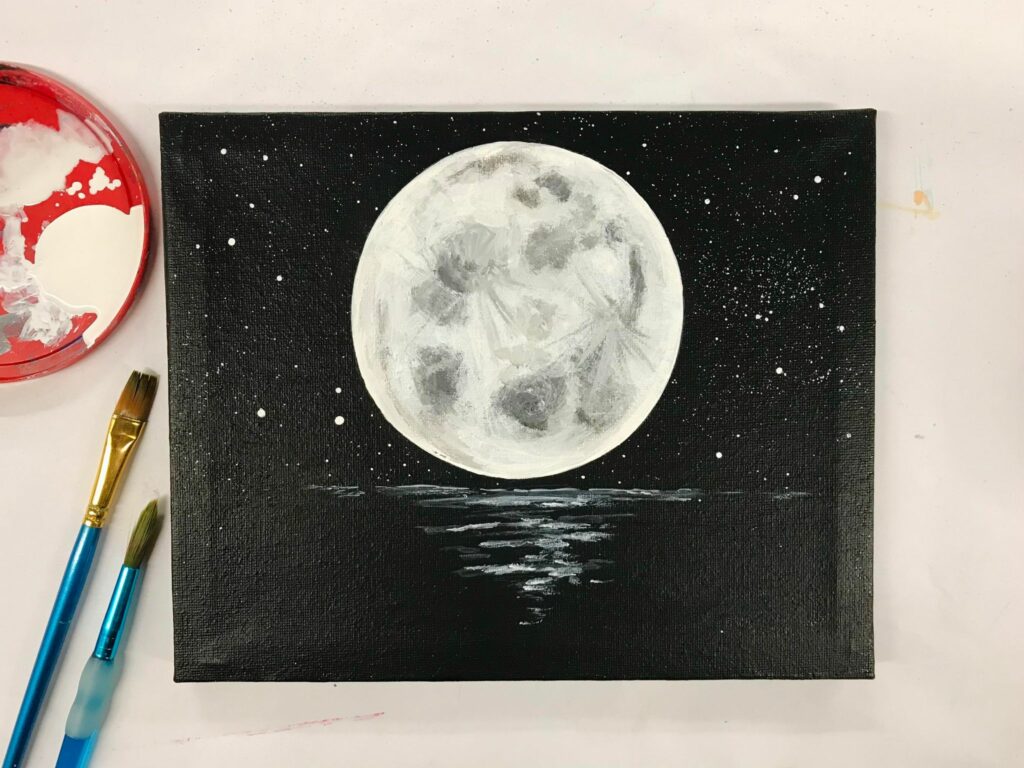
Watch the YouTube tutorial here!
Don’t forget to like and subscribe for more videos!
Supplies
-canvas or paper to paint on
-white and black acrylic paint
-round brush
-flat brush
-water
-pencil
-circular object to trace
-rag or paper towel
Instructions
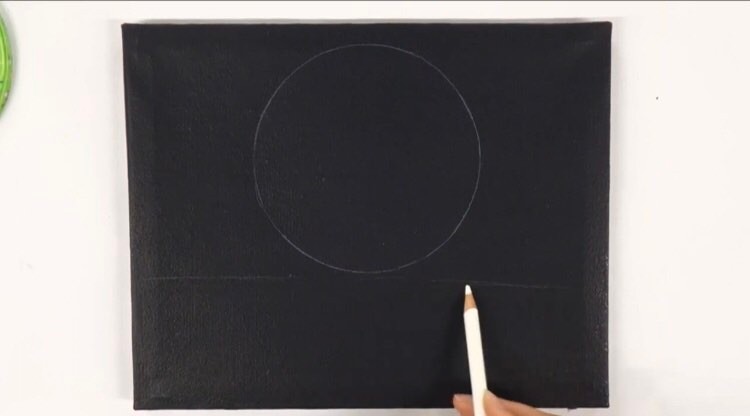
1. Trace a circle onto the canvas with a pencil or white pencil crayon. Then light sketch in a straight line beneath the circle for the horizon line.
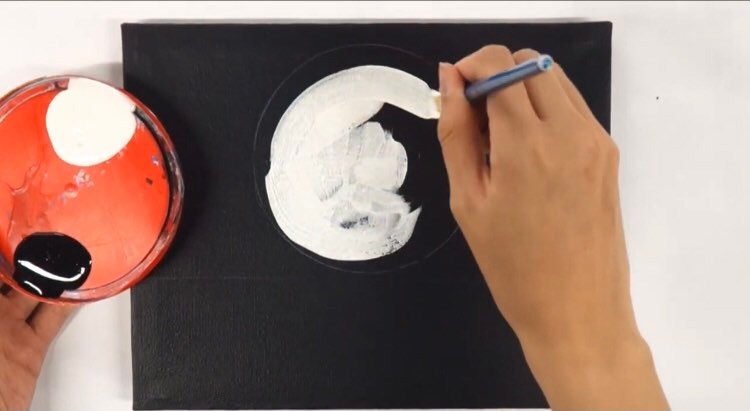
2. Paint in the whole circle with white paint.
3. Mix white with a teeny tiny dab of black to make a light grey. Begin painting in parts of the moon for craters. It is helpful to have a reference picture while you paint!
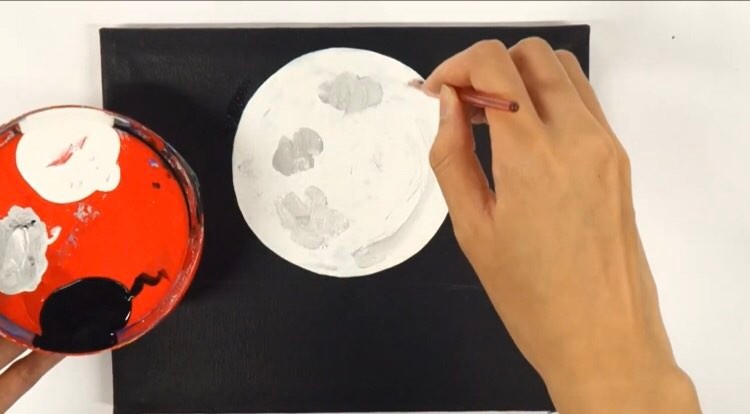
4. Mix up a slightly darker grey and paint in more craters and shadows for depth. Remember to work in layers. So let each layer dry before adding another coat.
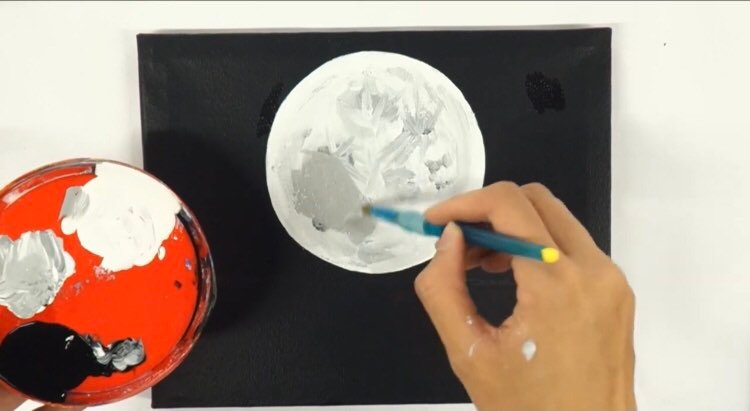
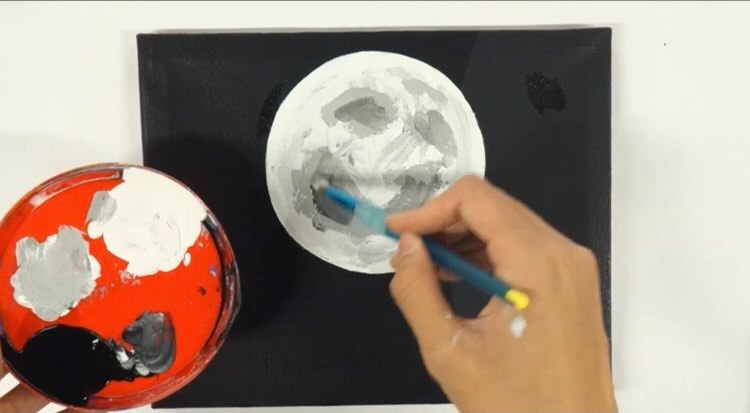
A helpful tip for blending is to use a clean dry brush to blend 2 colours together. Make sure the paint is still wet while doing this. Blending also simply just takes time and patience so blend up slowly!
5. Once you are happy with the moon, move onto the water line. With the tip of a round brush, water down a small amount white paint. Then paint in some broken jagged lines on the horizon you sketched out earlier. Having gaps in between the lines creates to the look of moving water.
Slowly make your way downwards. You can use the natural texture of the flat brush as well. Finish off the water by adding small areas of pure white paint for highlights.
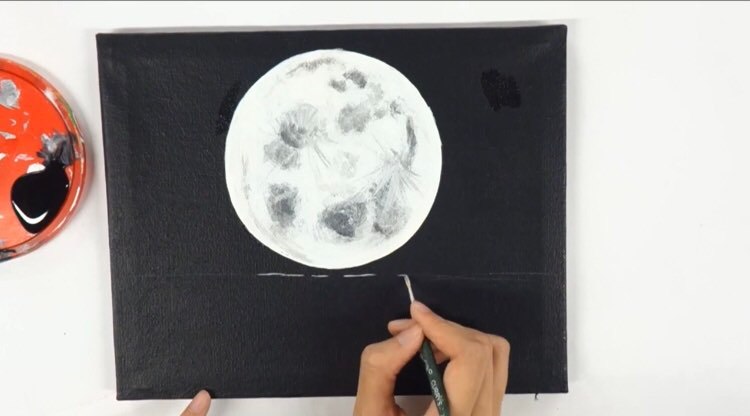
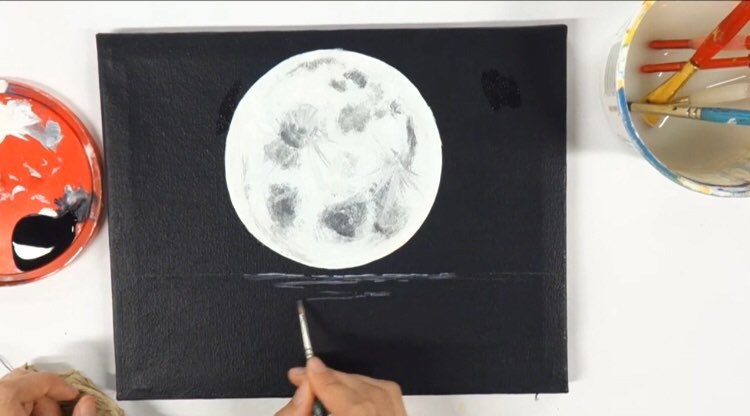
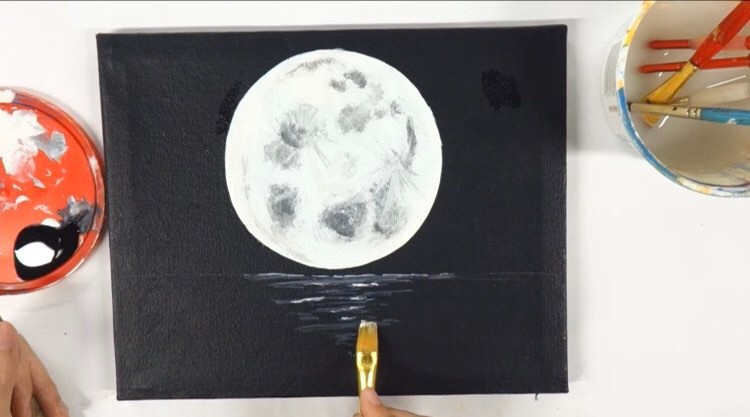
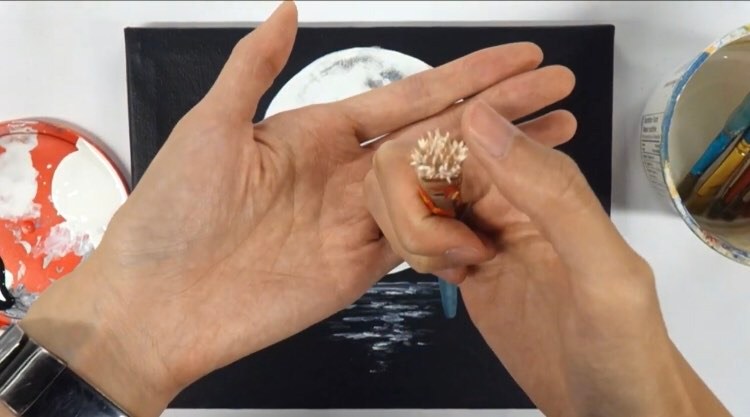
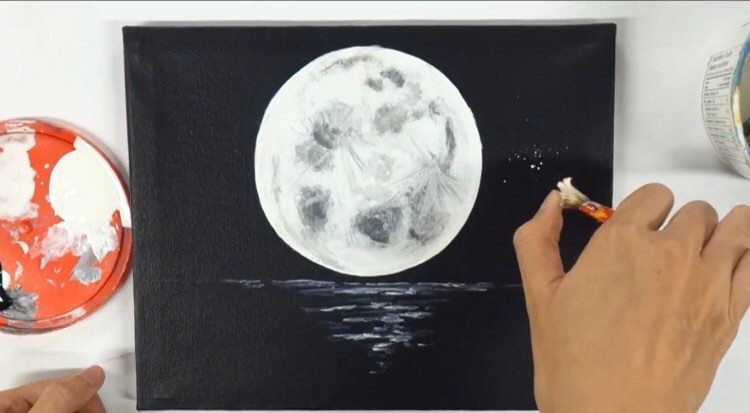
6. For the stars, use a flat brush or old rough brush. Dip the brush into watered down white paint. Then hold the brush in your palm, aim at the canvas from above, and run your thumb across the bristles. This will create a splatter effect. Aim closer for larger stars, and further away for smaller stars.
You can also dip the back of the brush handle into white paint to stamp in dots for stars.
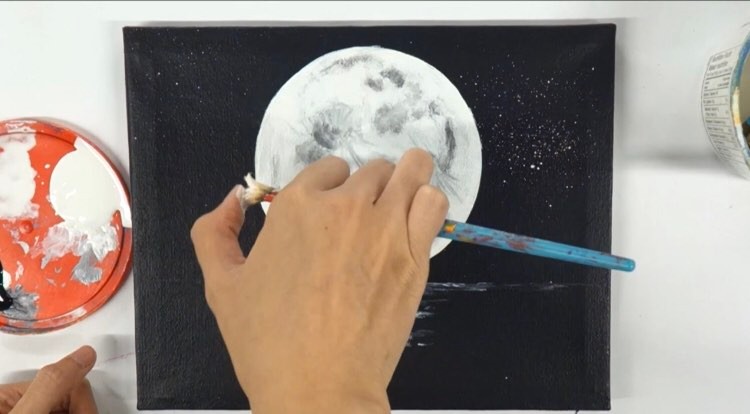
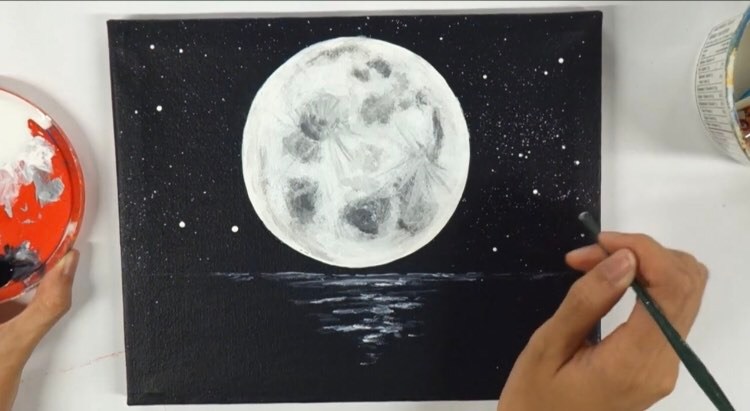
7. Add any last details and you’re done!
