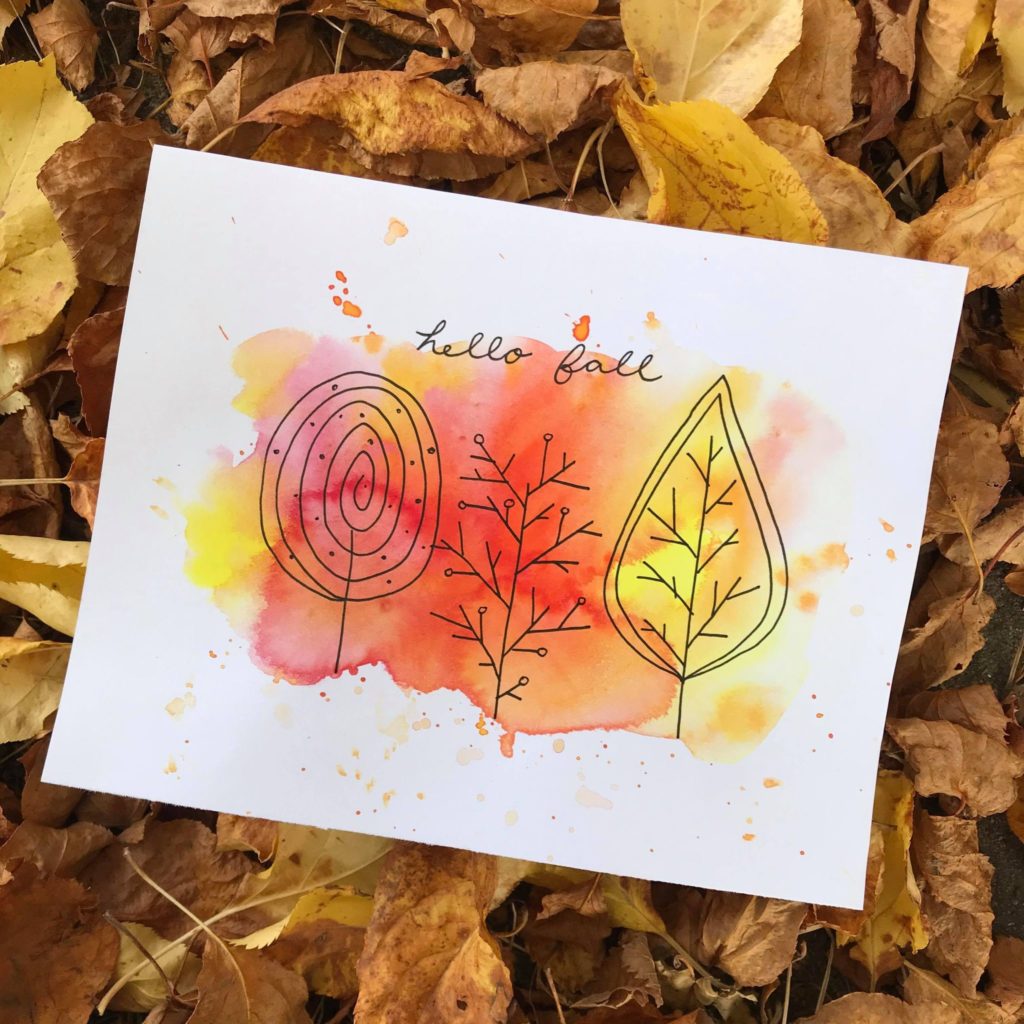
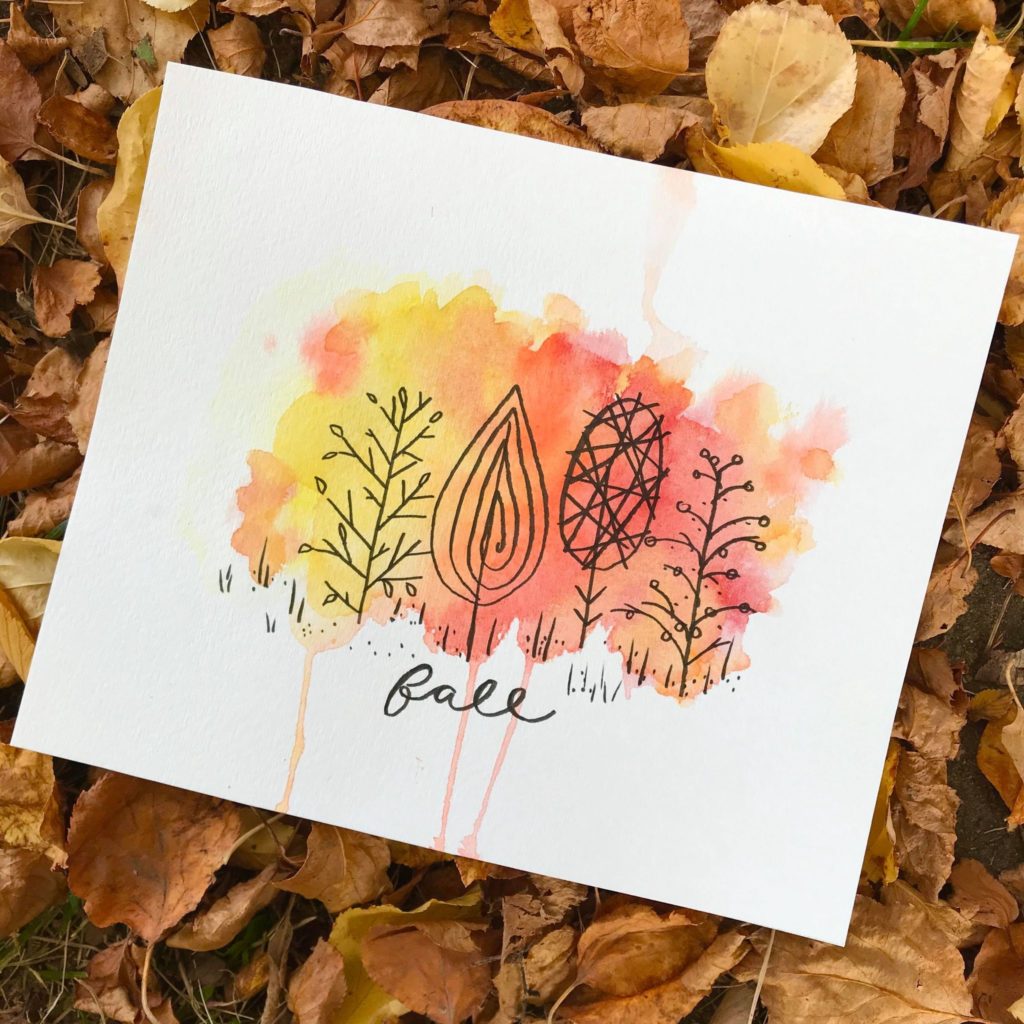
Fall is here and that means more inspiration from the beautiful changing colors of the trees! Learn how to make this fall watercolor art in 6 easy steps.
Materials
-watercolor paint
-watercolor paper
-watercolor brushes
-black pen or marker
-container for water
-rag or paper towel
-masking tape (optional)
Instructions
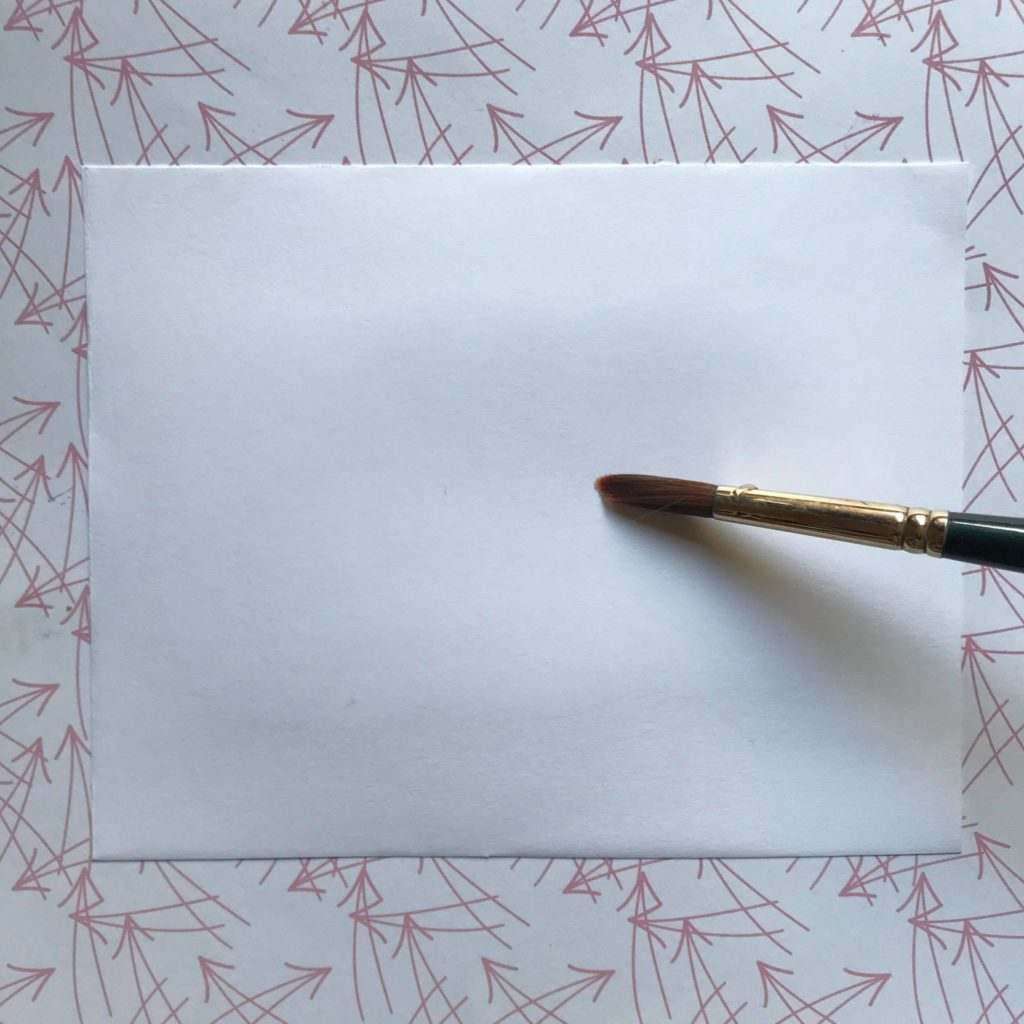
1. Optional: Tape your paper down to prevent buckling.
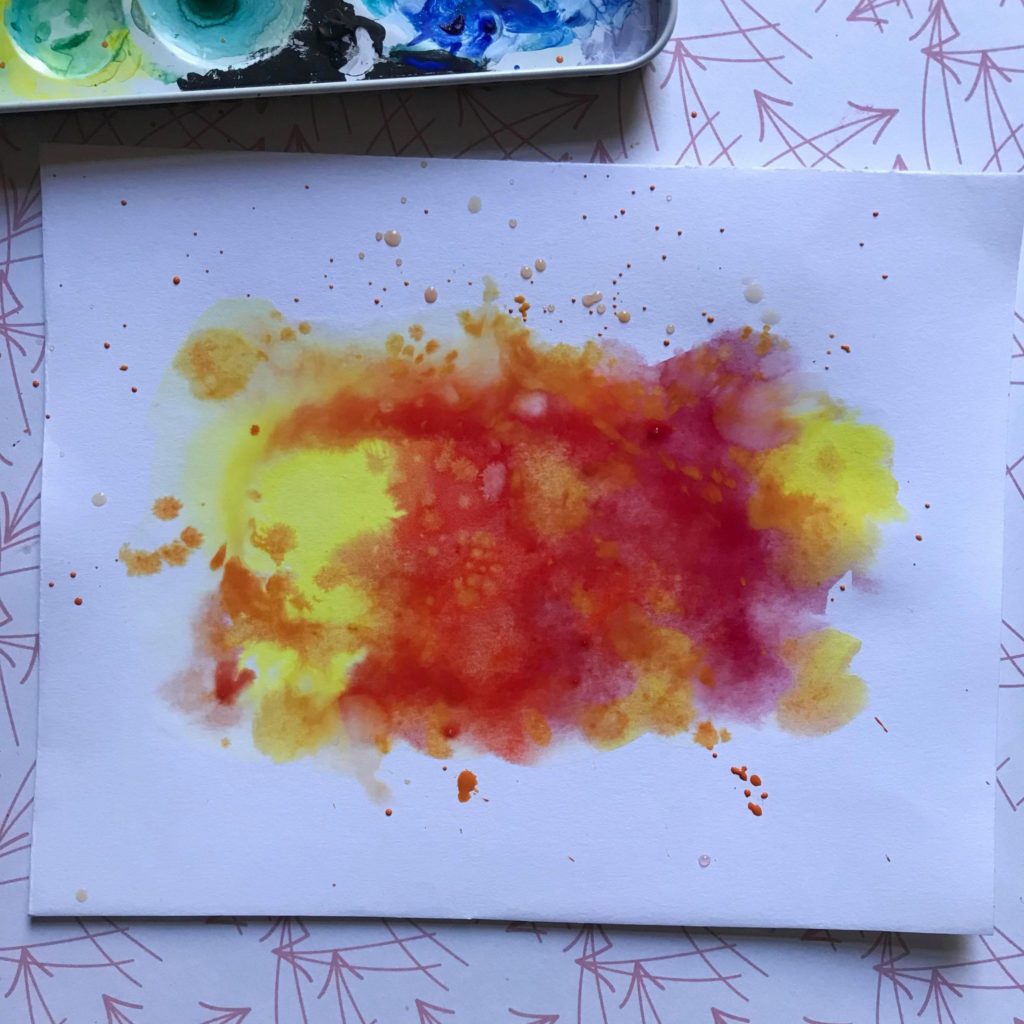
Brush a thin layer of water onto the paper. You don’t have to go all the way to the edges since we are working primarily in the middle.
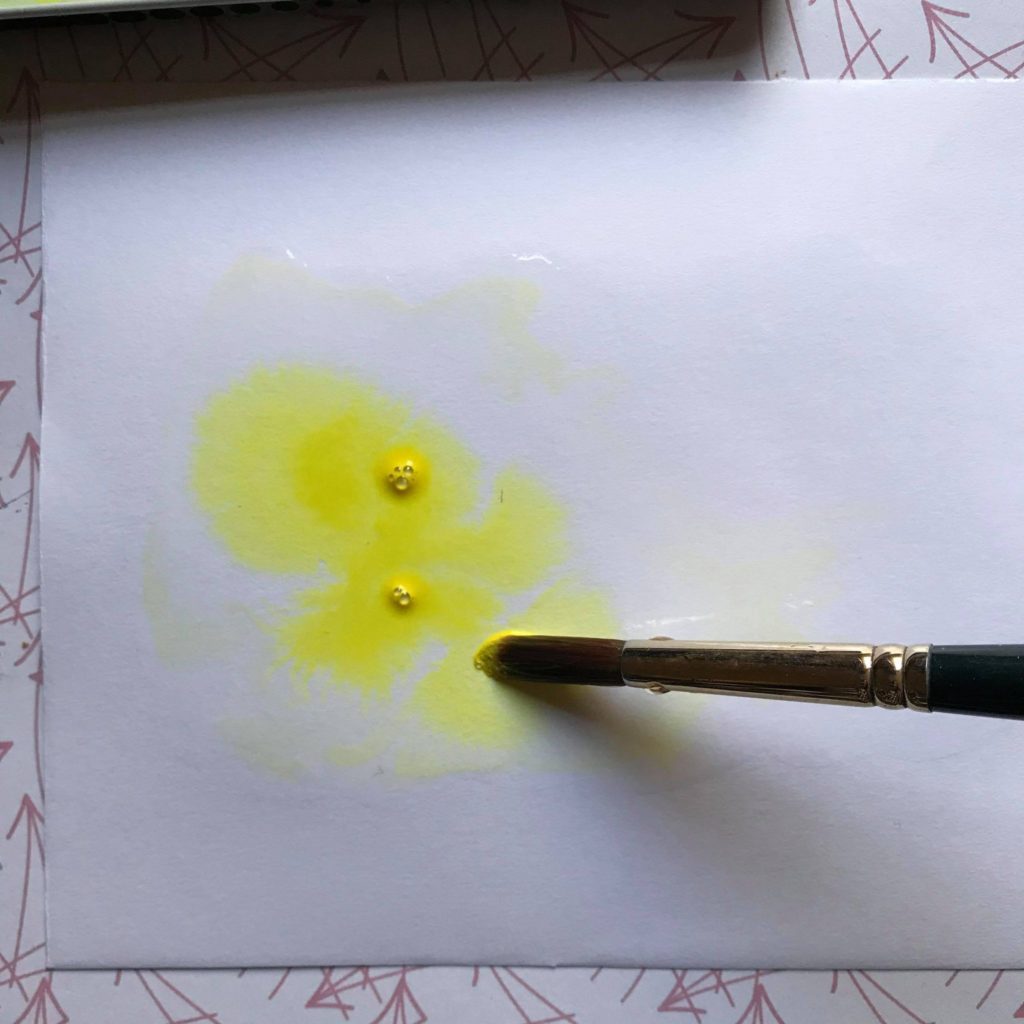
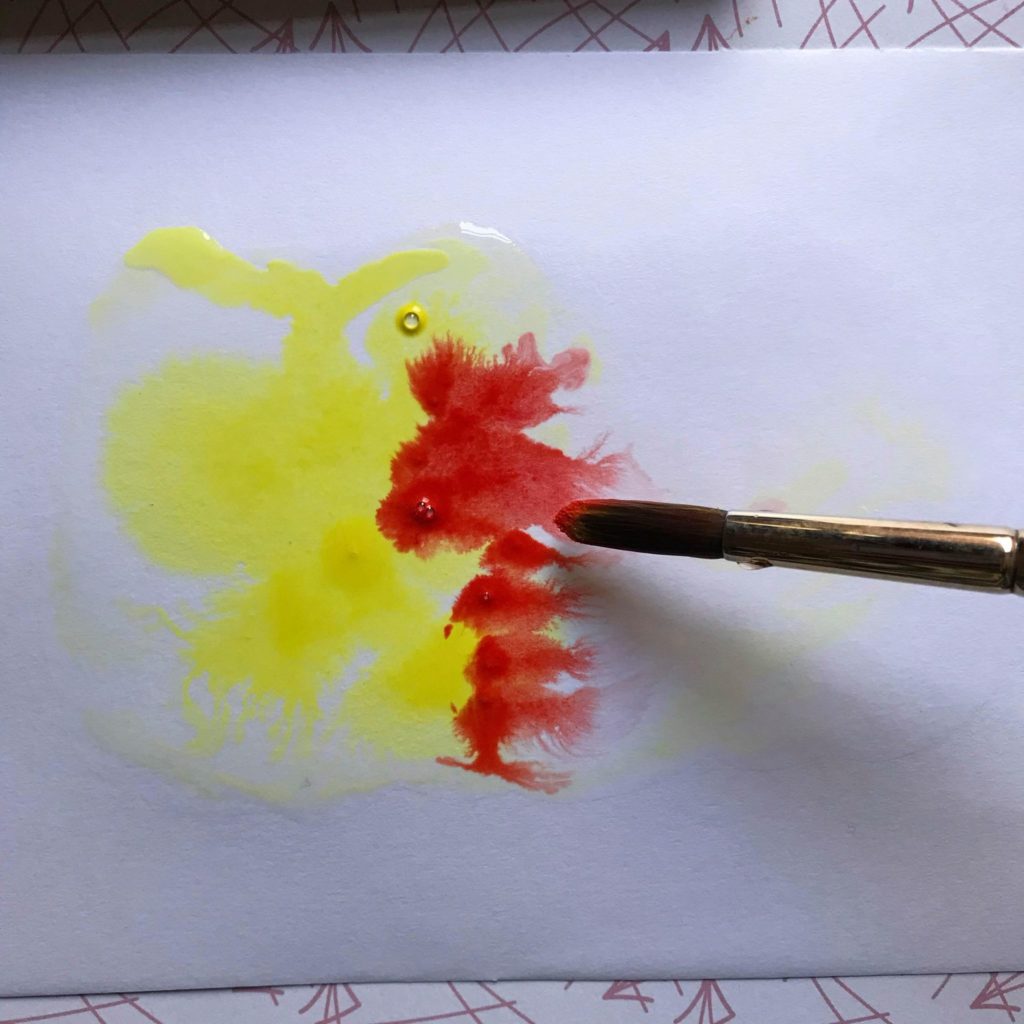
2. Dab some yellow paint onto one 1/3 (we are going to use 3 colors) of the paper while it is still wet.
If the paper is too dry, the paint will not flow and blend out.
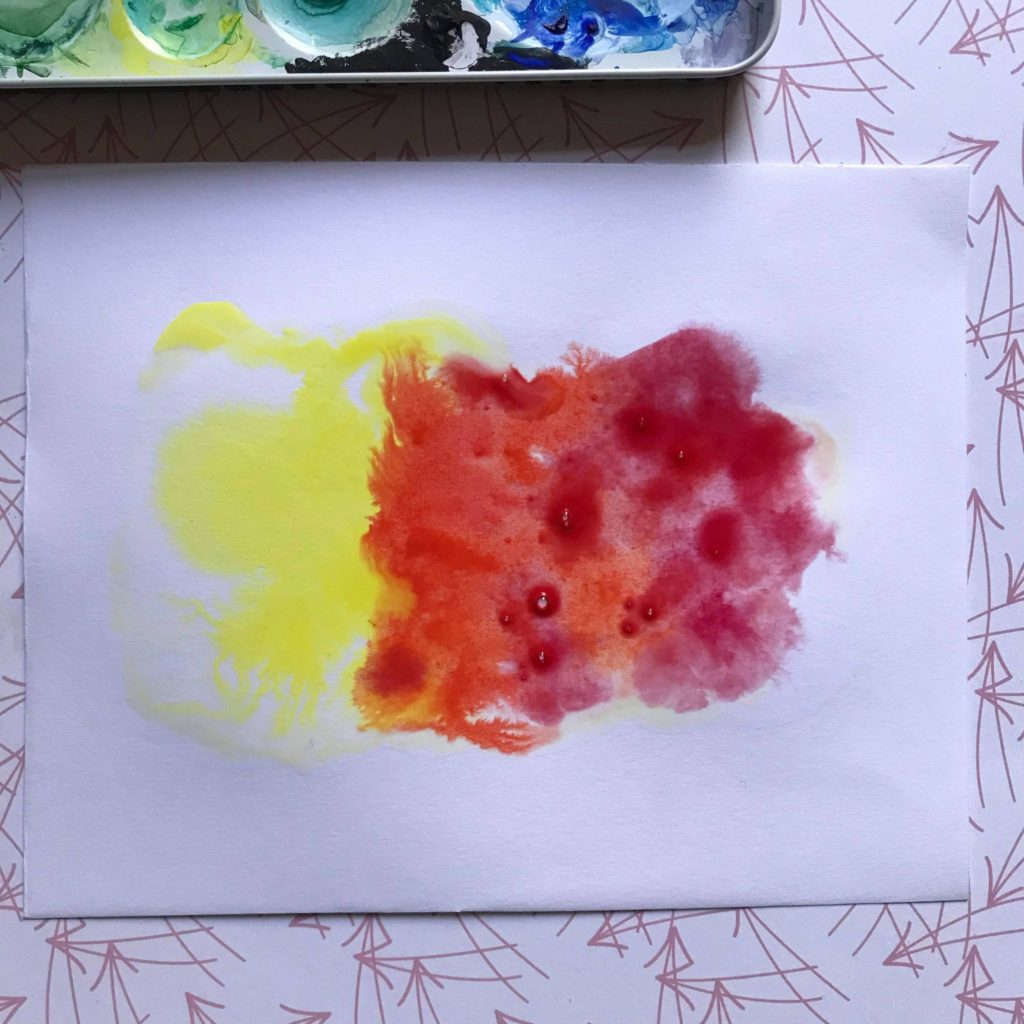
3. Do the same for orange and red.
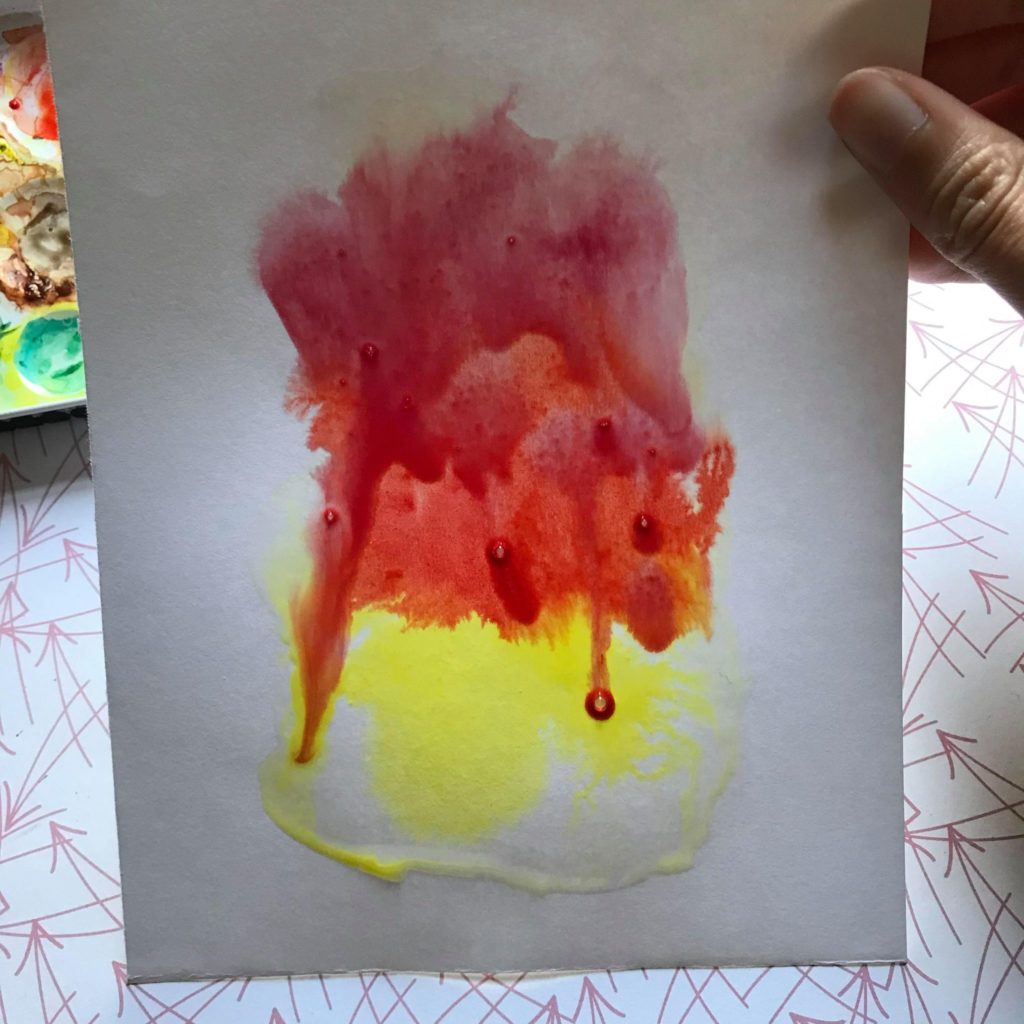
4. You can tilt your paper in different directions to change the flow of the paints.
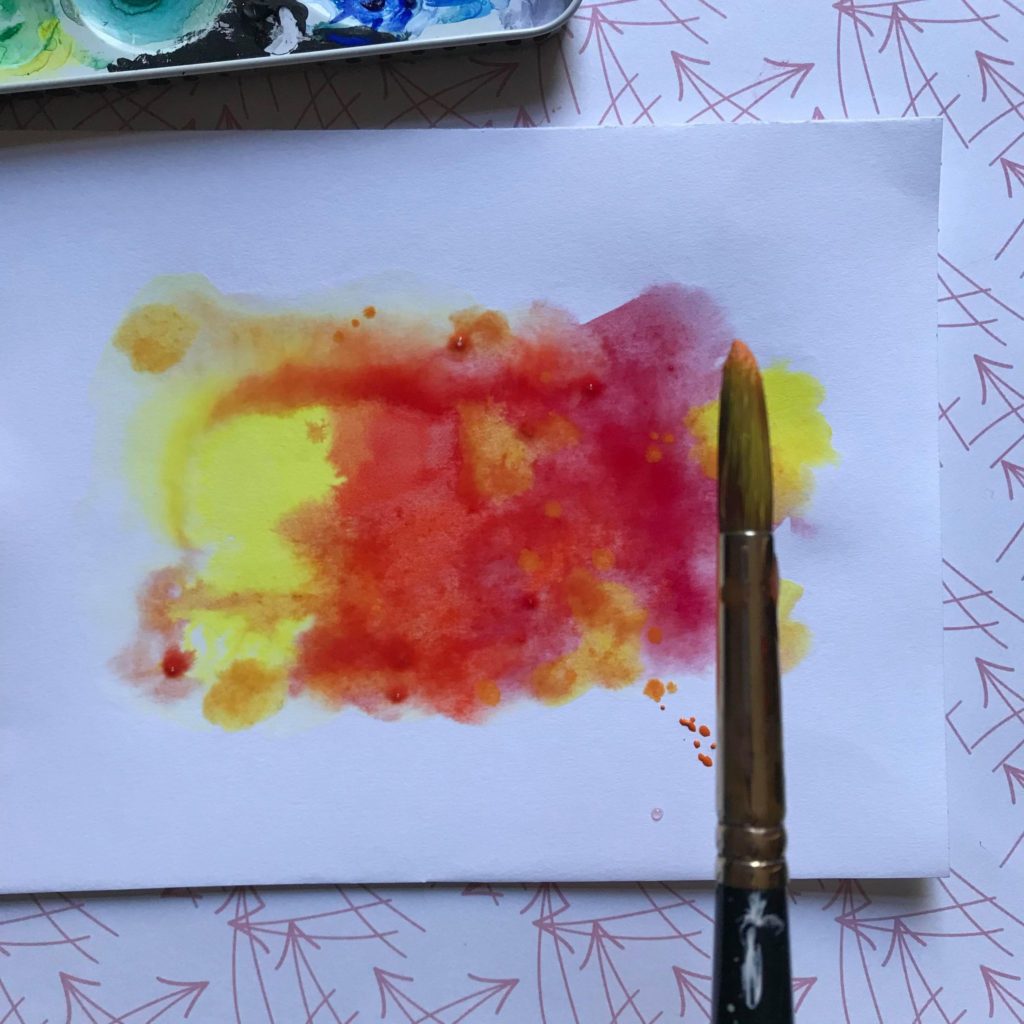
5. This is optional but you can add some splatter but dipping your brush in paint, hold the brush above the paper, and hit the brush against your finger.
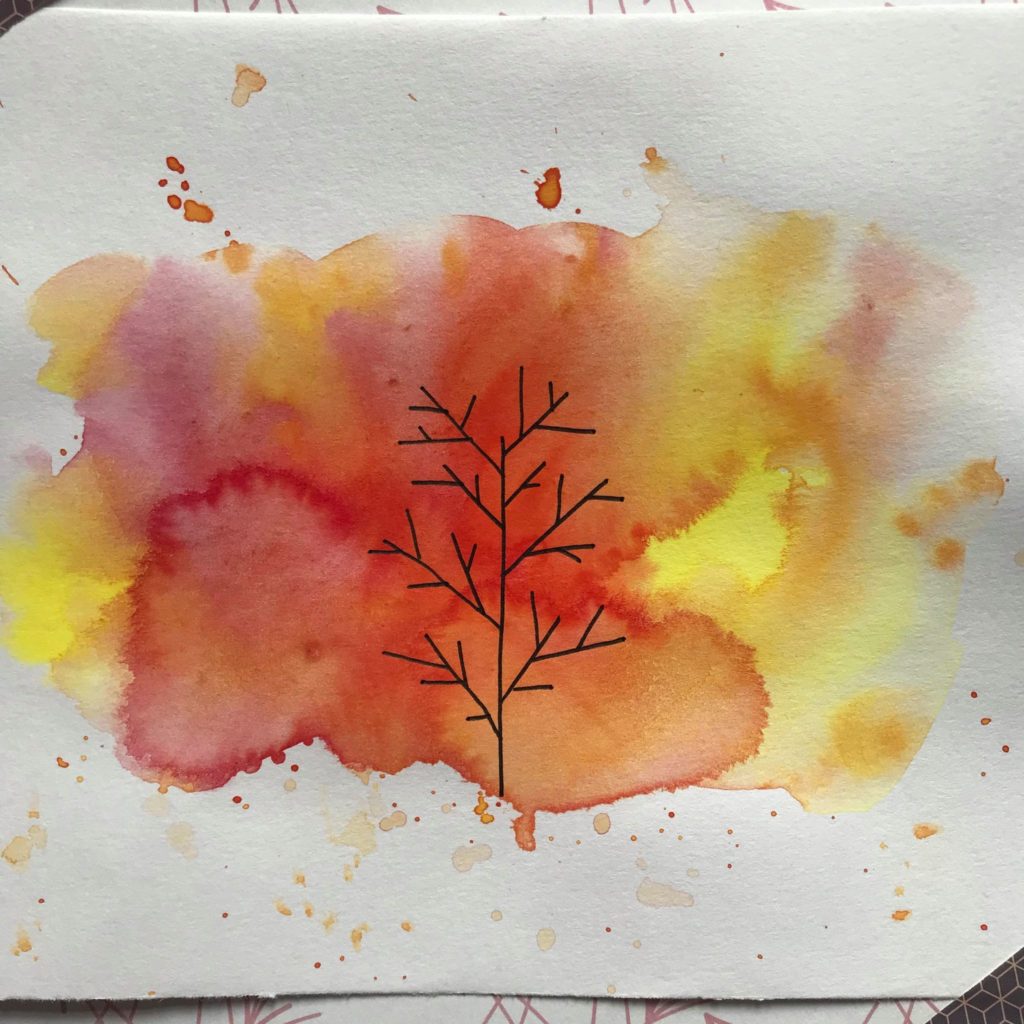
6. Let dry completely.
Next, grab a black pen or marker and doodle some trees on it. You can practice on scrap paper first if you’d like. For each tree I started with a line for the trunk and then added smaller straight lines for branches or swirls for a fuller tree.
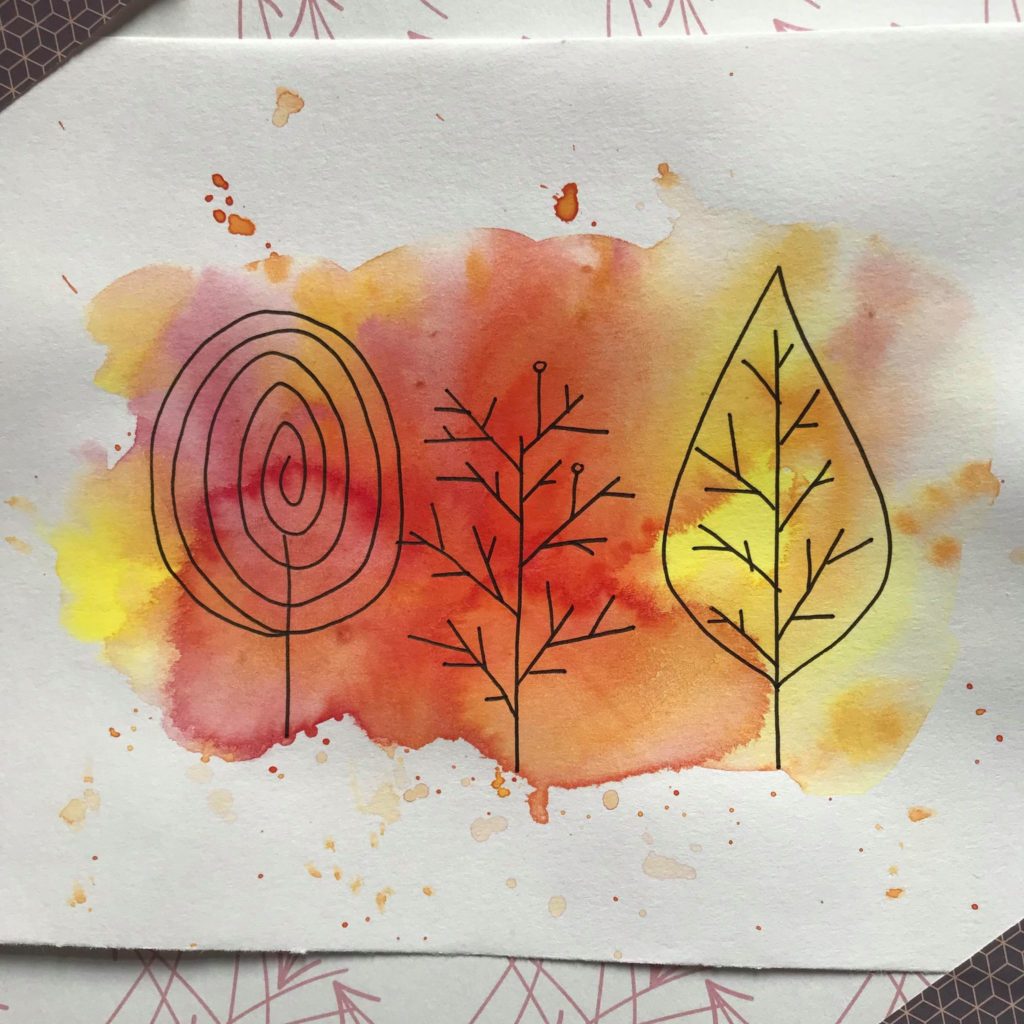
And you’re done!
