Learn how to make this easy spinner toy! It is so worth watching the colours swirl together when you spin them at the end!
Materials
-cardboard
-paper (optional)
-anything to draw or colour with (pens, pencils, crayons, markers, etc.)
-scissors
-string
-push pin
Instructions
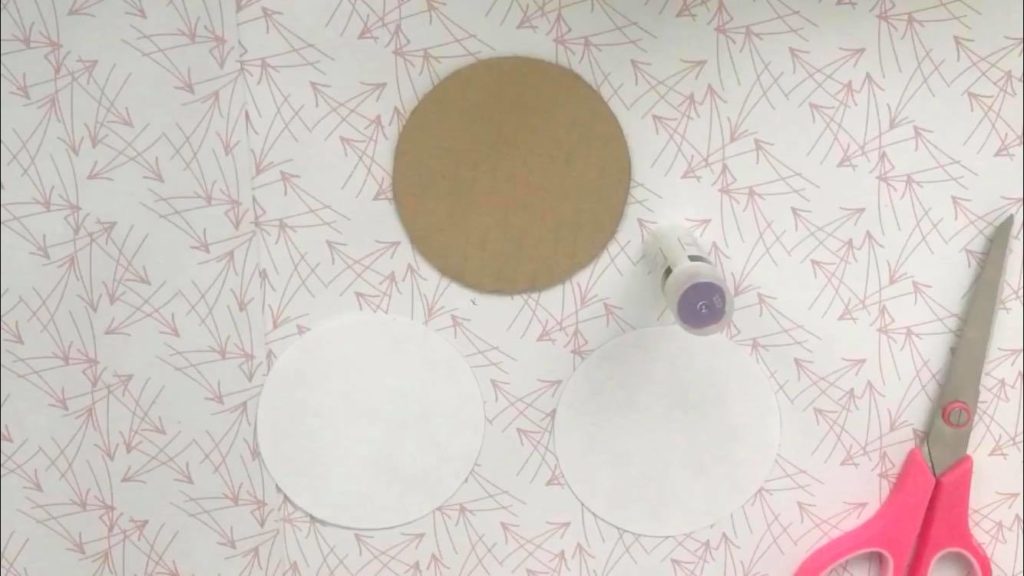
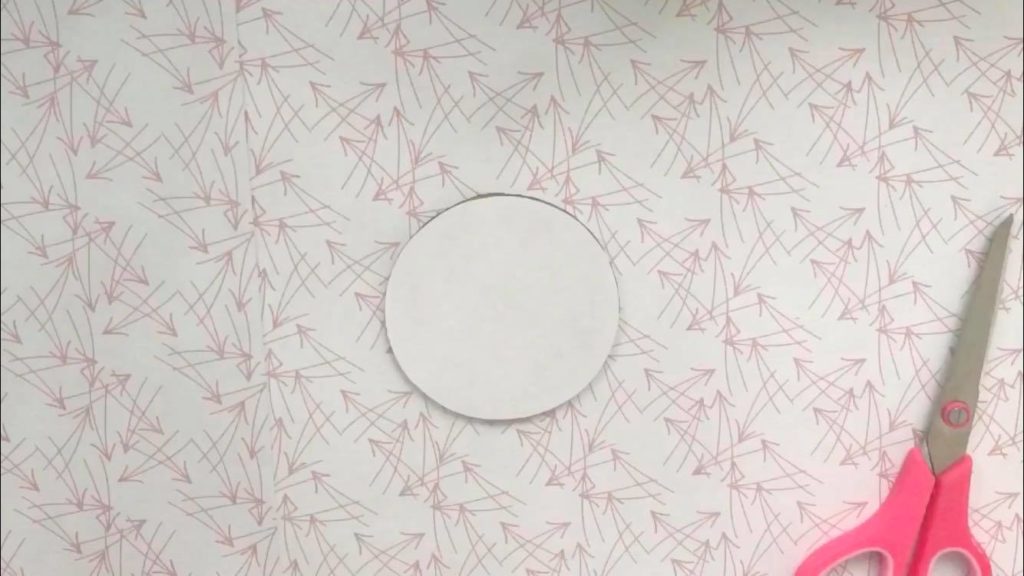
1. Cut out one circle out of cardboard. I traced a cup. You can stick with the cardboard circle, but I am going to cut out two extra circles out of white paper to glue to each side to give my cardboard a more even surface to colour on. It is up to you!
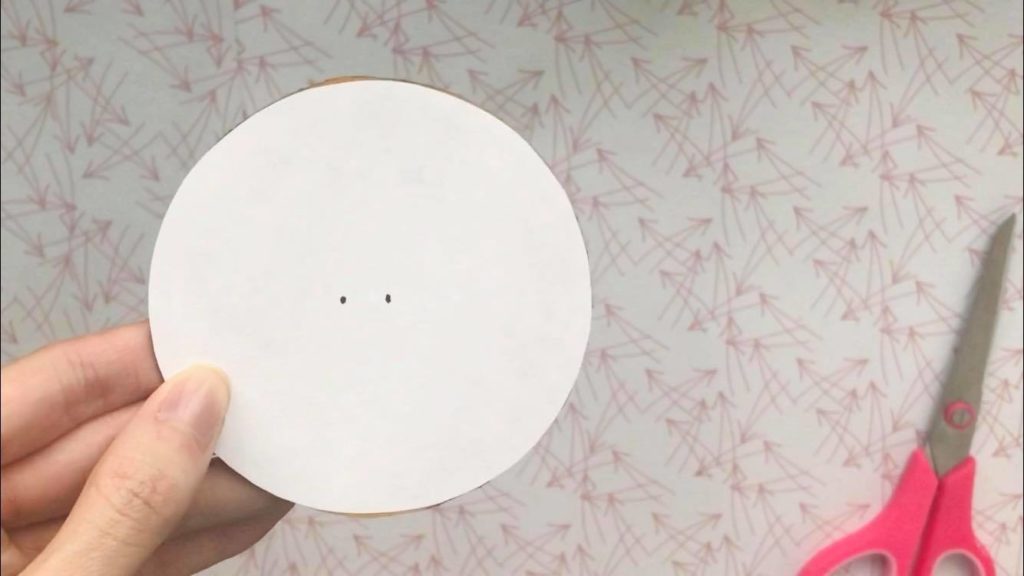
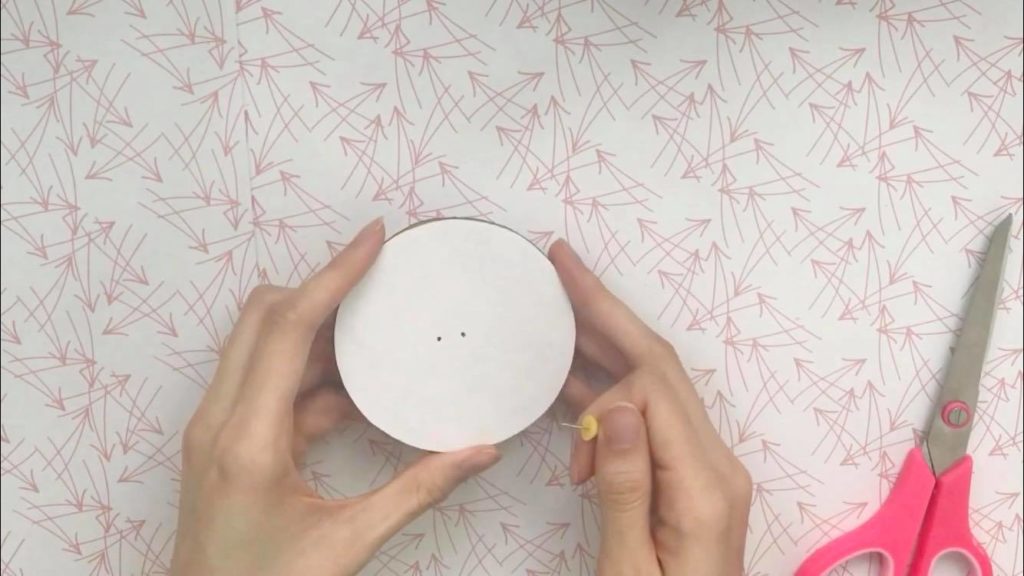
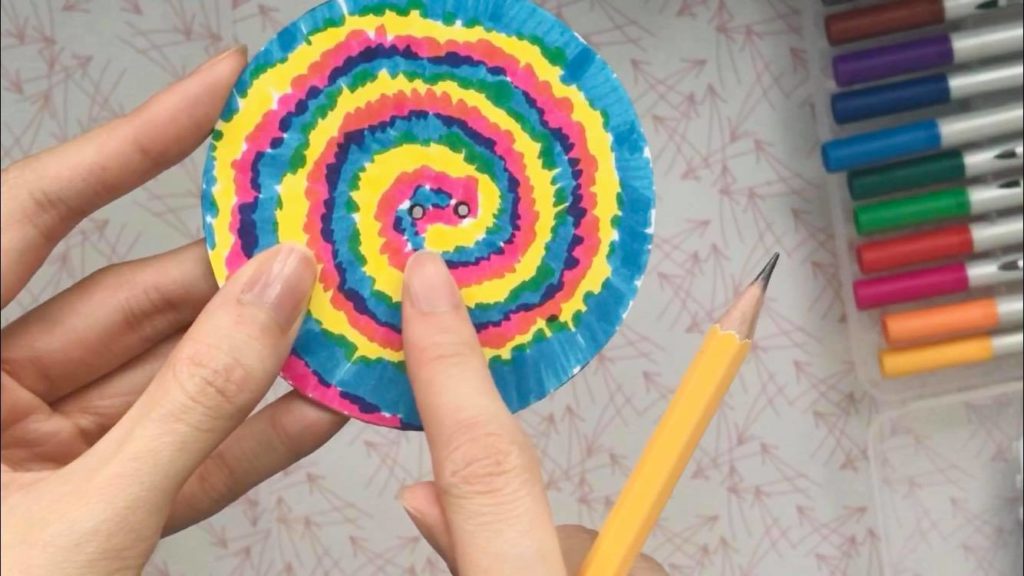
2. Use a pencil to mark out two dots in the middle of the circle. It should resemble a button. Use a push pin to punch the dots out so you end up with two holes.
3. Now you can decorate your spinner! You can use anything you’d like, such as pens, markers, crayons, etc. Make sure to do both sides. You can do the same design on each side or mix it up.
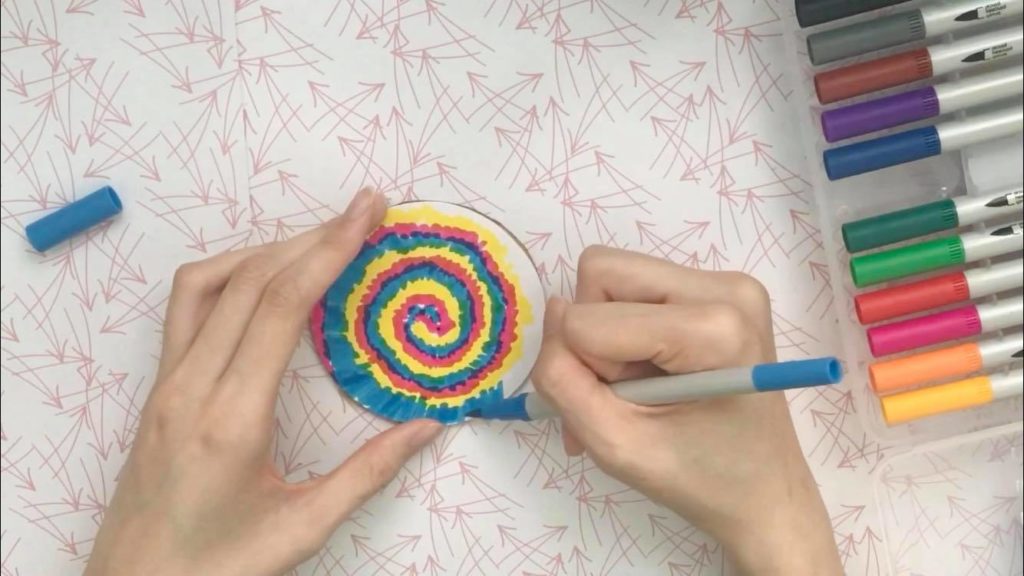
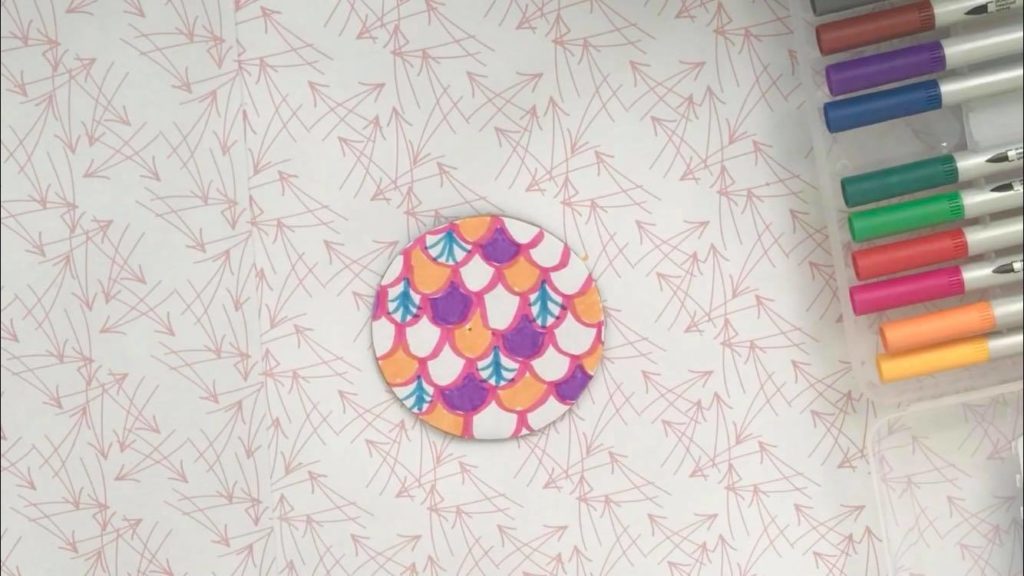
4. Cut a piece of string about double the length of your arm. Mine is about 32 inches. Push a pen or pencil through the holes to make them a bit bigger to make it easier to pull the string through. Put each end of the string through each of the holes. Tie a knot at the end. And you’re done!
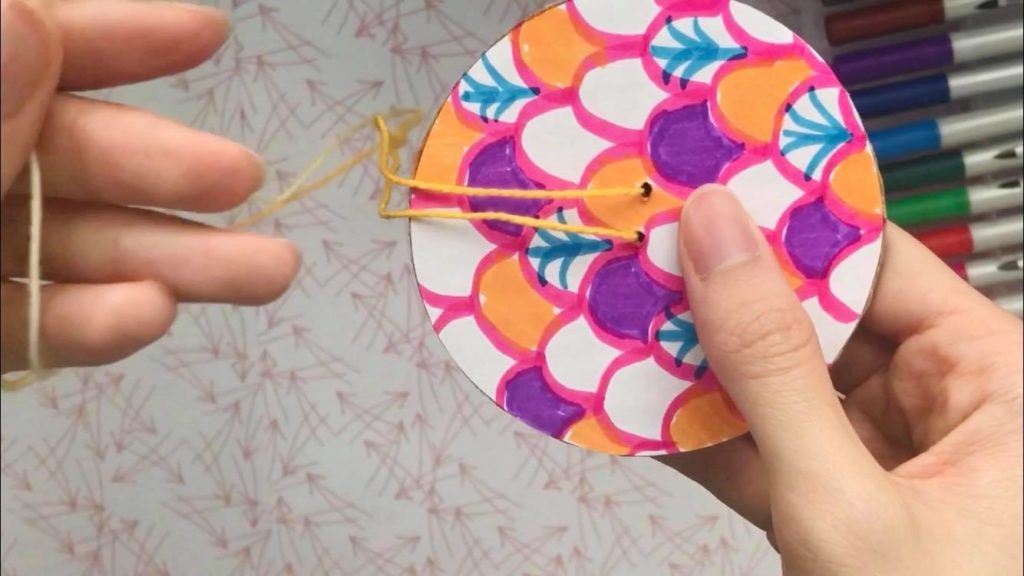
It takes some practice to learn how to spin it but it’s quite simple! Hold the two ends of the string with your fingers letting the circle dangle in the middle. Make sure you are not pulling the string taut, rotate your wrists in one direction to twist the string up and then pull the string outwards to spin the circle. Below is a video demonstration.

