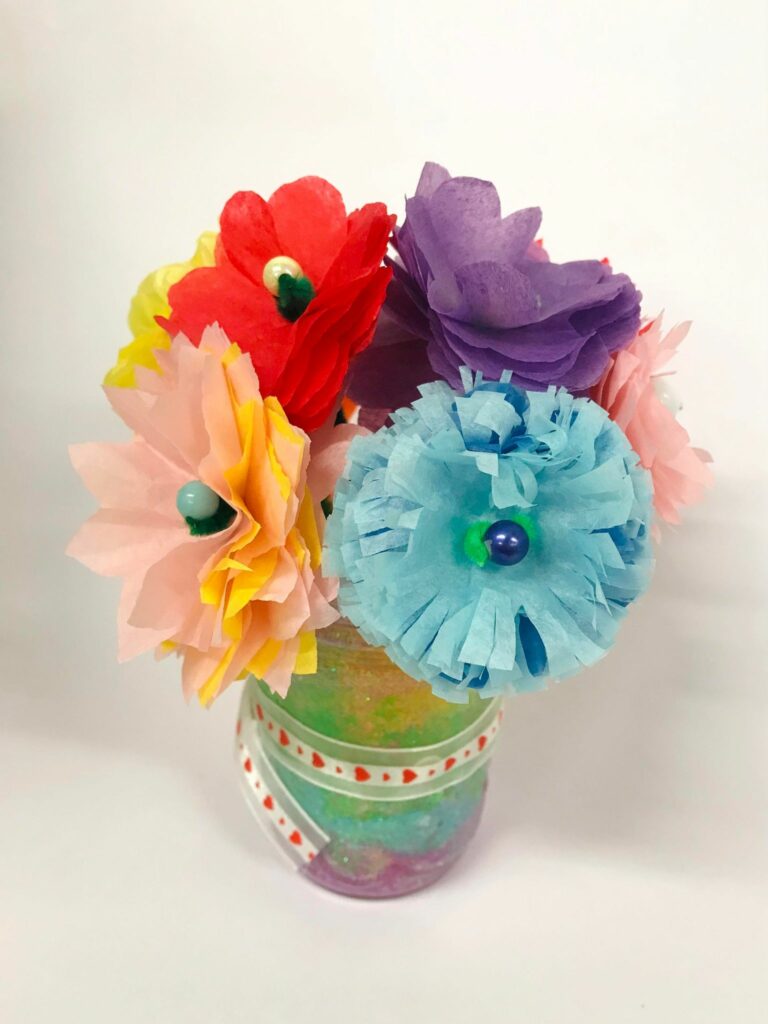
Watch the YouTube tutorial here!
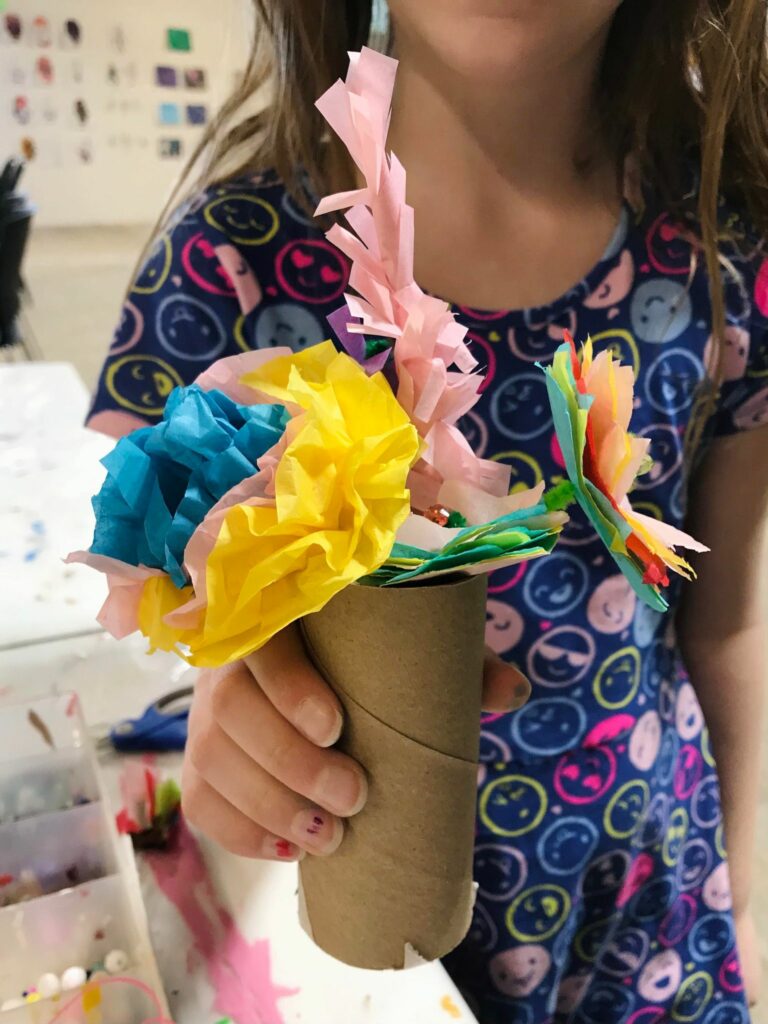
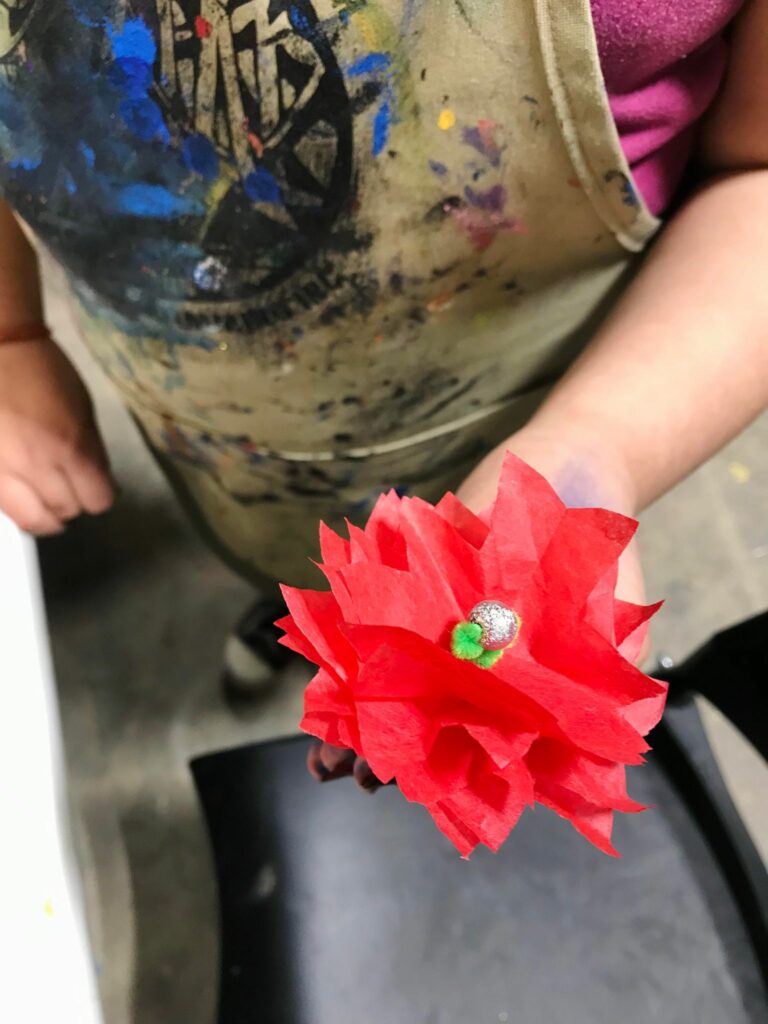
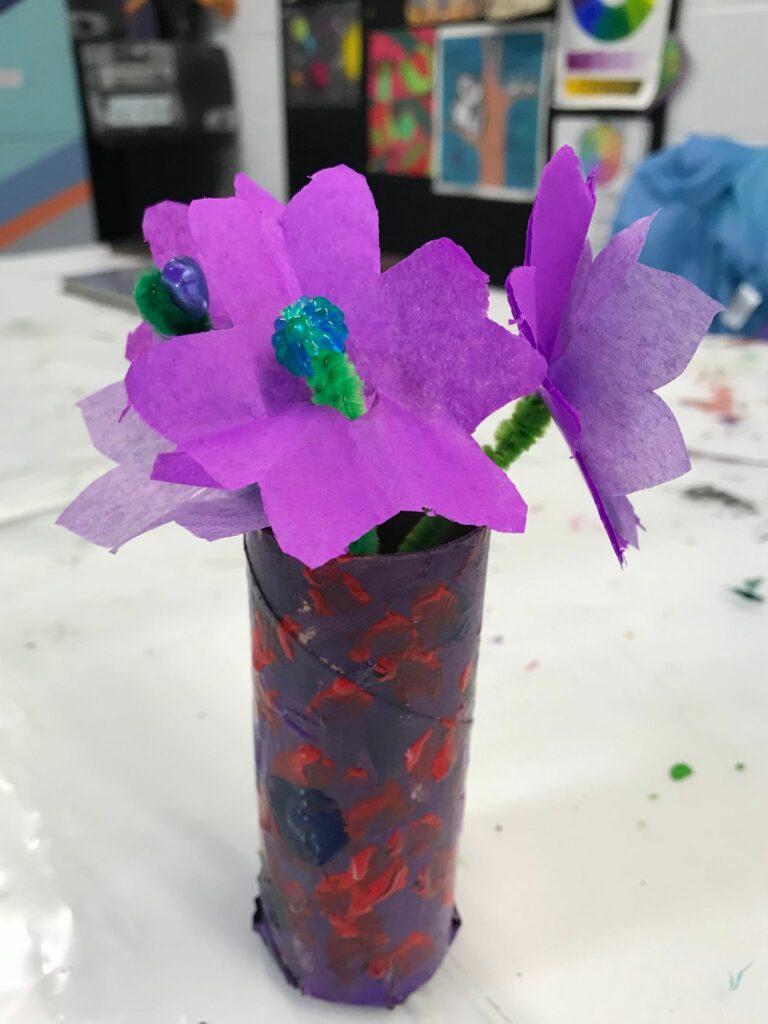
Awesome flowers made at our free art drop-in program.
Materials
-coloured tissue paper
-pipe cleaners
-beads
-scissors
-pen/pencil (optional)
Instructions
Technique 1.
1. Thread a bead onto the pipe cleaner. Fold over the small tail to hold the bead in place. This will be the center of the flower.
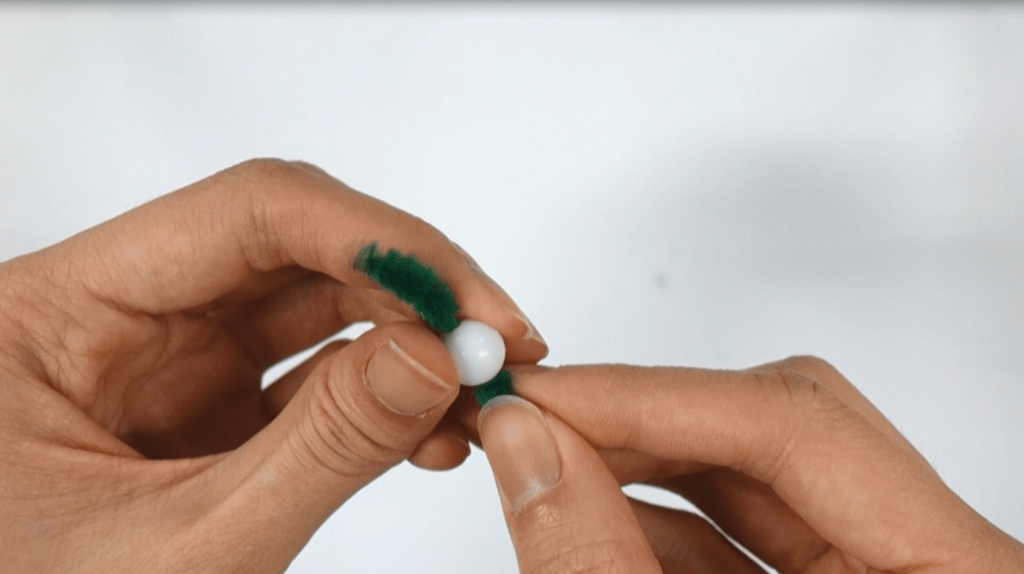
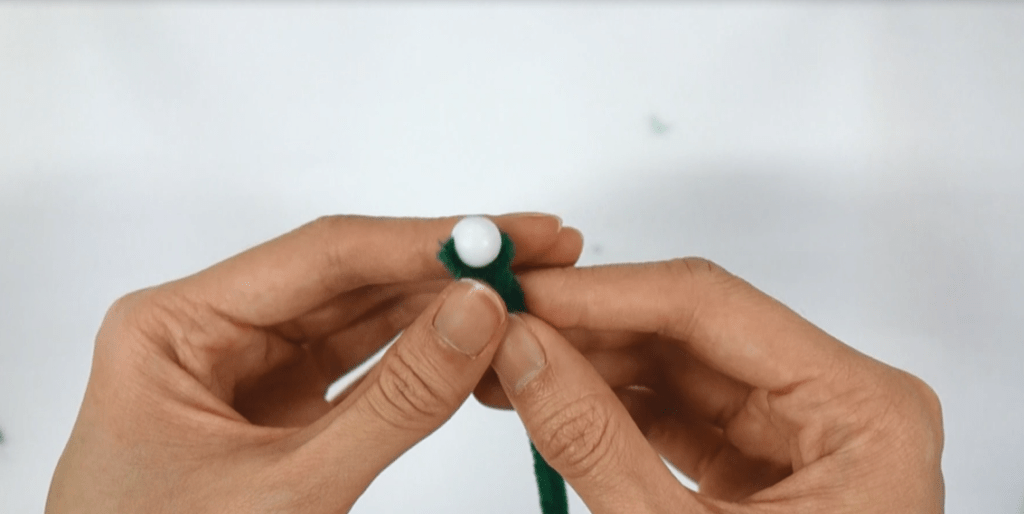
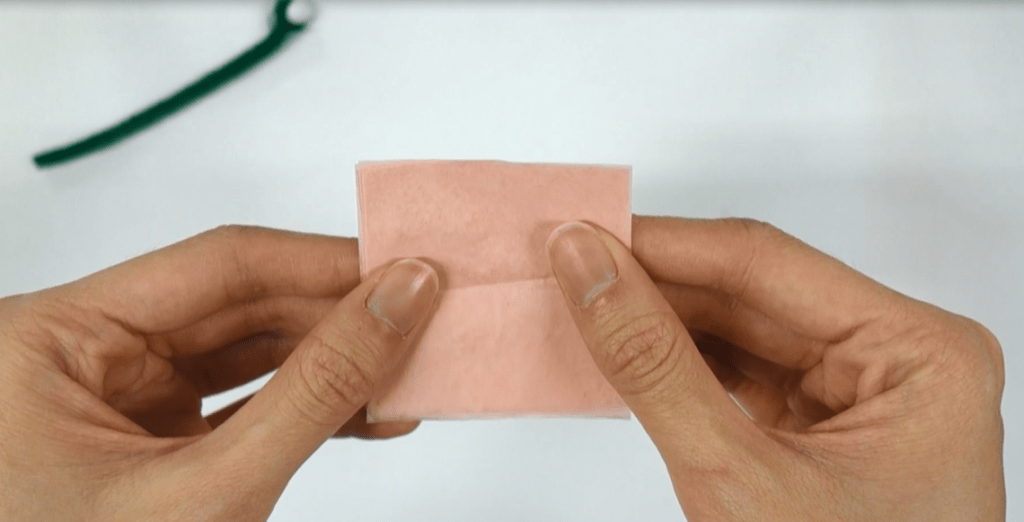
2. Cut tissue paper into squares. An easy way to cut multiple squares out at once, is to layer the tissue paper into strips and cut squares out.
Stack 6-8 squares of tissue paper on top of each other. Take the entire pile and fold it in half. And then in half again. And then in half once more. So in total you will fold it 3 times. You will be left with a lopsided ice cream cone shape.
Cut a petal shape. Here is marked it out with a pen so it is easier to see. Make sure to only cut along the top and NOT the bottom point and sides. You can cut any shape you’d like.
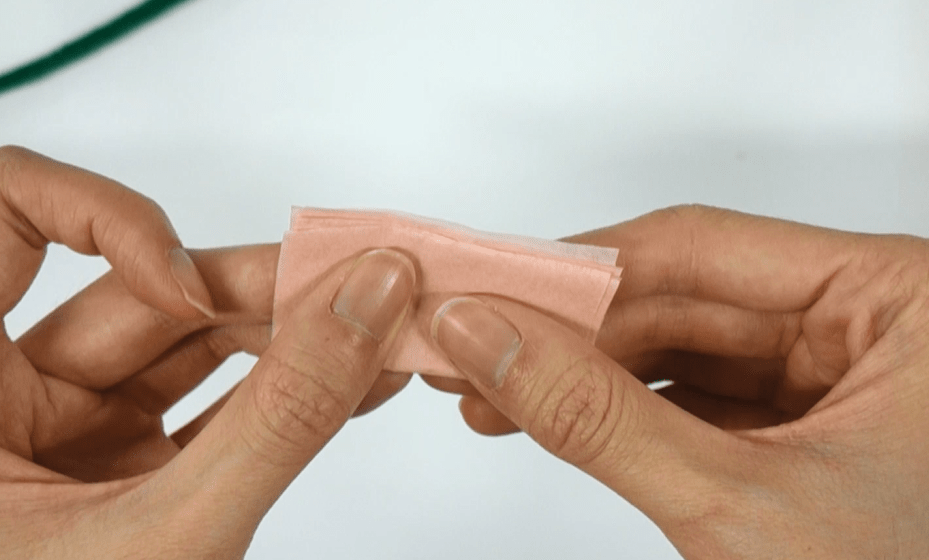
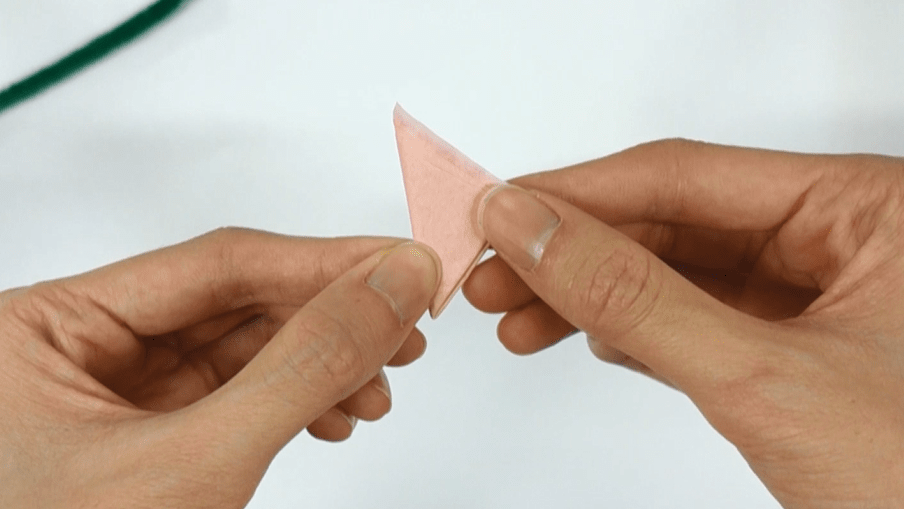

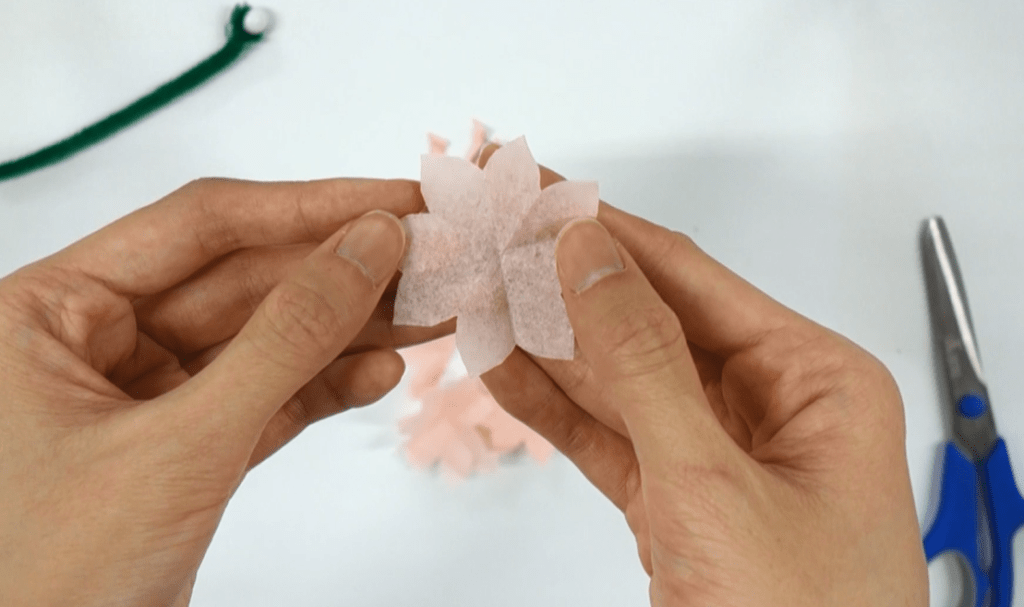
3. Once you have cut your petals out, carefully unfold the paper.
Thread each single flower onto the pipe cleaner by poking the wire through the middle. Bring it up towards the bead. Continue doing this for all your flowers. You can alternate the flowers to create more shape and volume.


Try different shapes! Here is a round petal.
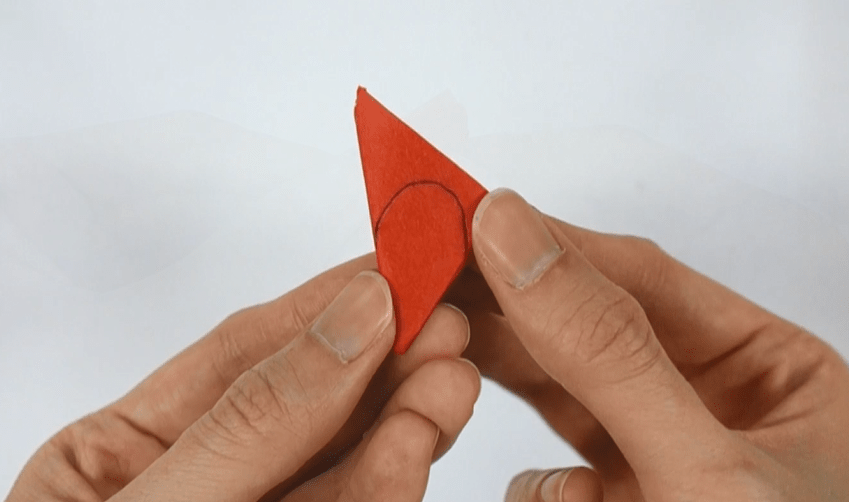
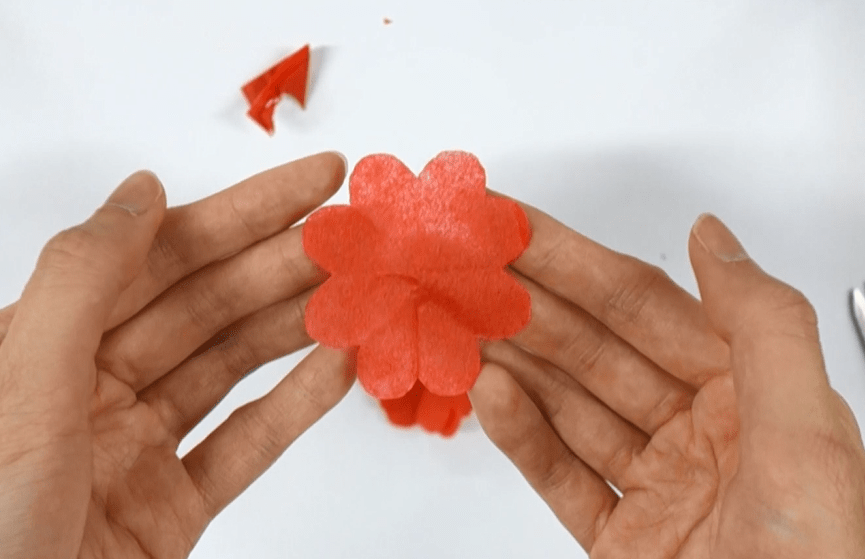
Technique 2.
1. Cut out 6-8 rectangles out of tissue paper. Stack them neatly into a pile. Accordion fold (fold back and forth like a fan) along the short edge until you reach the end.
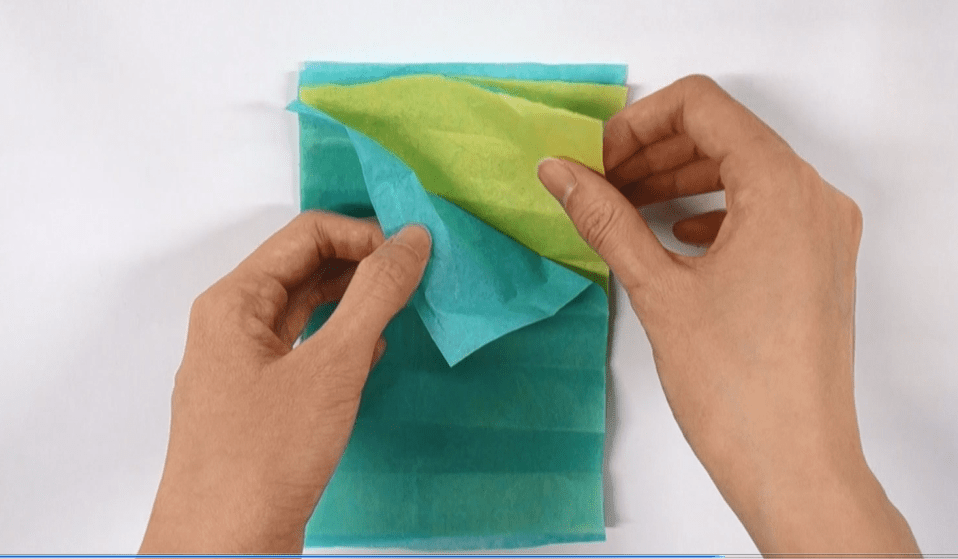
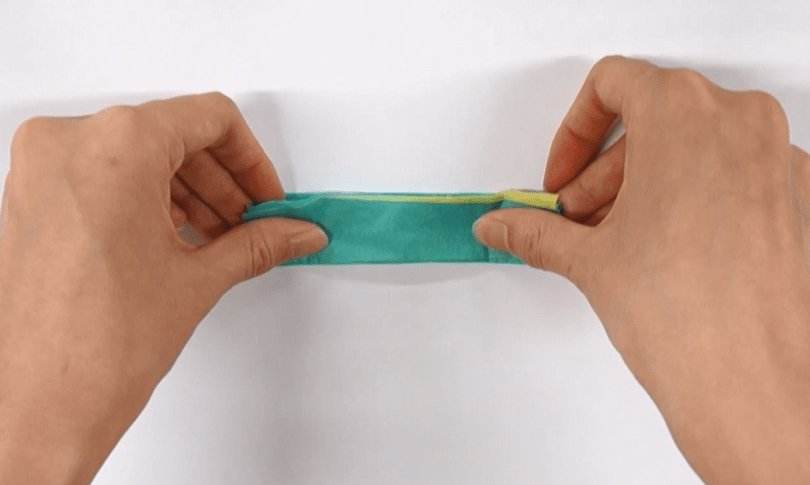
2. Twist your pipe cleaner around the middle to create a stem.
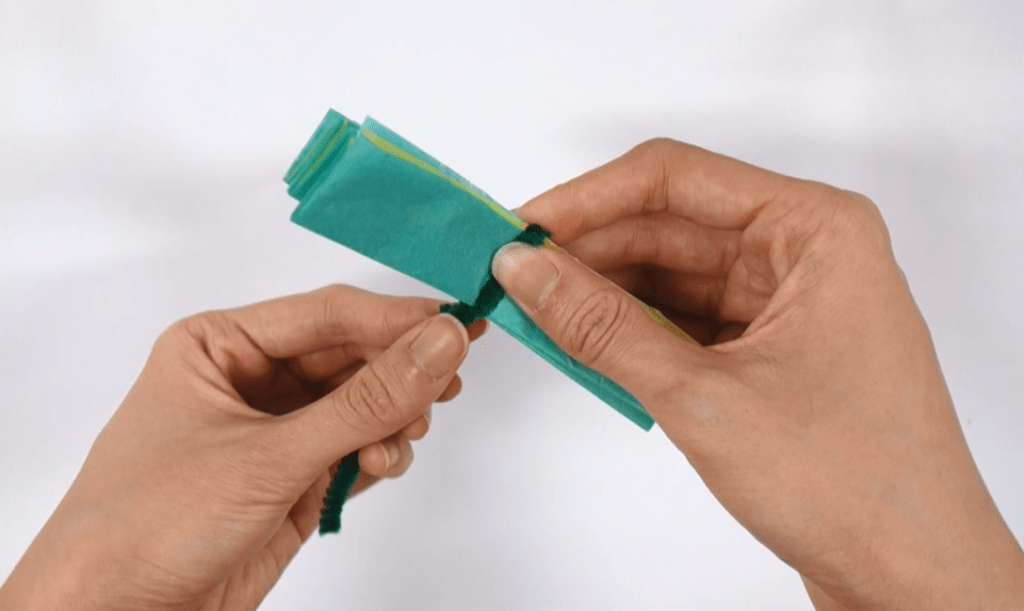
3. Gently pull a single sheet of tissue paper towards the middle. Then do the same to the opposite side. Keep doing this to all the layers.
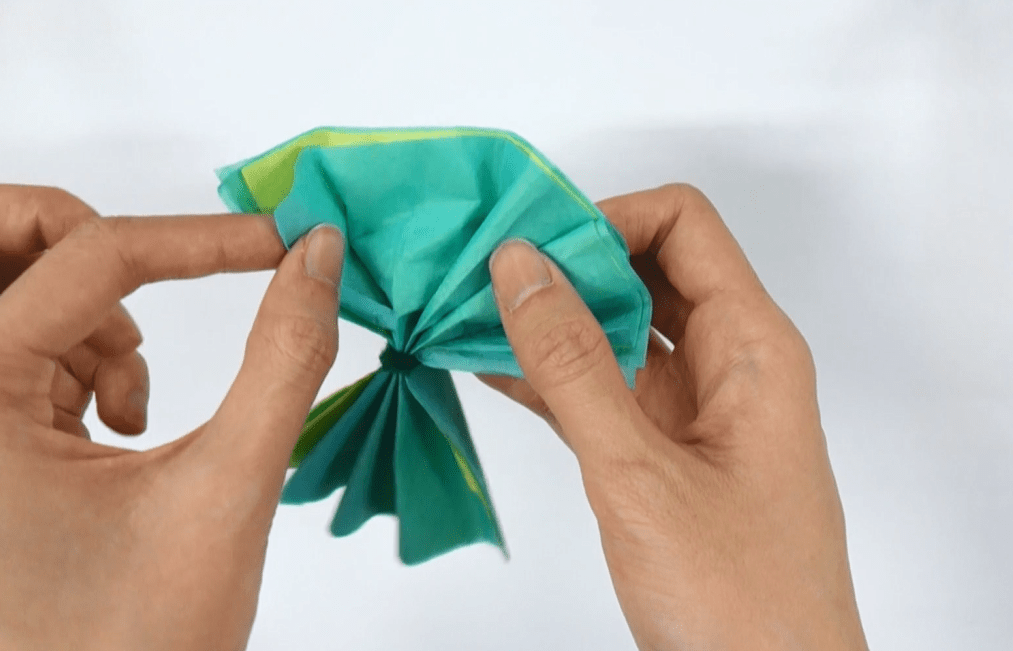

This technique creates a rose or carnation look!
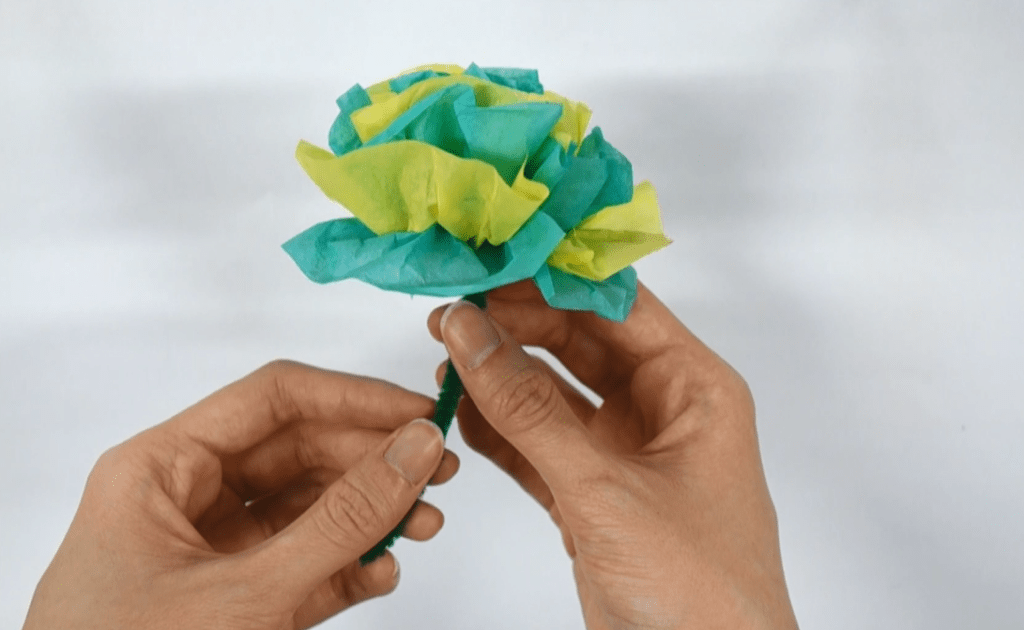
Once you’ve learned both techniques, experiment with different textures, and layers of different colours. You’ll create a beautiful bouquet in no time!
