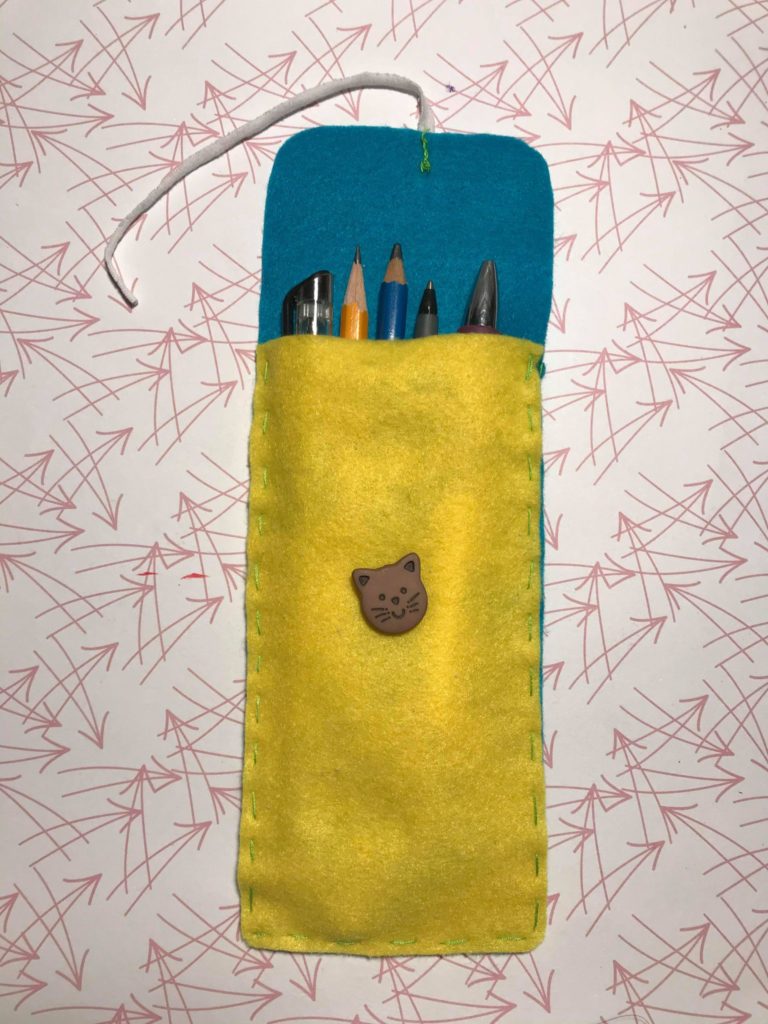
Learn how to make this easy felt pencil pouch! A beginner friendly sewing project. It makes a great gift and storage for your art supplies. Change the size and dimensions to make pouches for other items! Alternatively you can use fabric glue or hot glue to make this a no-sew version.
Materials
-felt
-fabric ribbon
-button
-sewing needle
-thread
-scissors
-ruler
-pen
-(optional) sewing pins to keep the felt in place while sewing
-(optional) scrap paper for practicing the sewing stitch on
Instructions
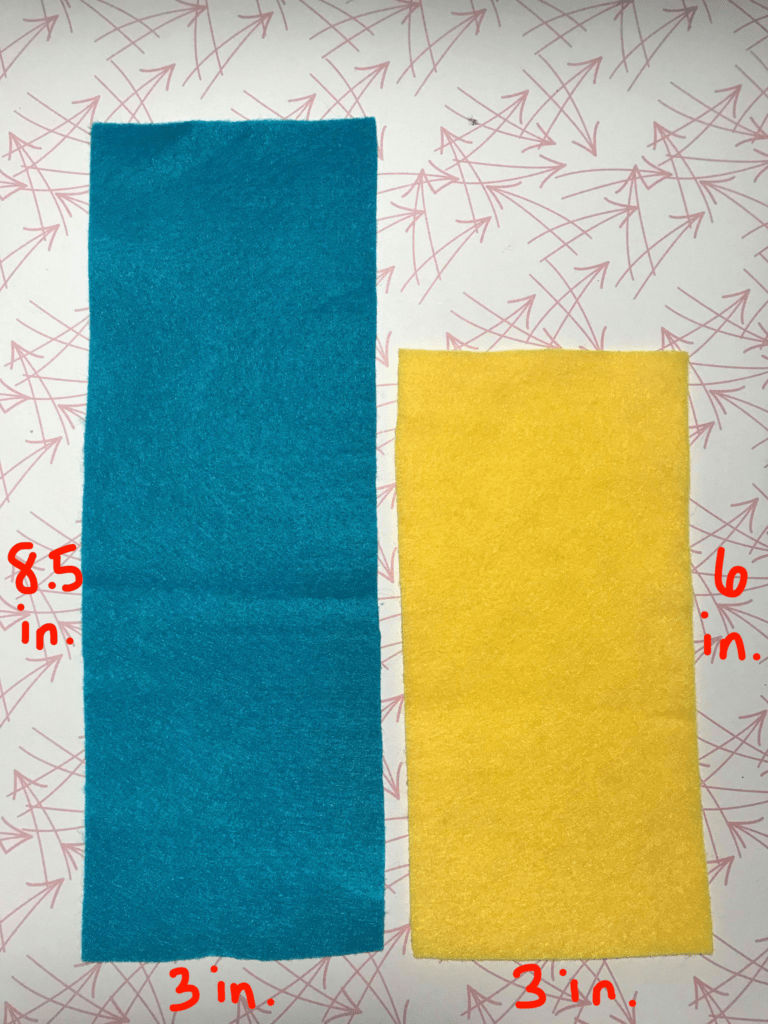
1. Cut out a rectangle of felt that measures 3 inches by 8.5 inches. Cut a second rectangle that measures 3 inches by 6 inches.
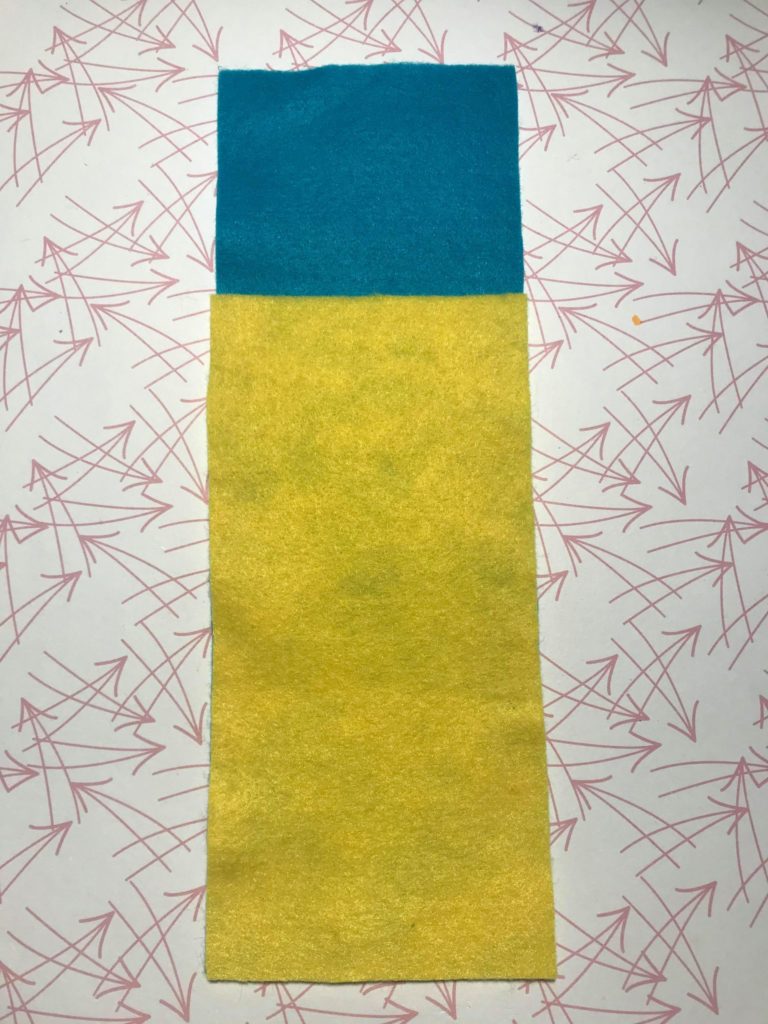
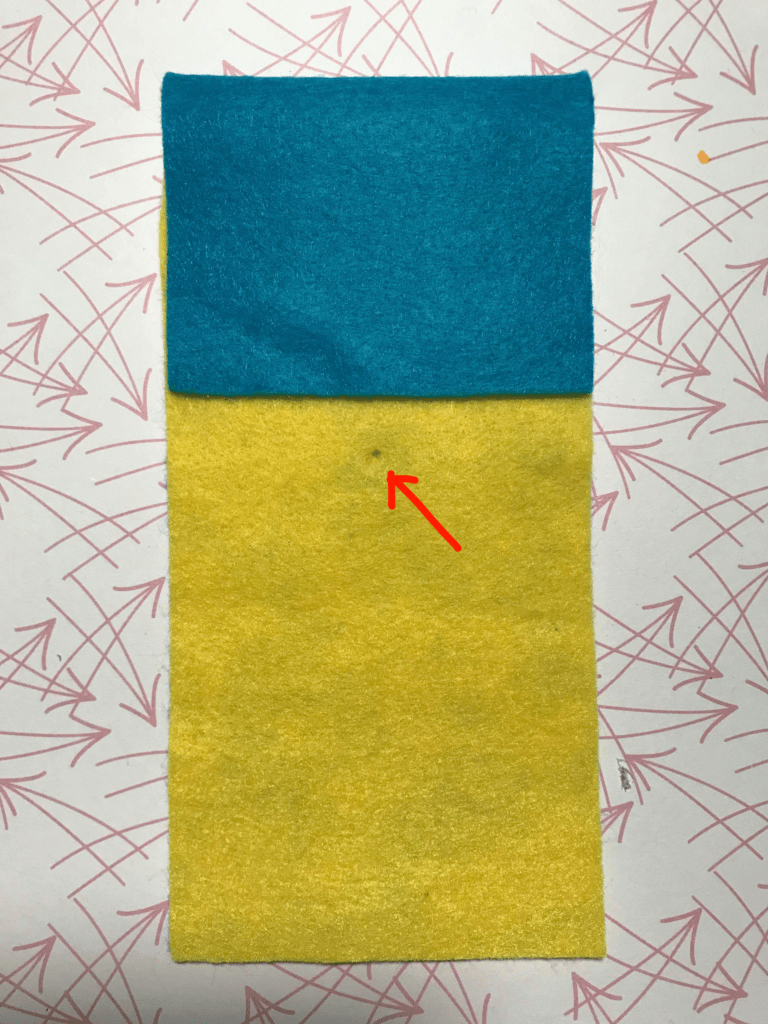
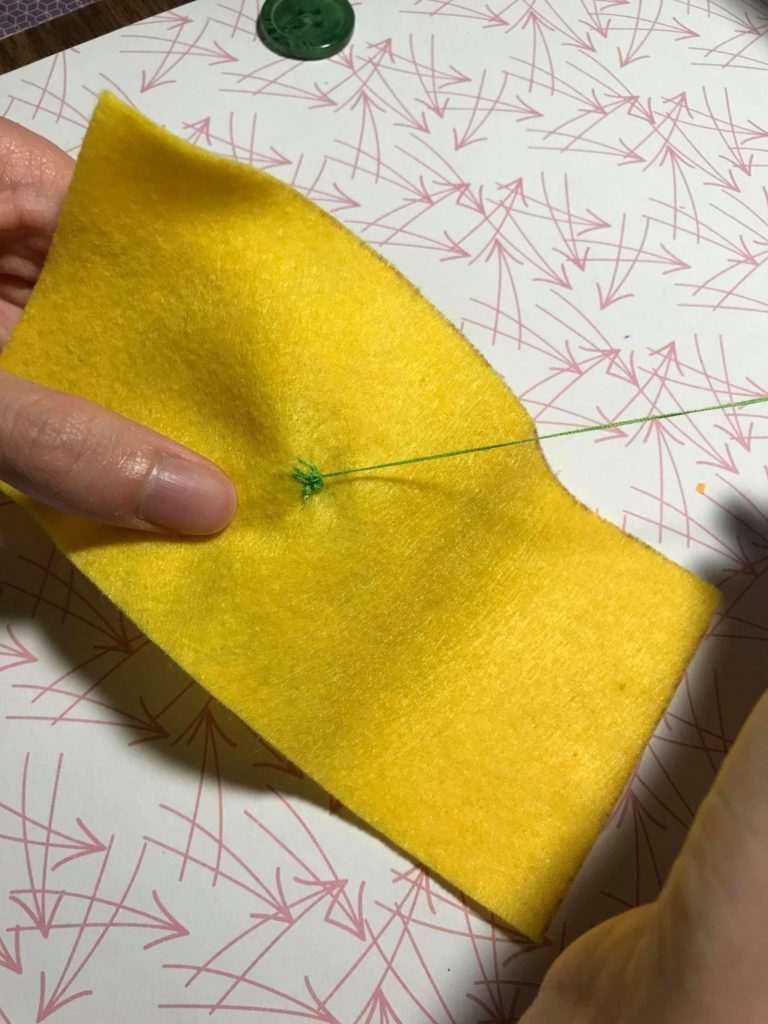
2. Place the smaller piece of felt on top. Fold the top part of the longer piece of felt down. This will be the top flap of the pouch. Mark a dot about a centimeter below the folded flap for the button.
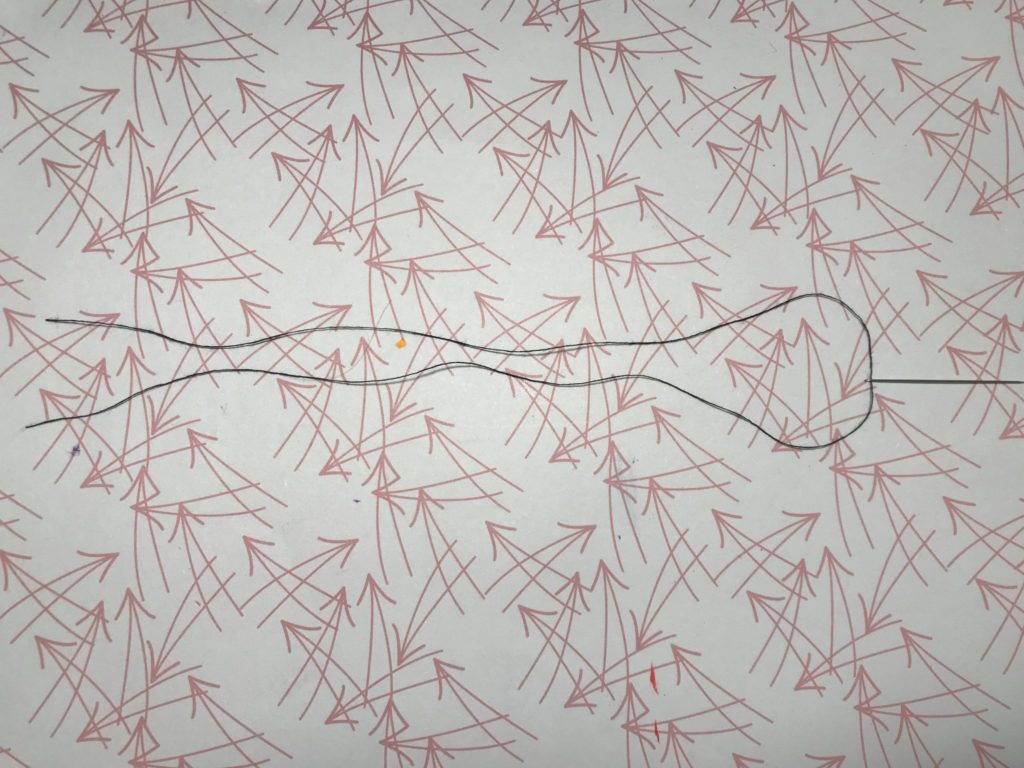
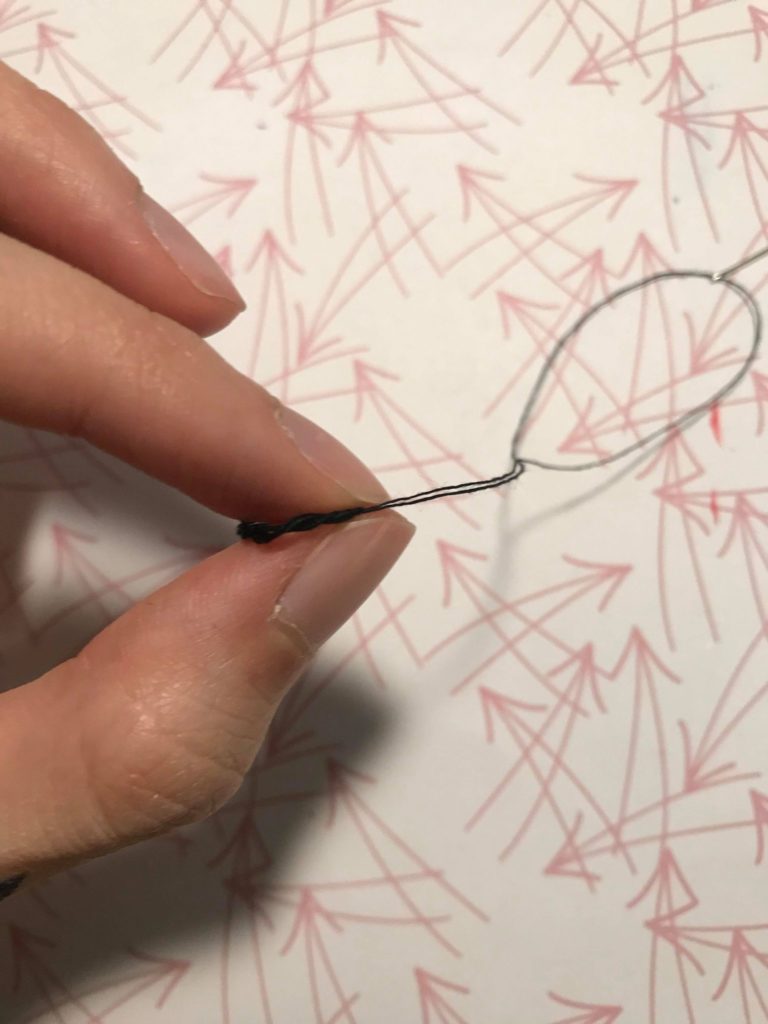
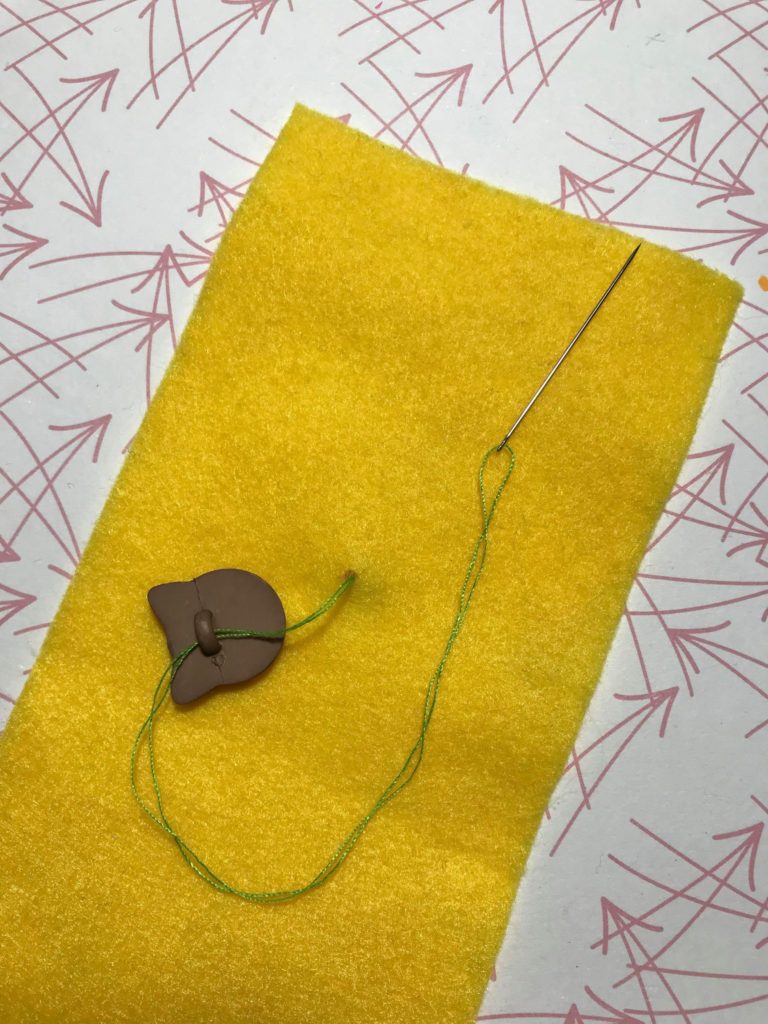
3. To thread a sewing needle, loop the thread through the eye of the needle. Align the two ends.
To make a knot, wrap the two ends around your finger a few times. Then use your thumb to push/roll the thread forwards.

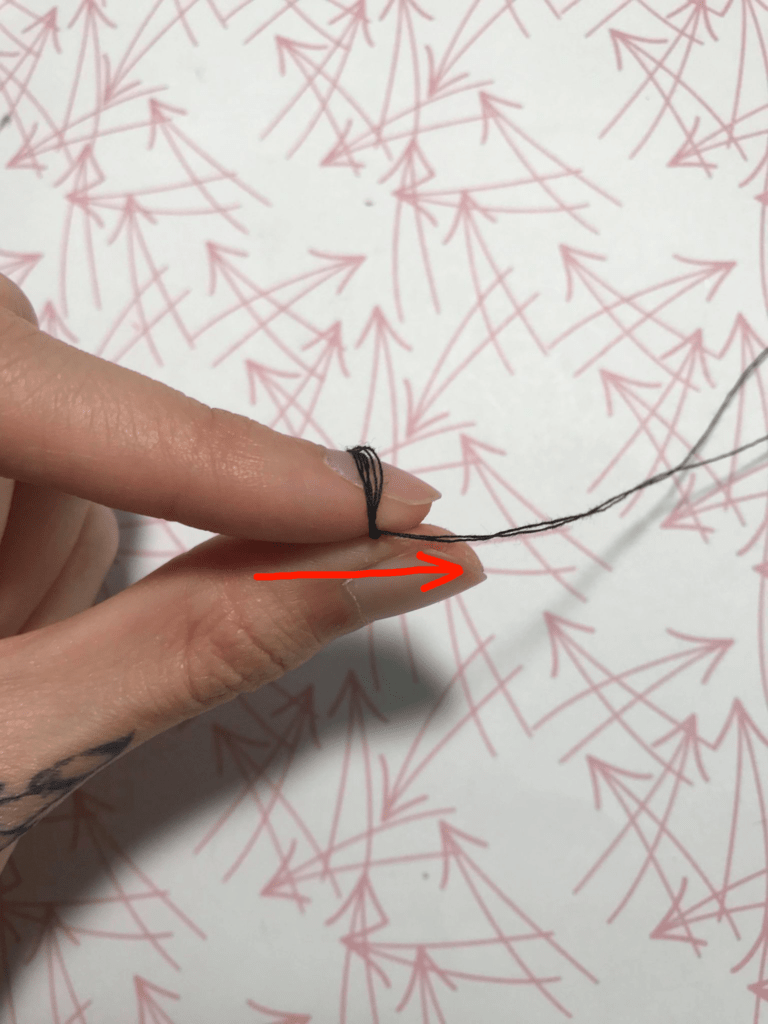
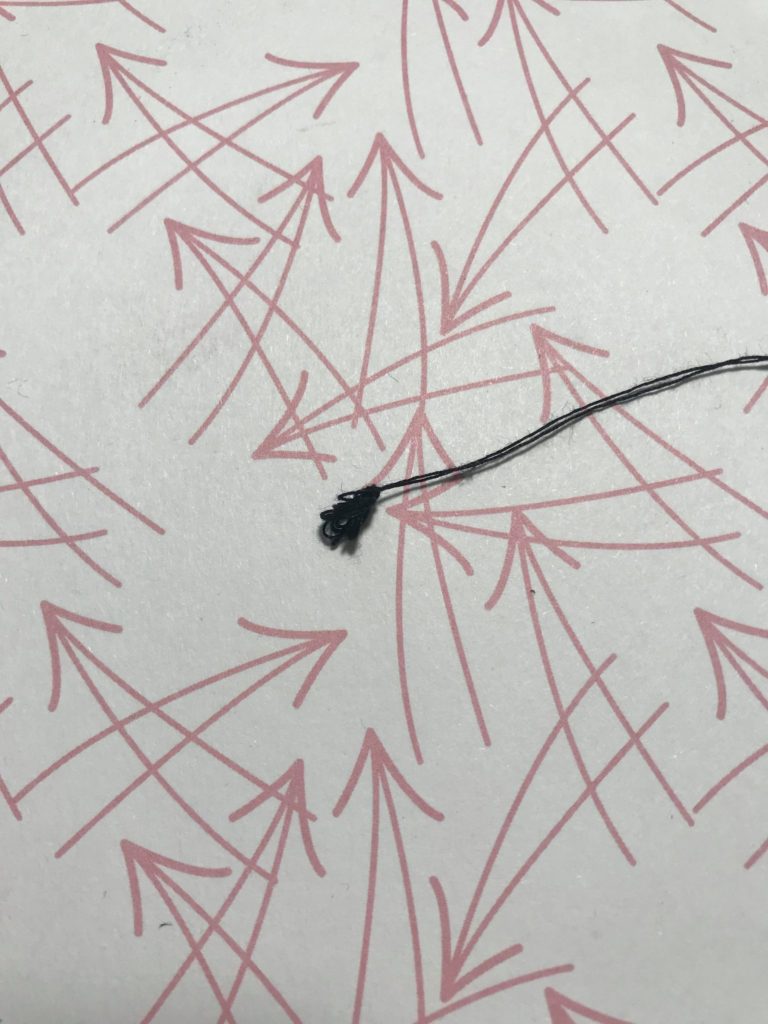
Pinch the ends with your nail and pull it backwards to make the knot.
Sew the button onto where you marked the dot.
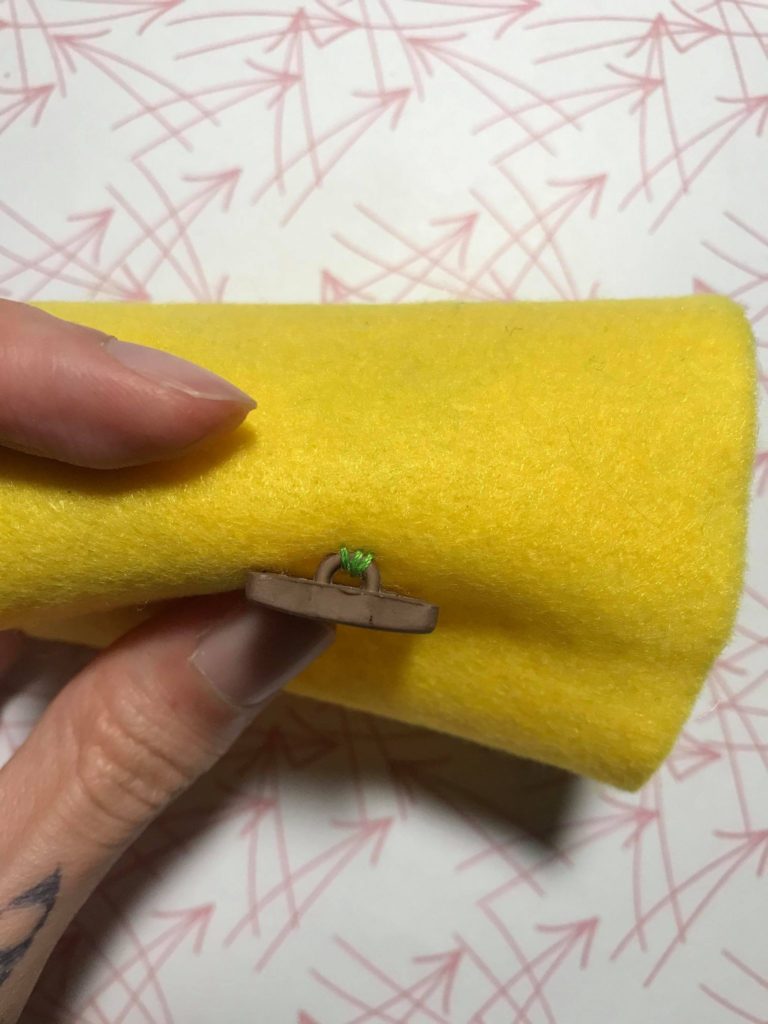
4. How to End a Stitch:
This will only work if you have at about 4 to 5 inches of thread left.
Go underneath a thread or two on the back. Do not pull your needle through all the way. Only push it in half way.
Then grab the thread closest to the fabric.

Wrap the thread around the needle 3 to 4 times.
Finally pull the needle through all the way. Cut off excess thread.
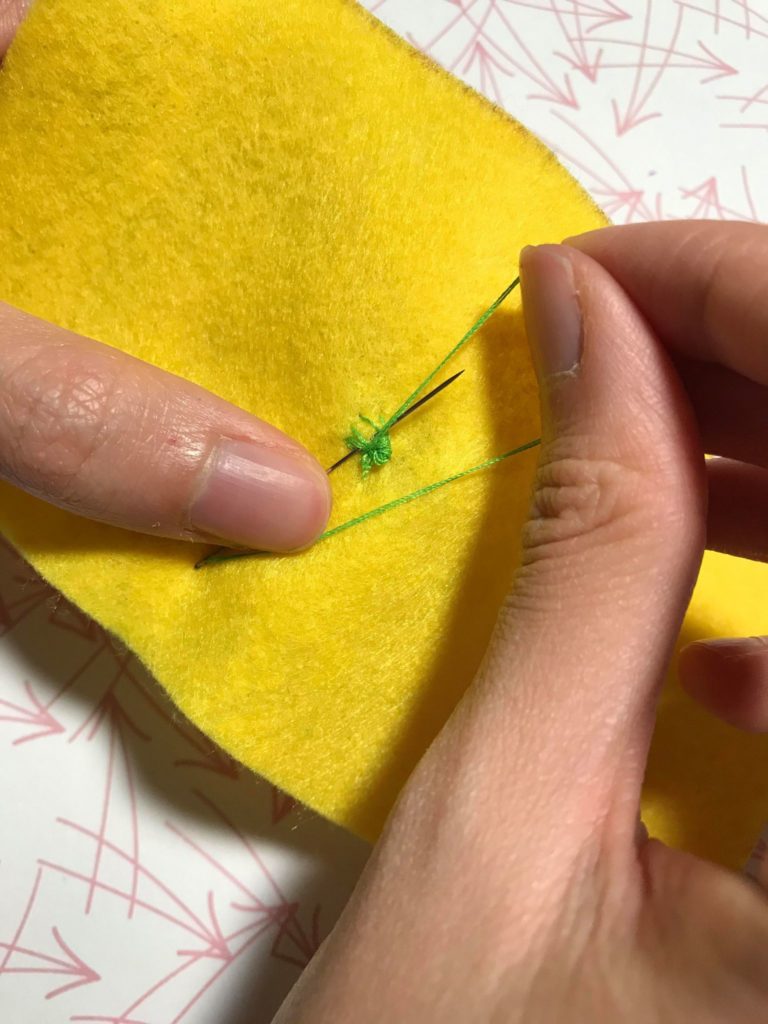
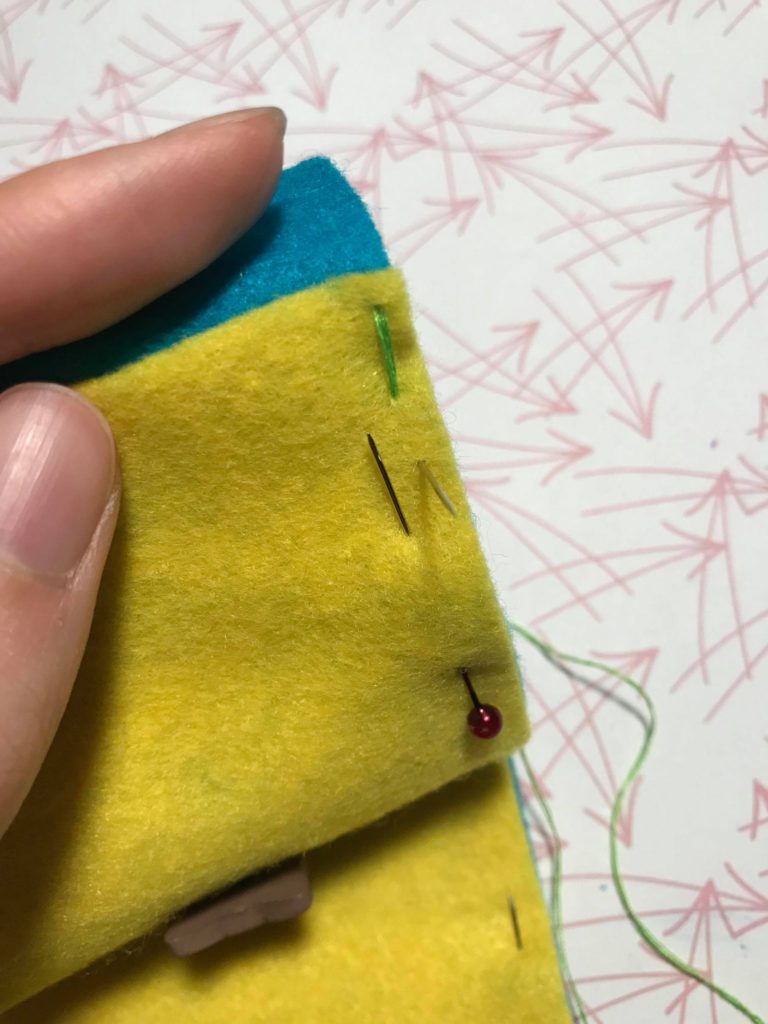
5. Now that the button is sewed on, line up the felt back on top of each other.

6. Thread a needle that is about 24 inches long (note that the actual thread will be twice the length which is 48 inches) .
To sew the sides together, we are going to use a running stitch which is basically just going up and down the fabric. You can practice on scrap paper first if you need!

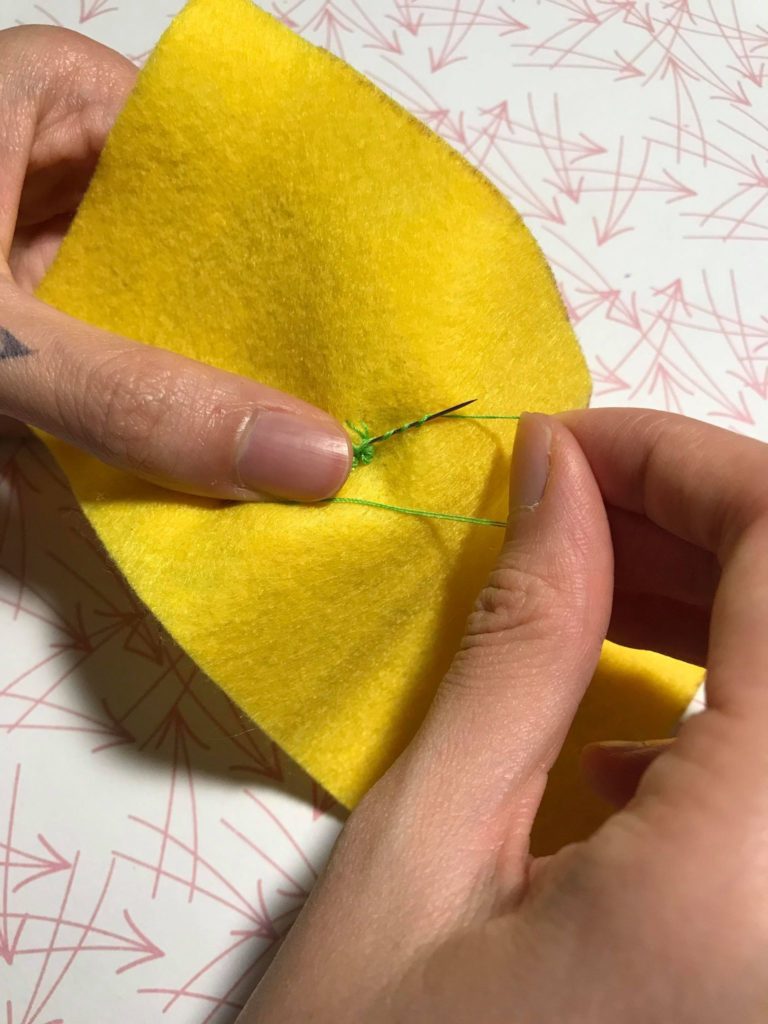
Start by poking the needle up from under and pull it through.
Then go down again about a centimeter away.
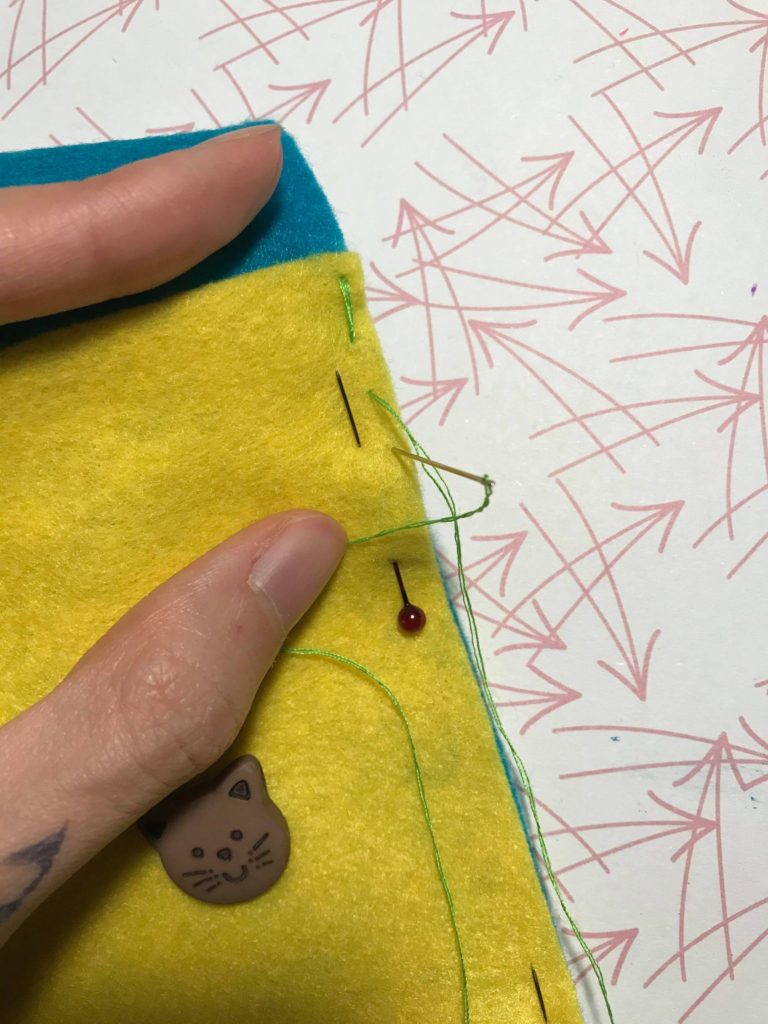
Then come up again a centimeter away. Keep doing this around the whole pouch. Use the same technique above on how to end a stitch when you are done!
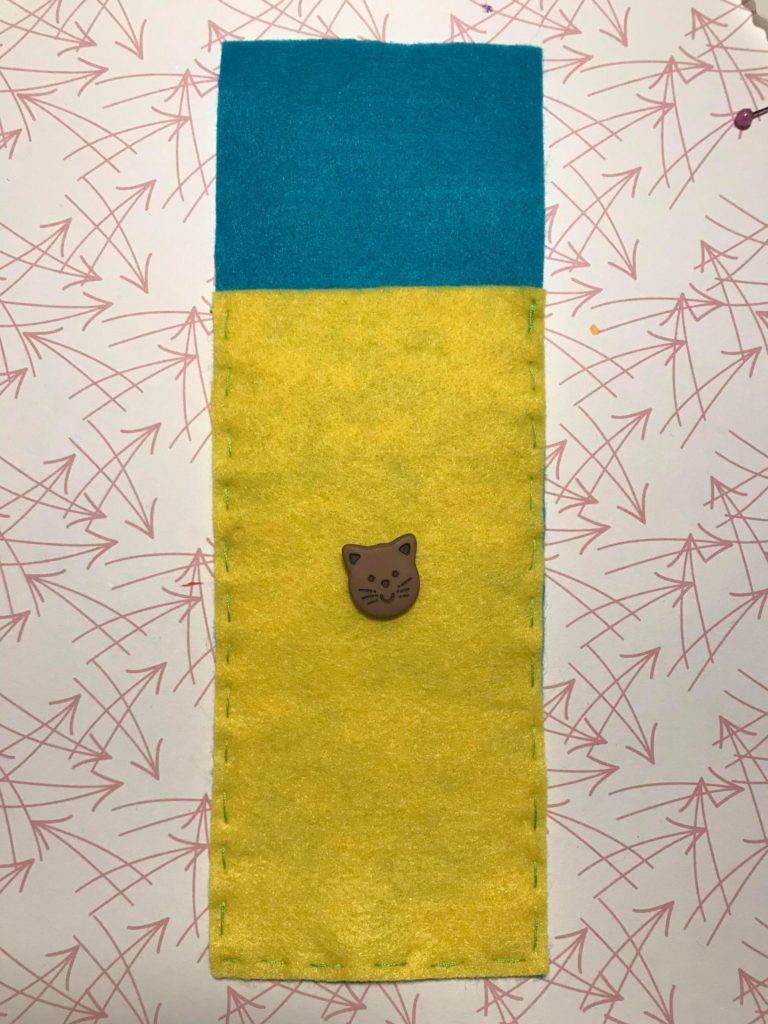
7. Next sew a piece of ribbon on the flap so you can wrap it around the button to keep the pouch closed. Fold the flap down and use a running stitch to sew down the ribbon. The ribbon is about 5.5 inches long.
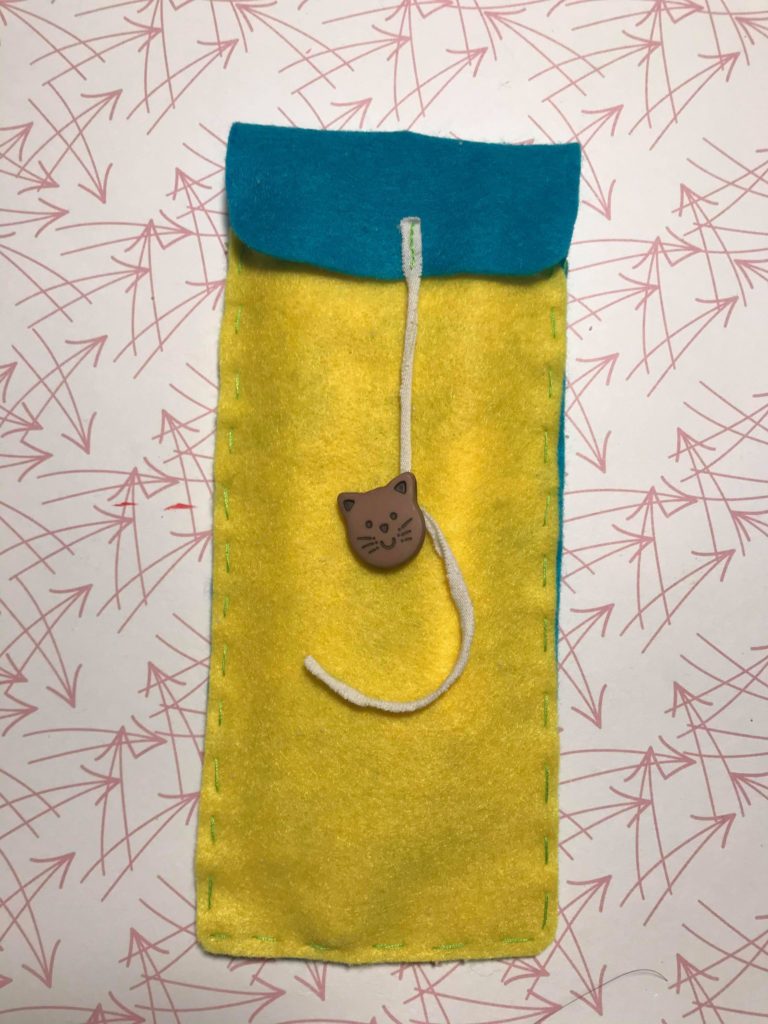
You can trim the corners to make them rounder if you’d like and you’re done! Now you have a super awesome pouch to keep your pens and pencils in!