Watch the YouTube tutorial here!
Materials
-yarn
-cardboard, cardstock, or thick paper
-pencil
-a circular object to trace
-scissors
-craft knife. Please ask for adult assistance if needed!
-glue
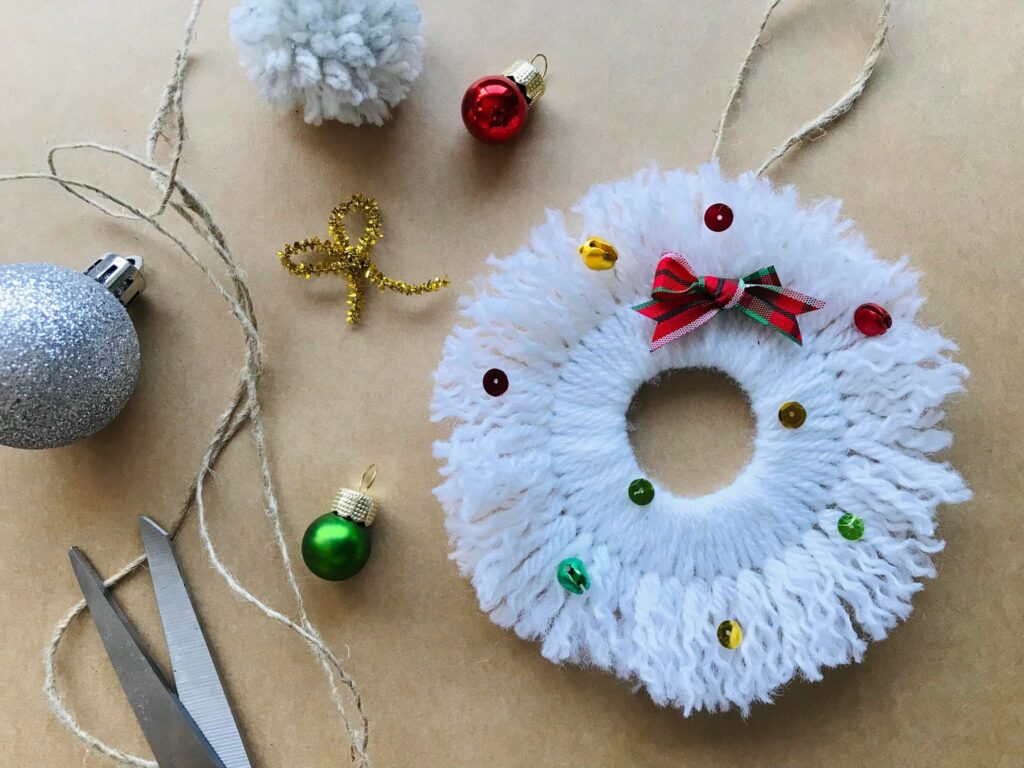
-crafty Christmas decorations such as pom poms, buttons, ribbon, glitter, etc.
Instructions
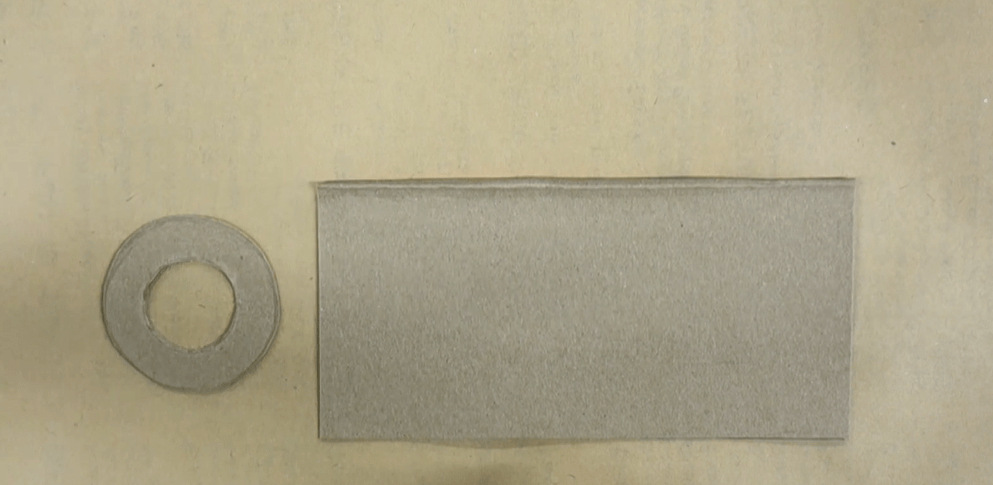
1. Find two circular objects to trace. One circle for the outer edge, and one for the middle. Figure out a size you would like the whole wreath to be. A small cup is a great size for an ornament. Then find a smaller circle for the middle. I used a bottom of a bottle of paint. Trace it onto cardboard or cardstock with a pencil and cut it out. You may need a craft knife to cut out the middle. Be careful!
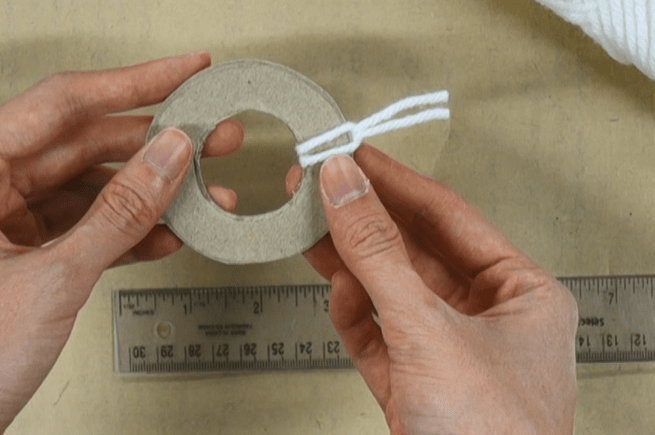
2. To figure out how long the yarn will need to be, cut off a long piece of yarn. Mine is about 7-8 inches. Note that if your circle is bigger, you should have a longer strand of yarn.
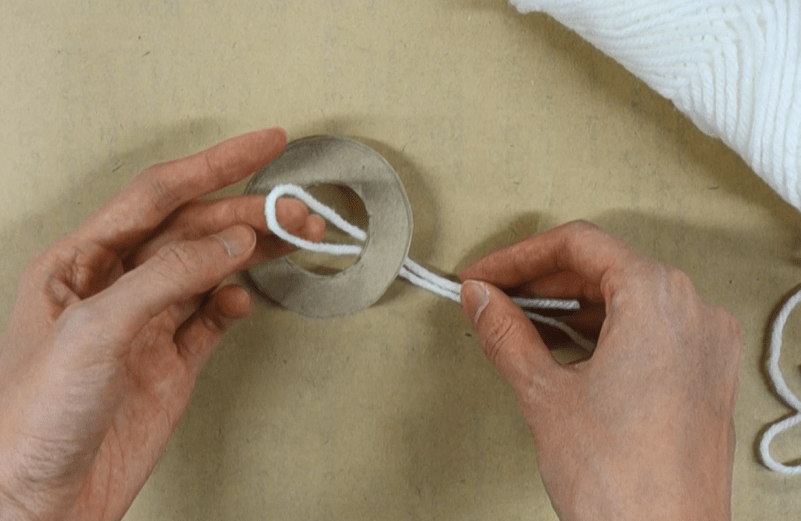
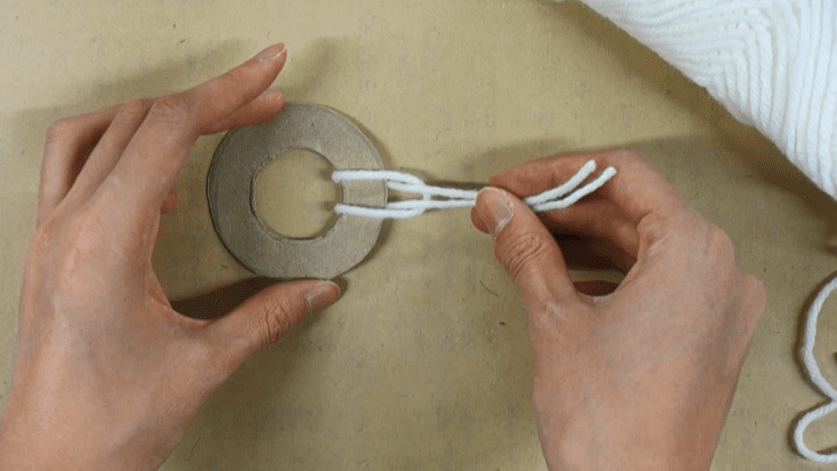
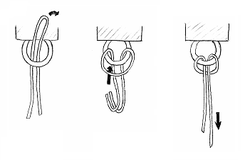
Fold the yarn in half. Place the folded end towards the inner circle. Put the two ends through the loop. Pull it taut. This is called a cow’s hitch or lark’s head knot. We will be using this knot throughout the whole wreath. Leave about an inch of yarn from the knot. It is better to leave it longer than shorter as you can trim it at the end.
3. Leave about an inch of yarn from the knot and cut the excess off. It is better to leave it longer than shorter as you can trim it at the end.
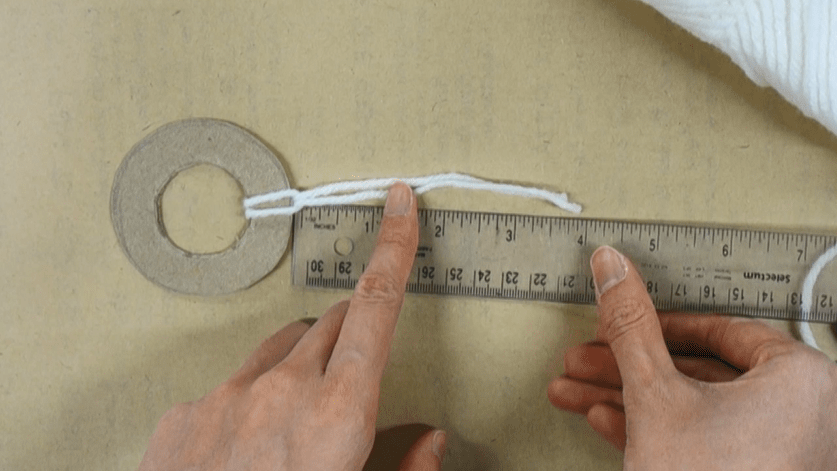
4. Take the strand yarn off the circle. This will be how long the yarn needs to be.
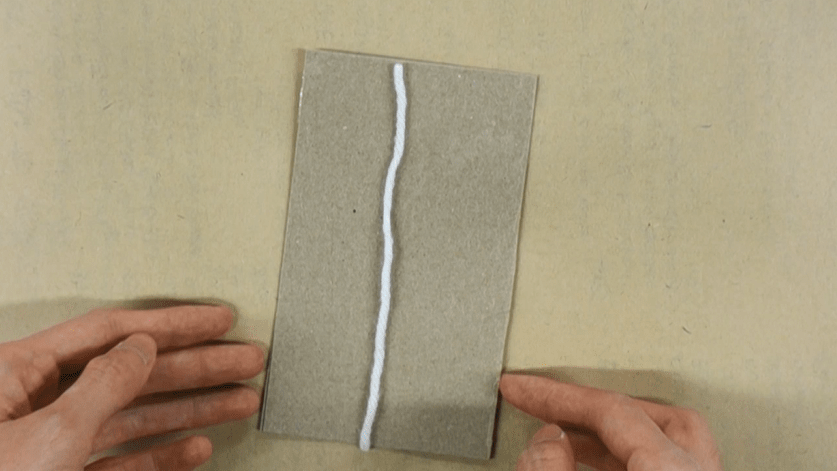
Instead of cutting individual strings, cut out a piece of scrap cardboard the same length as the yarn. Now you can wrap the yarn around the cardboard. Make sure to not wrap it tightly around the cardboard. If you wrap it too tightly, all the yarn will be slightly shorter than the original length. Think of it like stretching an elastic band. Once let go, it will go back to its original size!
Once you have wrapped the yarn around a few times, hold it in place. Slide scissors underneath to cut the top and bottom. You should be left with multiple strands of yarn! Way faster than cutting individual pieces, hey?

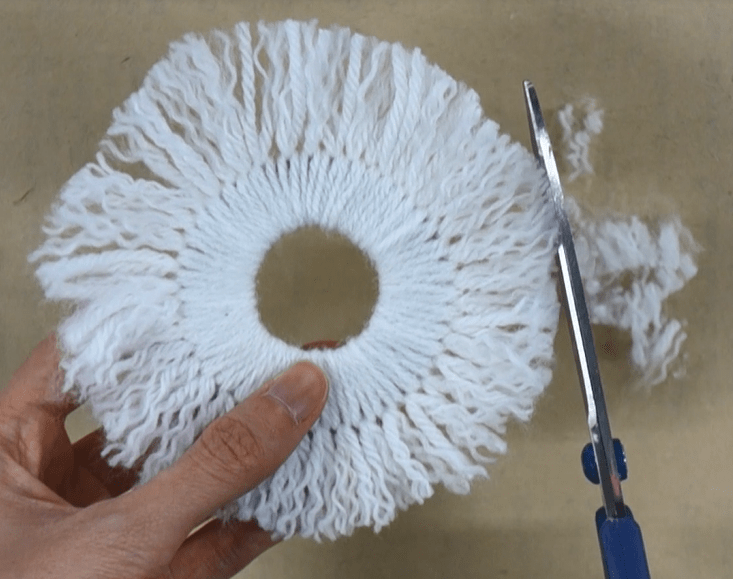
5. Using the same knot in step 2, start making knots all around the circle. Put on a movie or music as this will take some patience but the knots are super simple so time will go by in no time! Mine took about 15 minutes to do. Cut more yarn as needed.
6. Once you have tied all the knots around to cover the circle, you can trim the ends with scissors. This is optional but I brushed through the ends with a comb to unravel the yarn. This gives it a fluffy look. You can certainly leave the ends as is if you’d like!
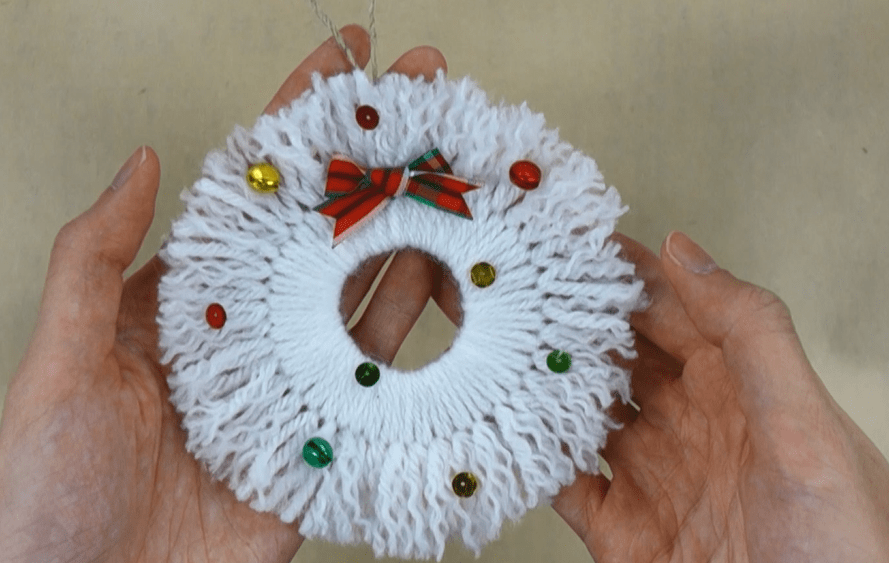
7. Decorate the wreath. You can decorate it anyway you’d like! I made a small bow and glued on sequins and mini jingle bells. Pom poms, buttons, or glitter would look great as well.
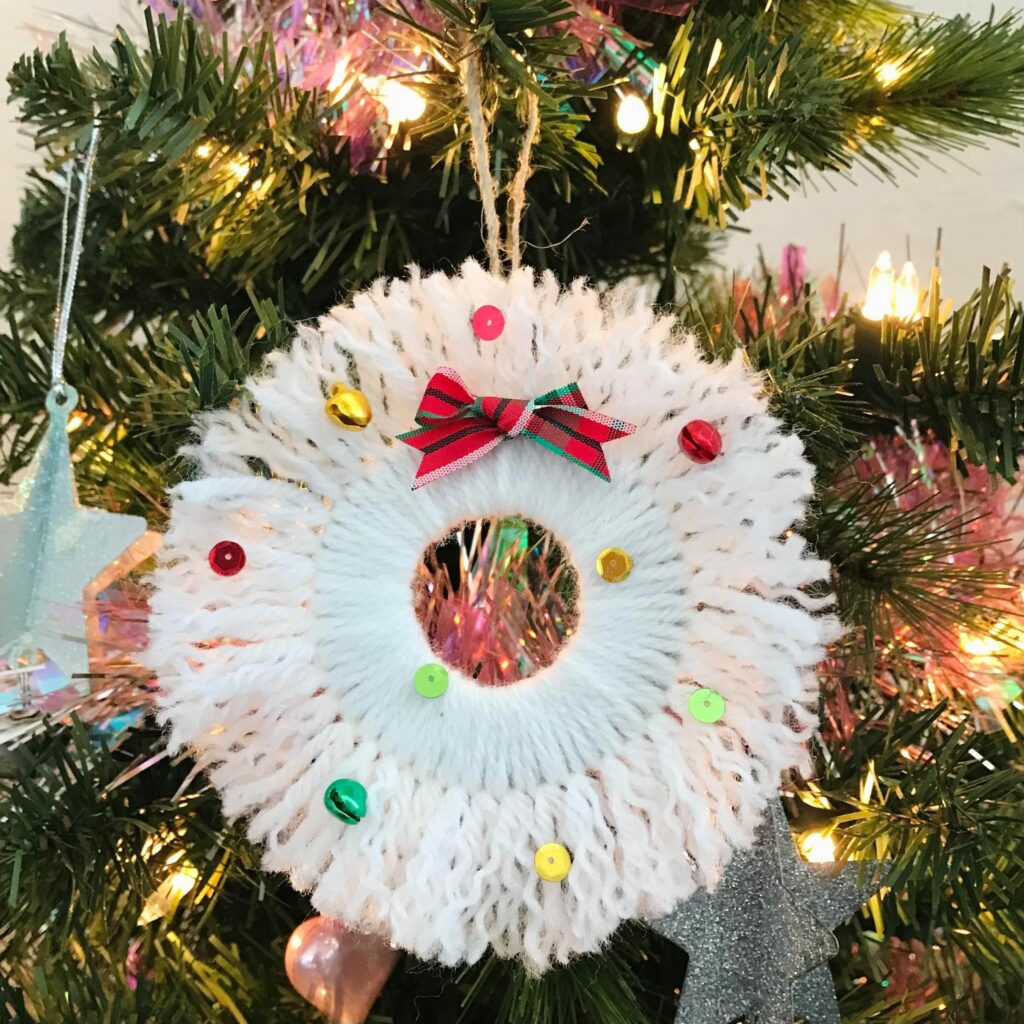
8. Glue a string or ribbon on the back for hanging and you’re done! Hang on a tree or gift it to a pal!