Watch the YouTube tutorial here!
https://www.youtube.com/watch?v=GQsjlhblNyI
Materials
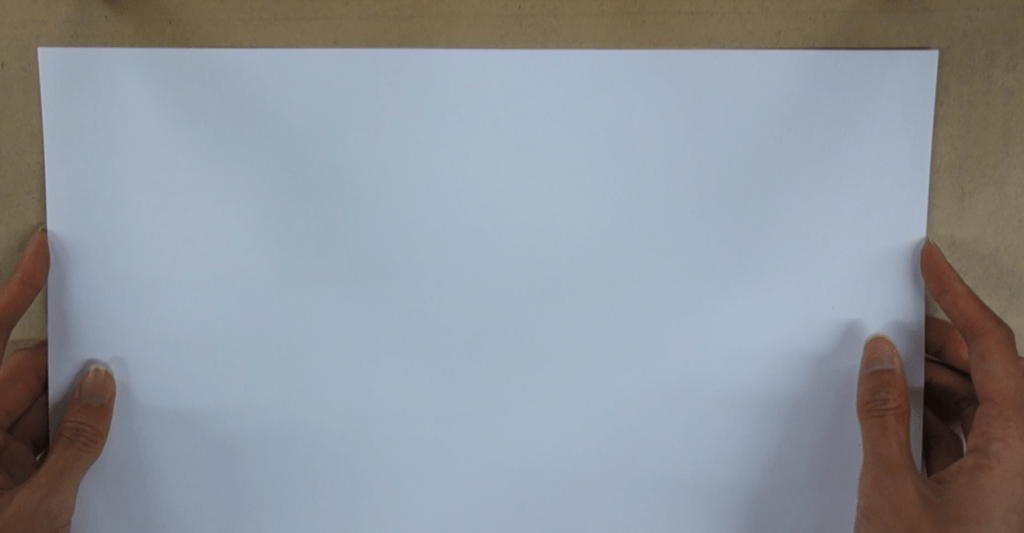
-5-7 pages plain paper, here we are using 8×14 inch paper. You can use any size
-coloured paper or decorative paper for the cover
-elastic band
-scissors, craft blade, or paper cutter
-ruler (optional)
-binder clip or paper clip (optional)
Instructions
1. The size of the book will be dependent on the size of the elastic. Smaller elastics make smaller books, bigger elastics make bigger books!
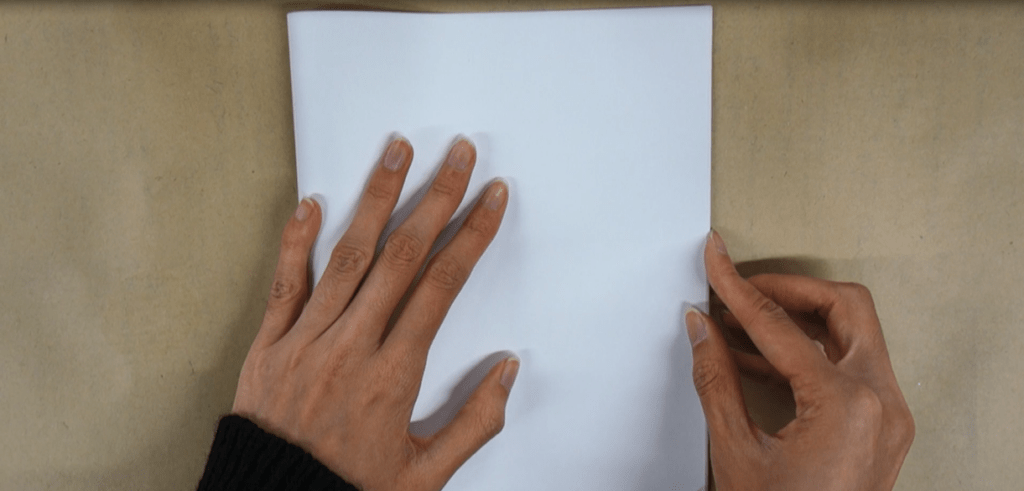
2. Fold the 5-7 pieces of paper in half. We find that this amount of pages is the just enough to make it easy for cutting later. By folding the pages, we will end up with twice the amount of pages in the book. If you fold 5 papers, you’ll get 10 pages in the book.
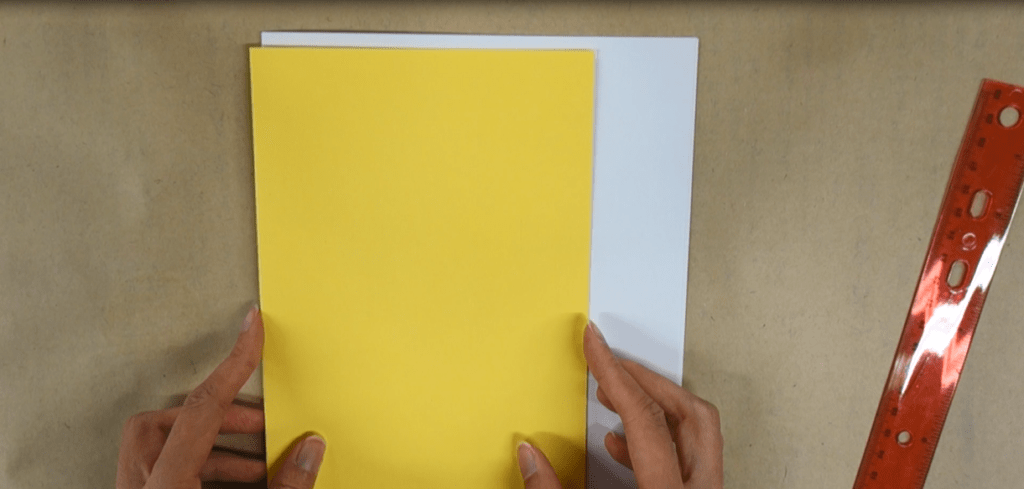
3. Fold cover paper in half. Then cut down the inner pages so that it is slightly smaller than the cover page. This will make sure the inner pages fit nicely inside and won’t go over the edges. Use a pencil and ruler to cut it down to size.
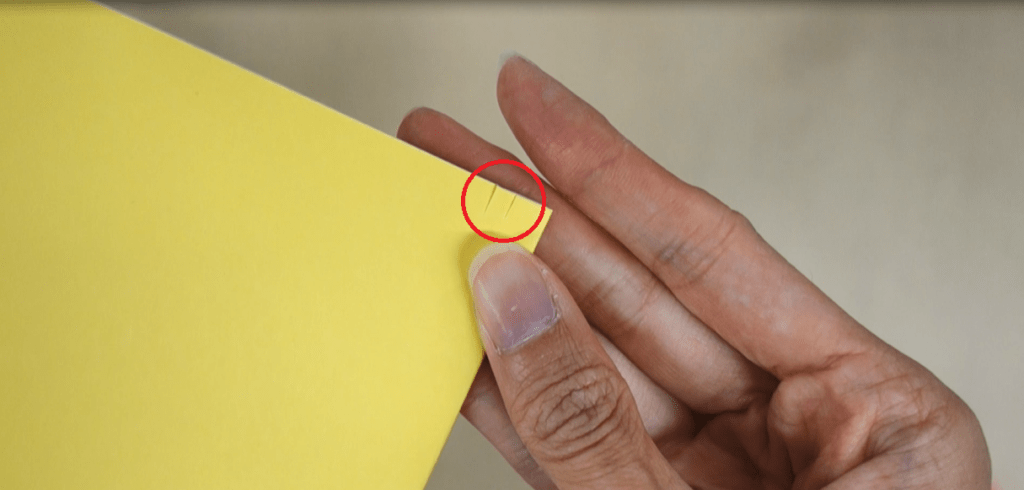
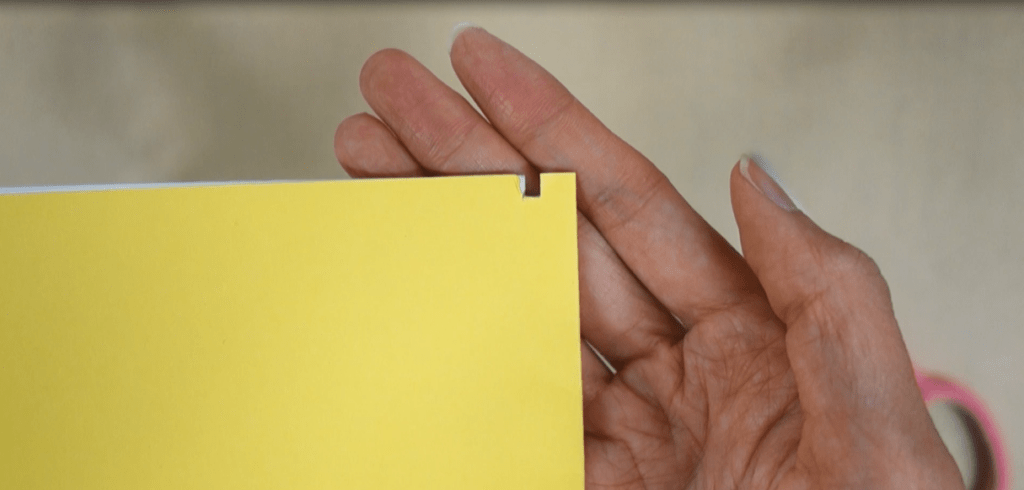
4. Once the paper is cut down, place the plain paper into the cover. Hold the stack of paper tightly in place with one hand, or place a clip on the open end to help hold it in place. With your other hand, cut a small rectangular notch on the top of all the pages. To do this, make two small slits with a small space in between. Then turn your scissors sideways to cut out the middle.
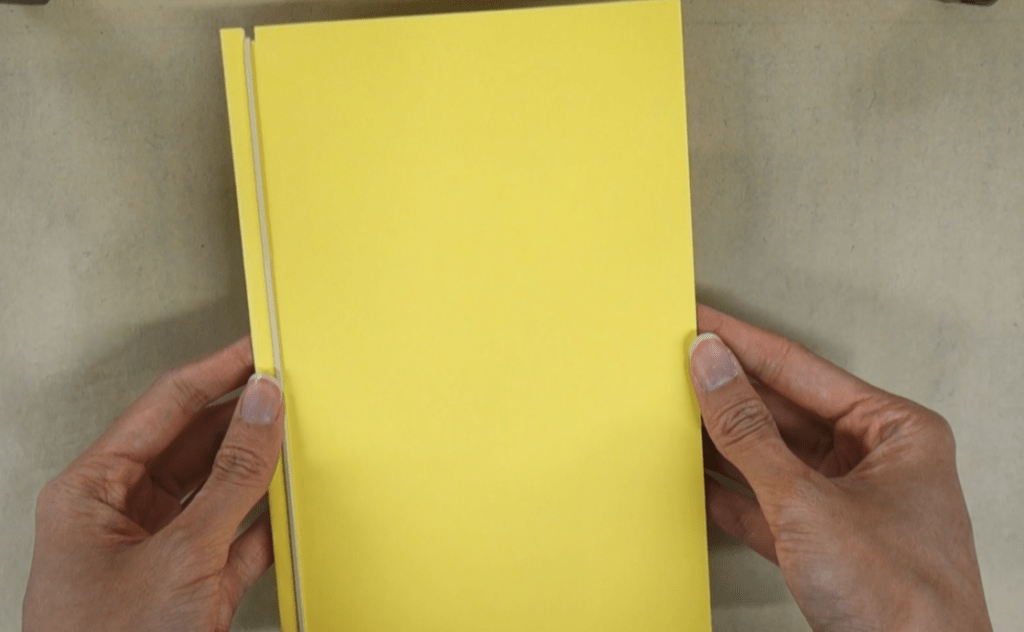
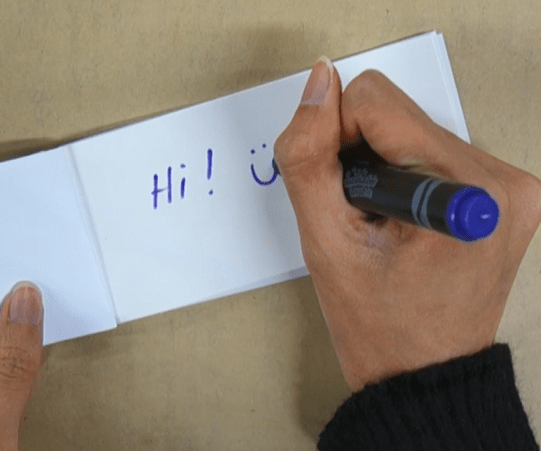
5. Place the elastic band in between the two notches. This will hold everything in place. And now you got your own coolio book! You can turn it into a notebook or a sketchbook for drawings or notes.
Try different sizes and papers!
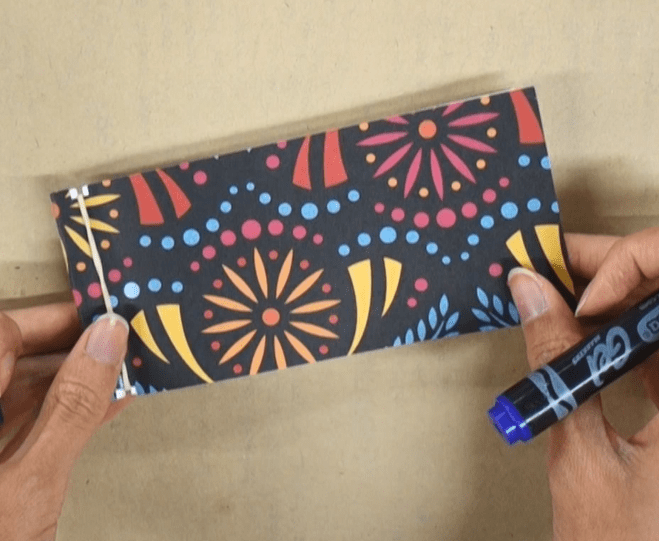
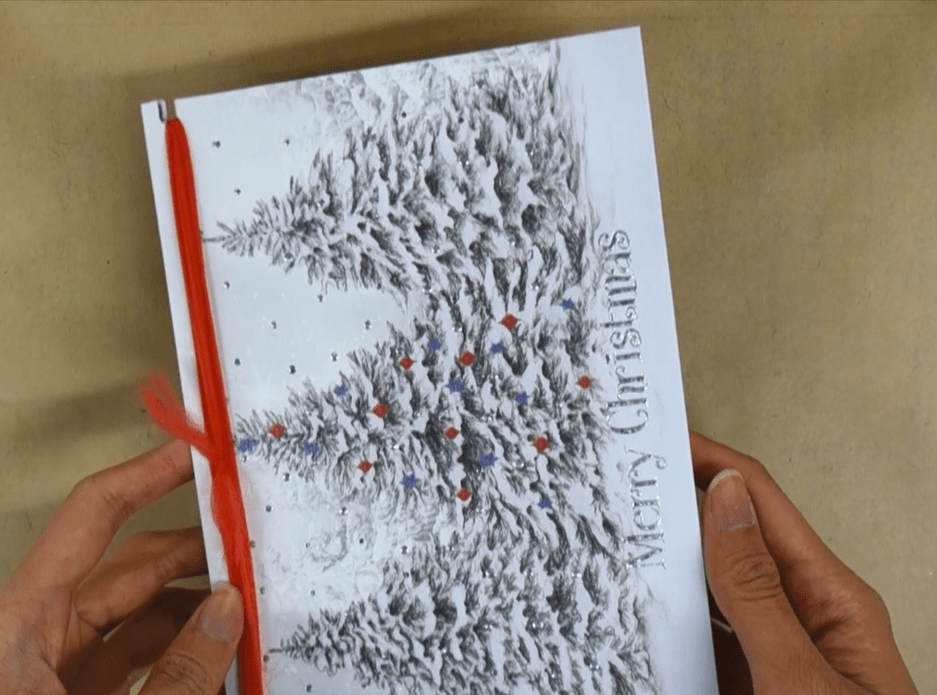
This is a great way to reuse old greeting cards! You can use ribbon in place of an elastic.