The first day of fall is coming up soon (September 25 2022)! Learn how to make this fun and easy fall lantern for the cooler days ahead.
Supplies
-paper bag
-coloured tissue paper
-black paper
-clear scrap plastic from packaging, sheet protectors, etc.
-white liquid glue
-paint brush and water
-scissors
-pencil
-ruler
-battery powered lights
Instructions
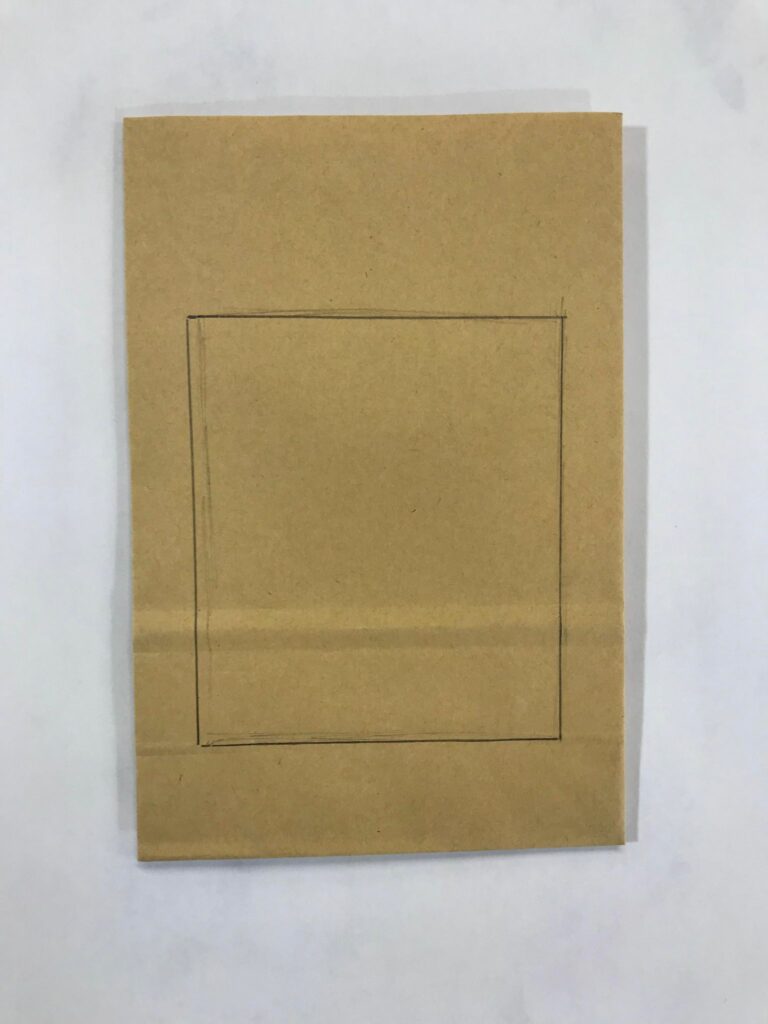
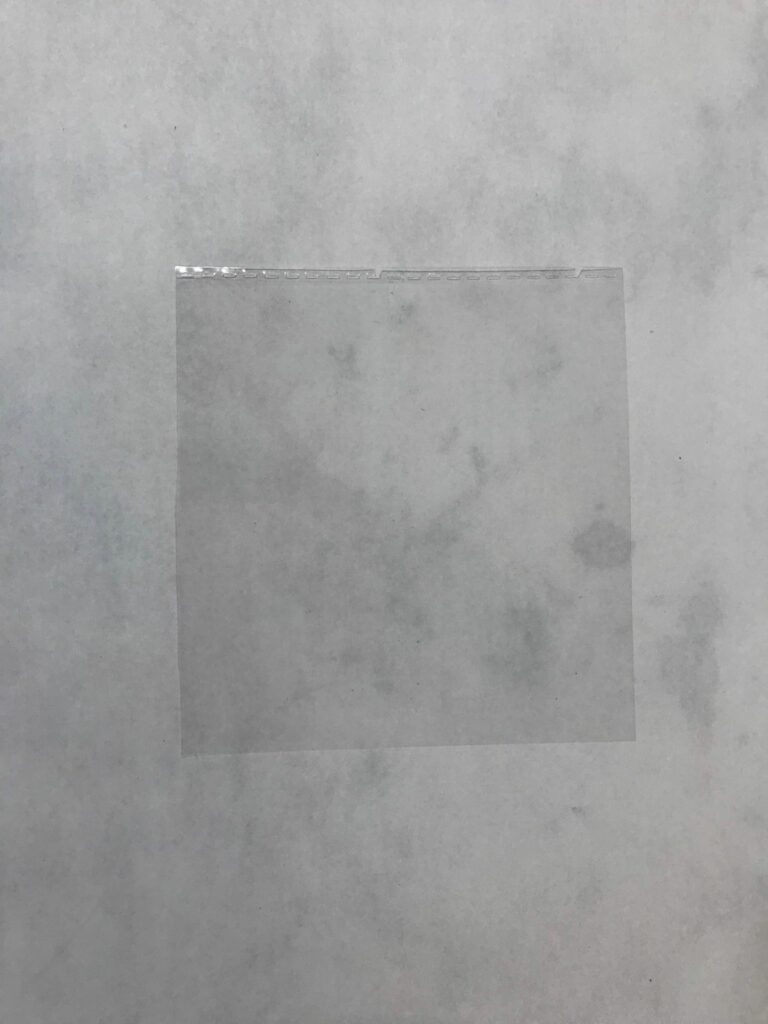
1. Using a pencil and ruler, draw a square or rectangle for a window onto one side of the paper bag.
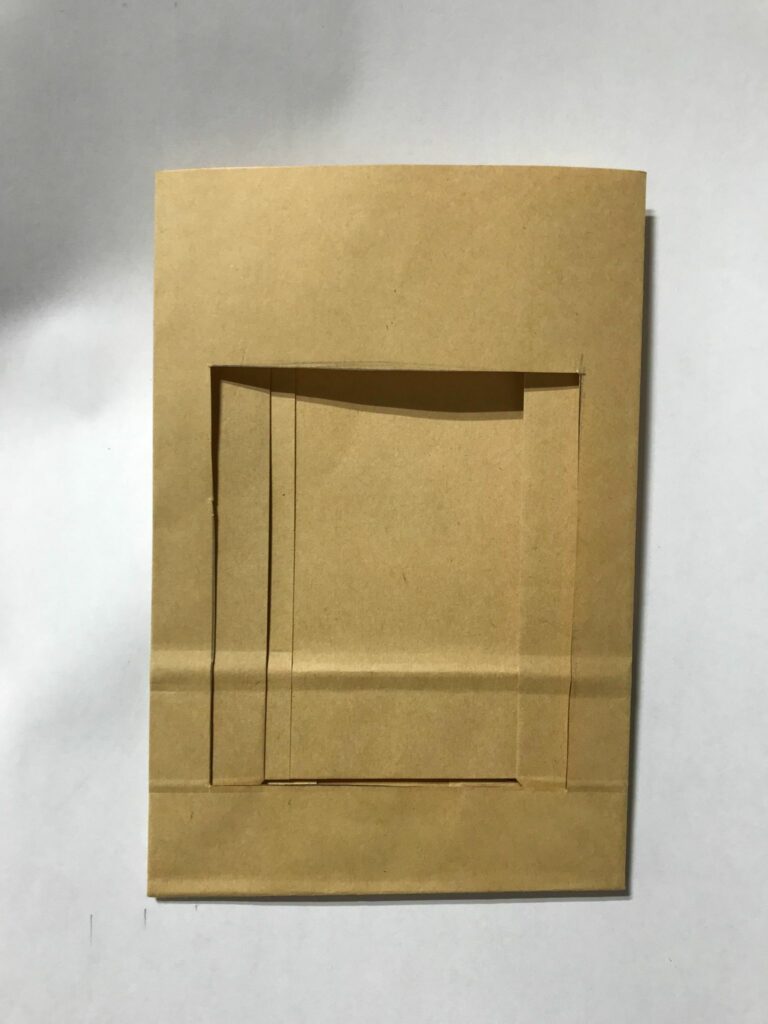
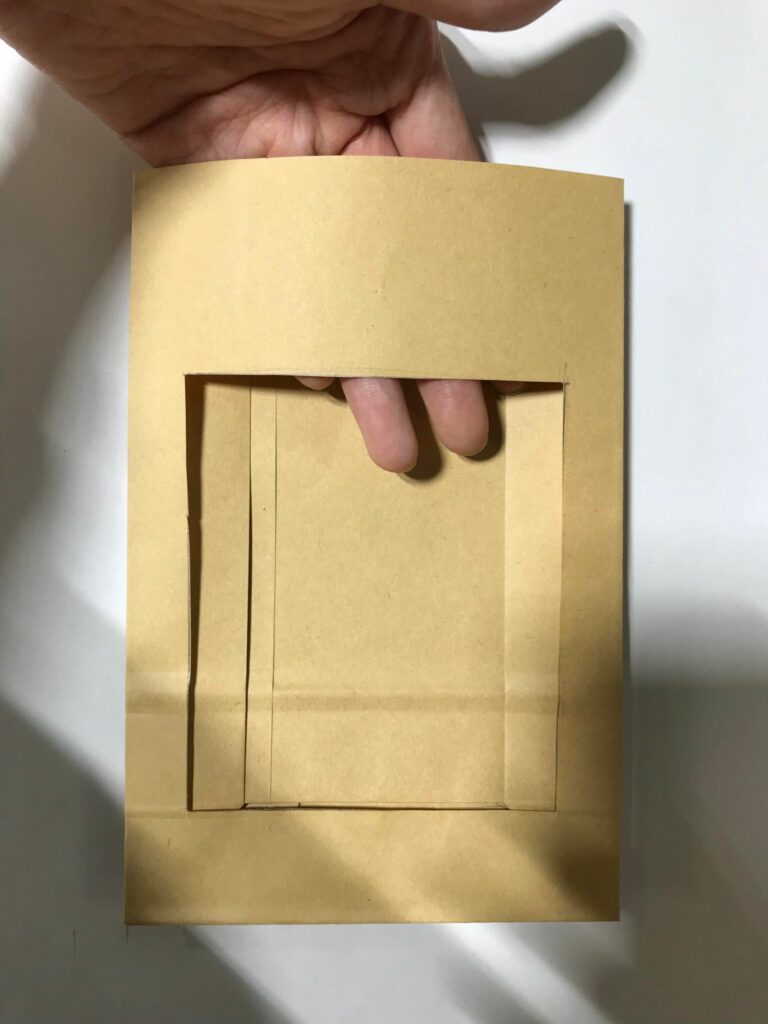
2. Carefully poke a hole in the middle with your scissors. Then cut out the window.
3. Cut out a piece of plastic that is slightly bigger than your window. I’m using a plastic bag from a pack of paper that I would’ve just thrown out!
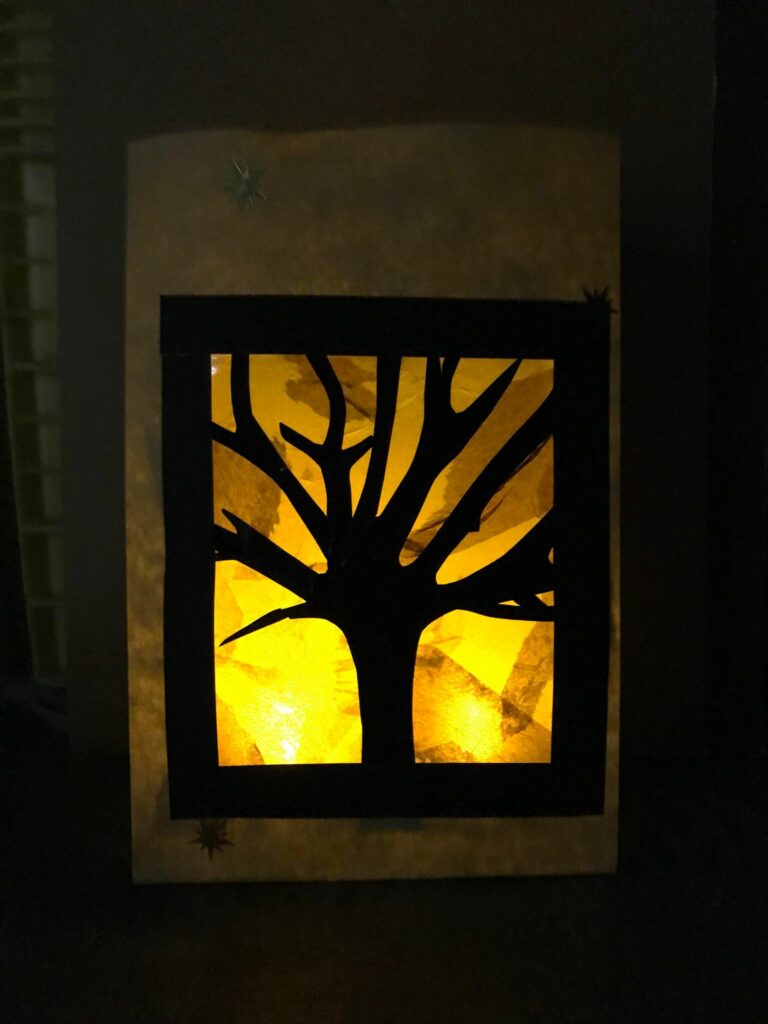
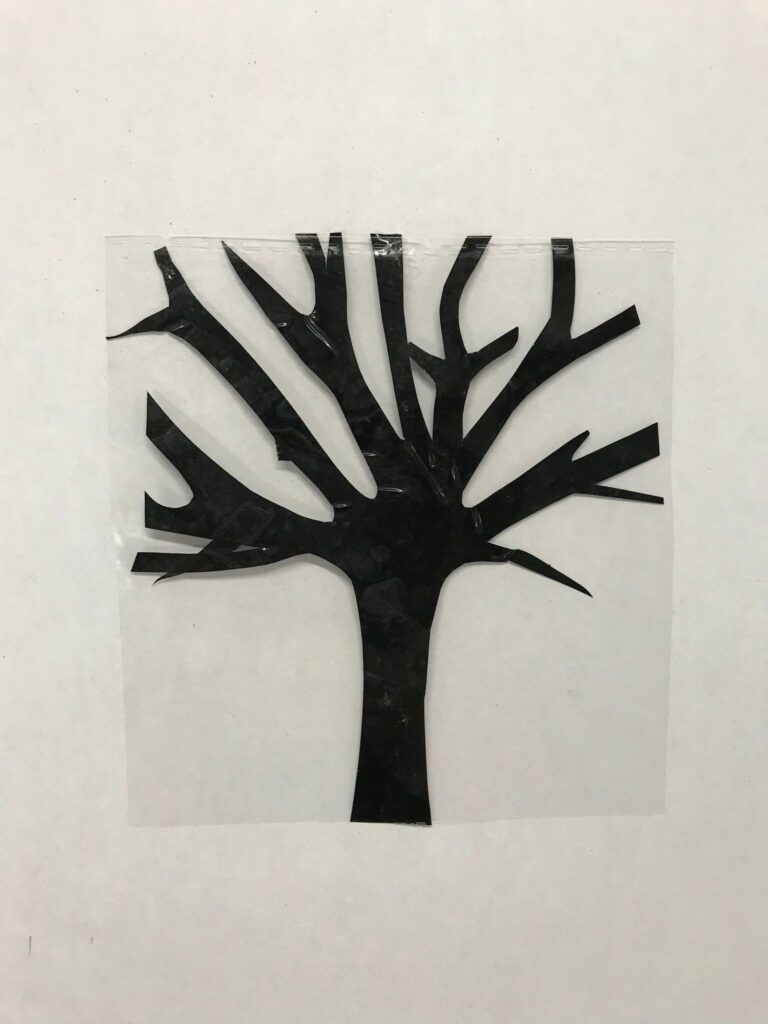
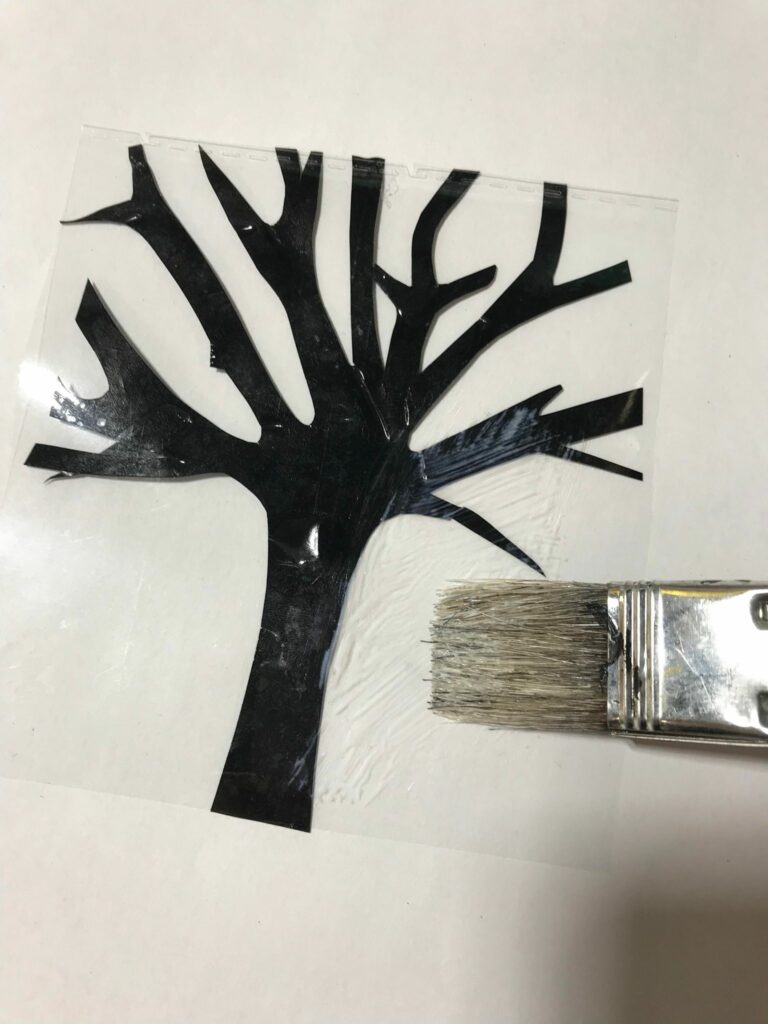
4. With black paper, cut out any silhouette or shape. Here I am using a tree. You can make bats for Halloween or spell something out! Brush on a thin layer of glue to stick it onto the plastic. Brush more glue on top to seal it.
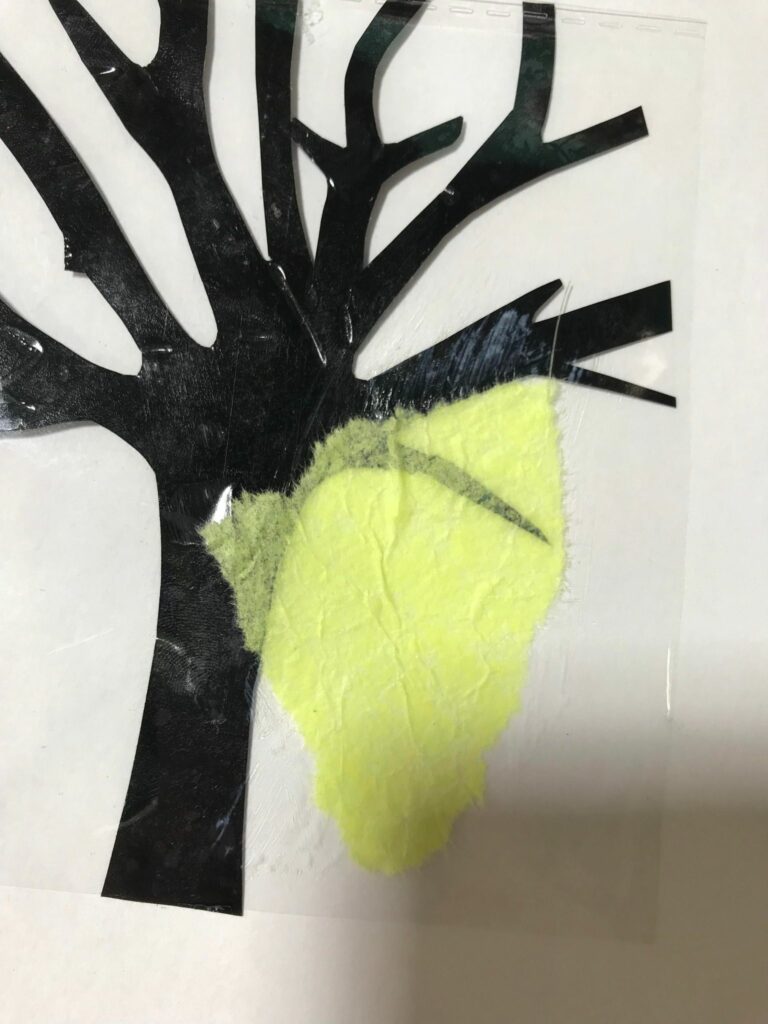
5. Cut or rip up small pieces of tissue paper. Paint on a thin layer of glue and stick the piece of tissue paper on top of the silhouette. (Don’t worry, we will flip it over after and the silhouette will be facing the front!) Brush more glue over the tissue paper to seal it. Continue doing this until you filled in the plastic.
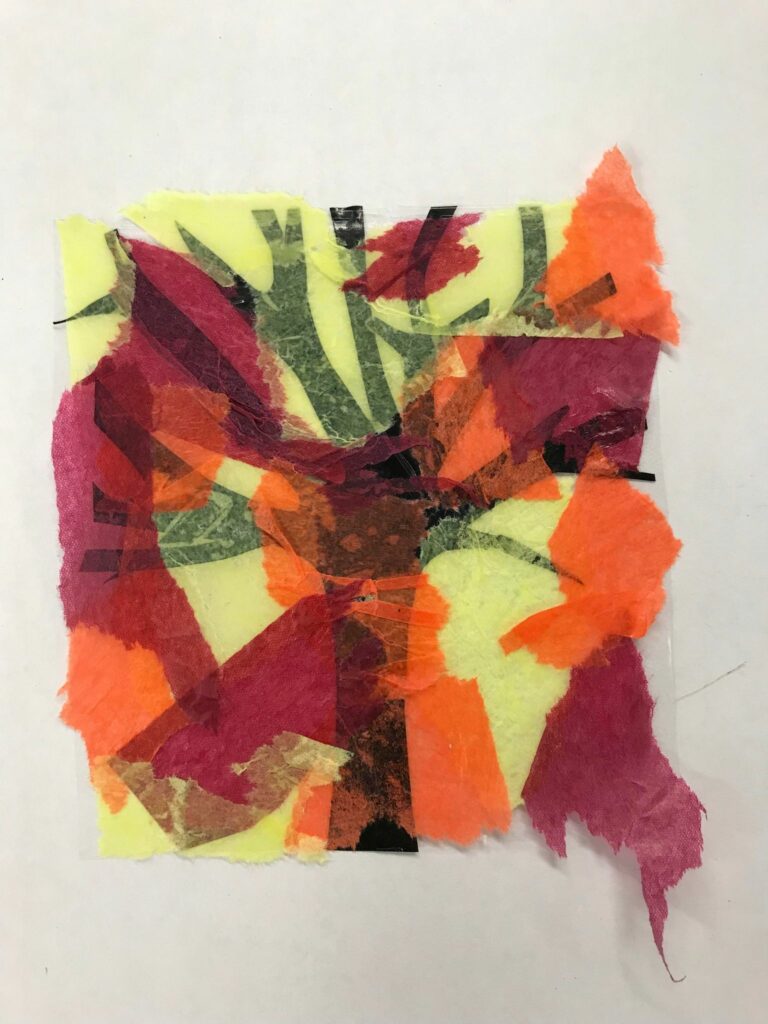
6. Let all the glue dry. This is what it looks like flipped over! You can trim the excess off the edges. Don’t forget to clean your brush so the glue doesn’t dry onto it!
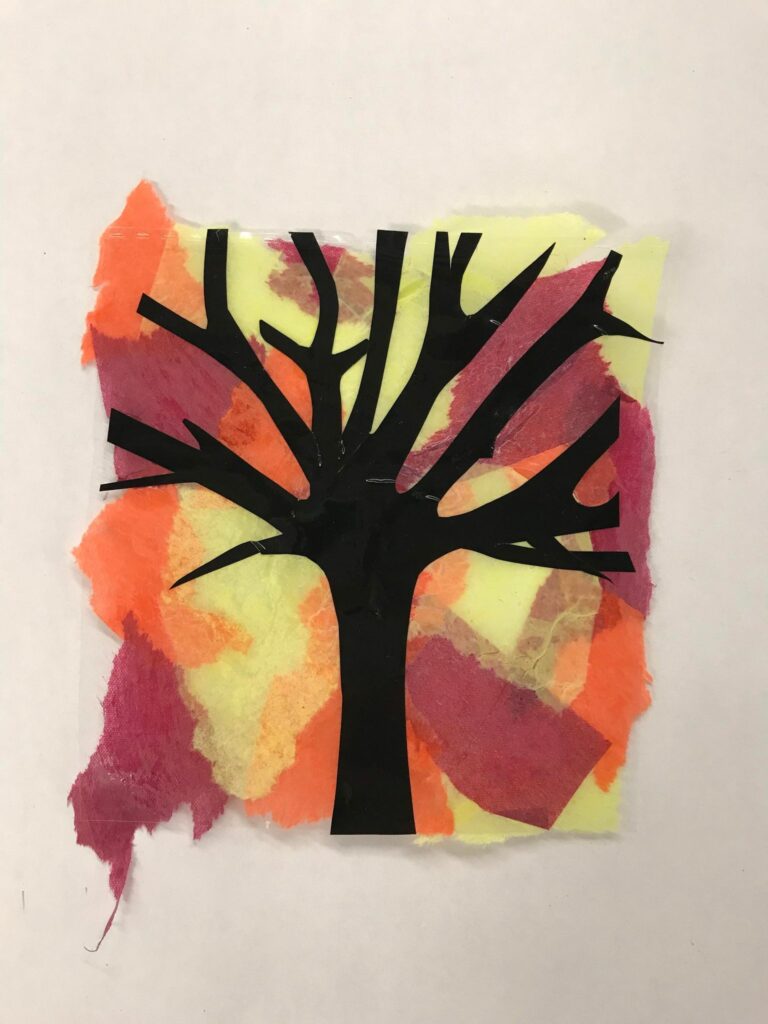
7. Glue on strips of black paper along the edges of the window. Then tape the plastic to the inside of the window.
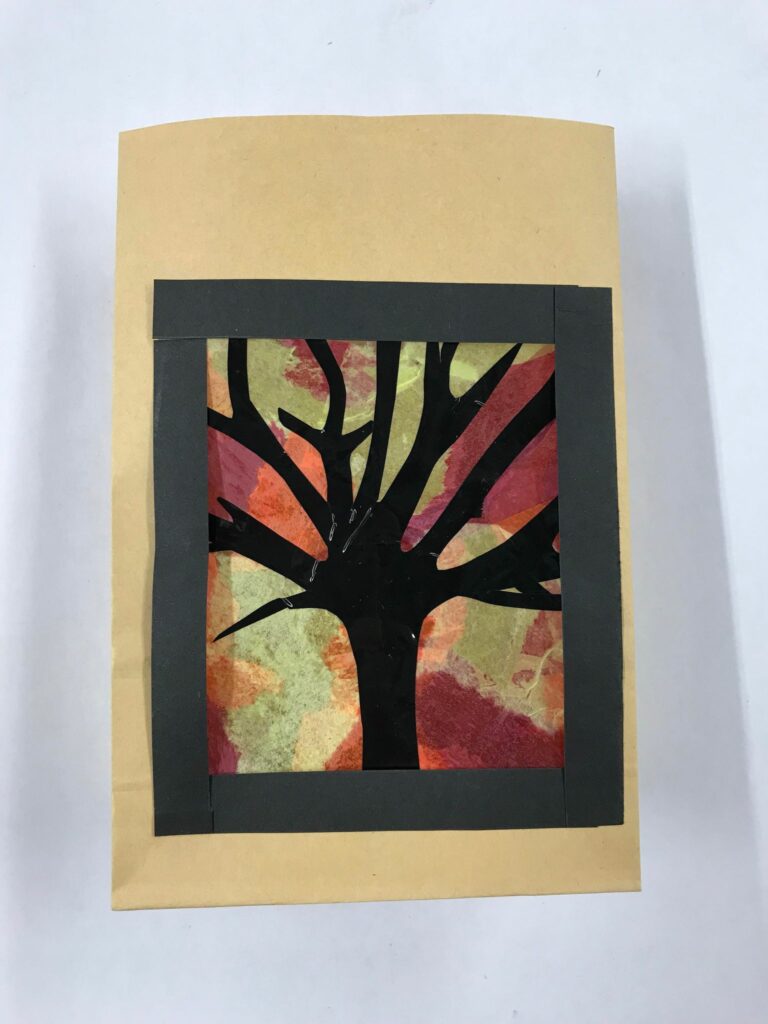
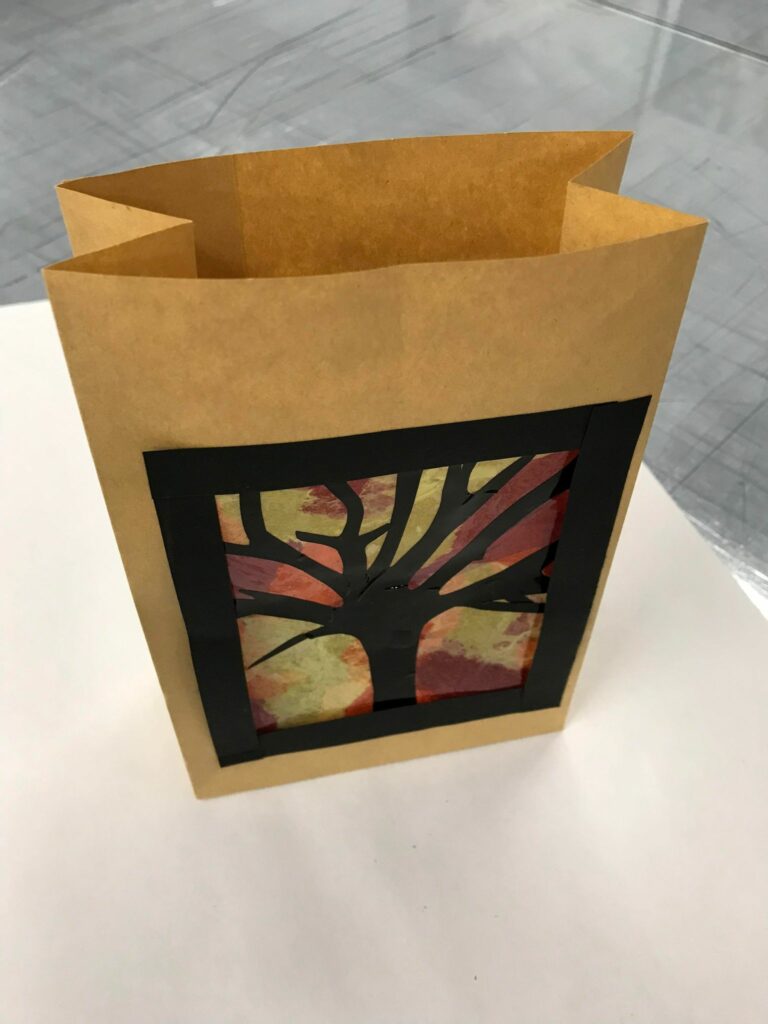
8. Lastly, decorate the outside if you’d like and put in some lights. Now your lantern is done! Perfect for cool fall evenings!