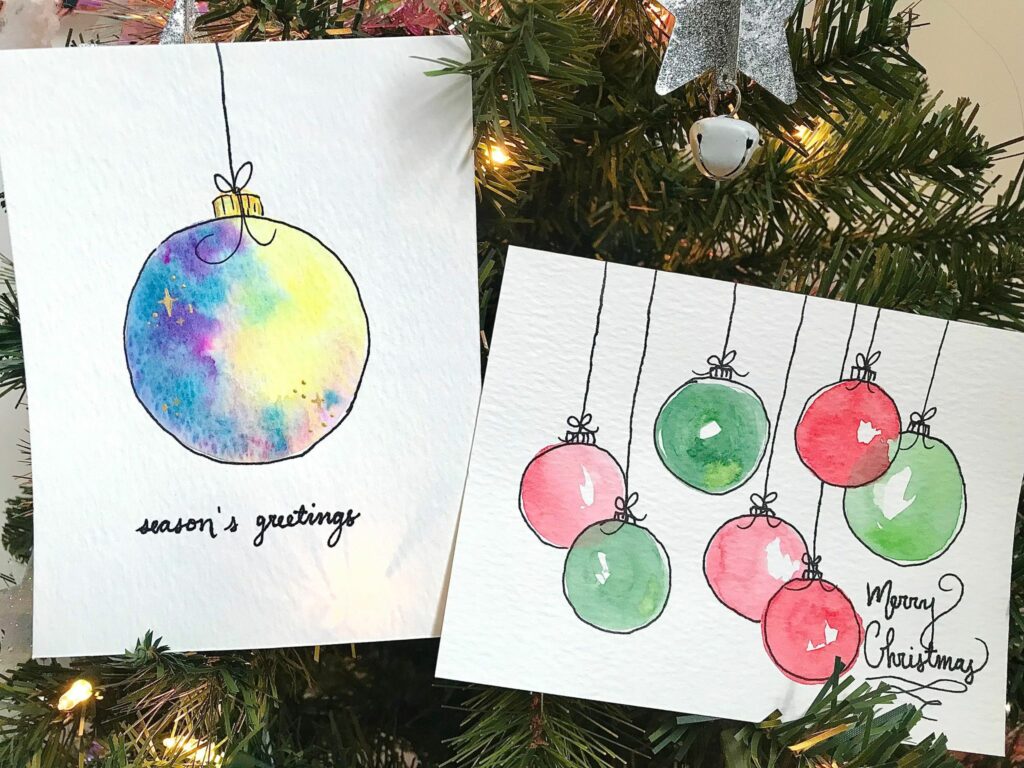
Learn how to paint watercolour ornaments in 2 ways! They’re easy to paint and have a modern, simplistic look! They’re perfect for cards or gifts.
Materials
-watercolour paint
-watercolour brushes: one round brush, one small detail brush
-watercolour paper
-container of water
-rag or paper towel
-fine tipped black pen
-(optional) metallic paint, pens, sequins, glitter for details
Instructions
Technique #1: Wet On Wet Technique
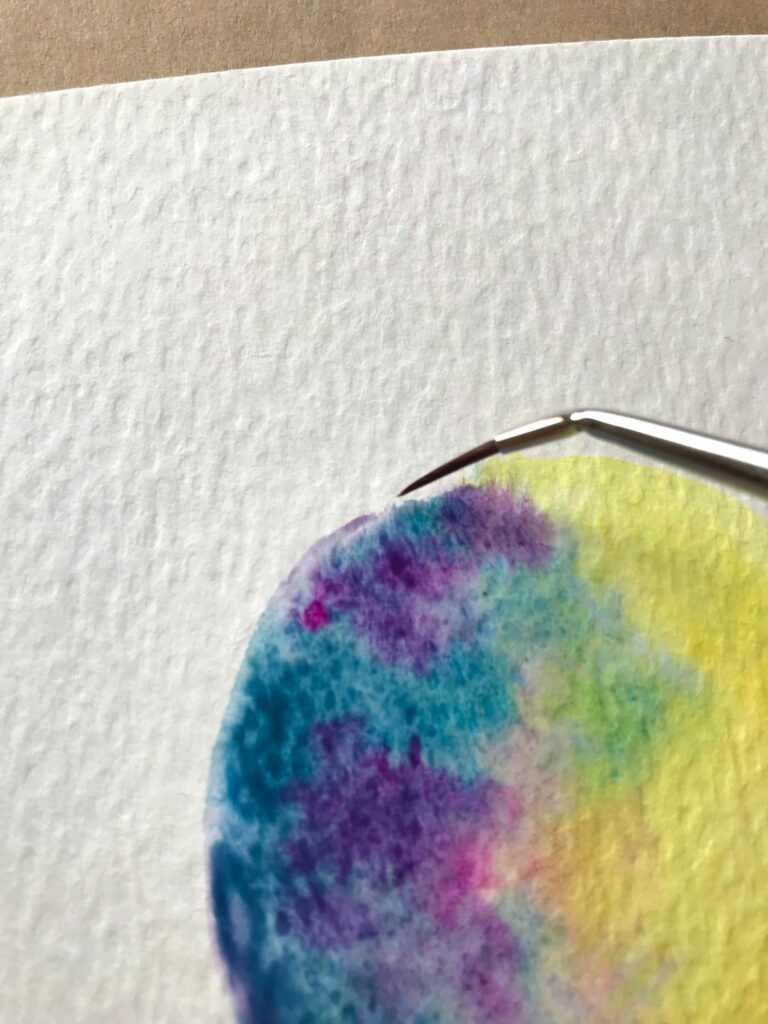
1. Dip your brush in water and paint a circle.
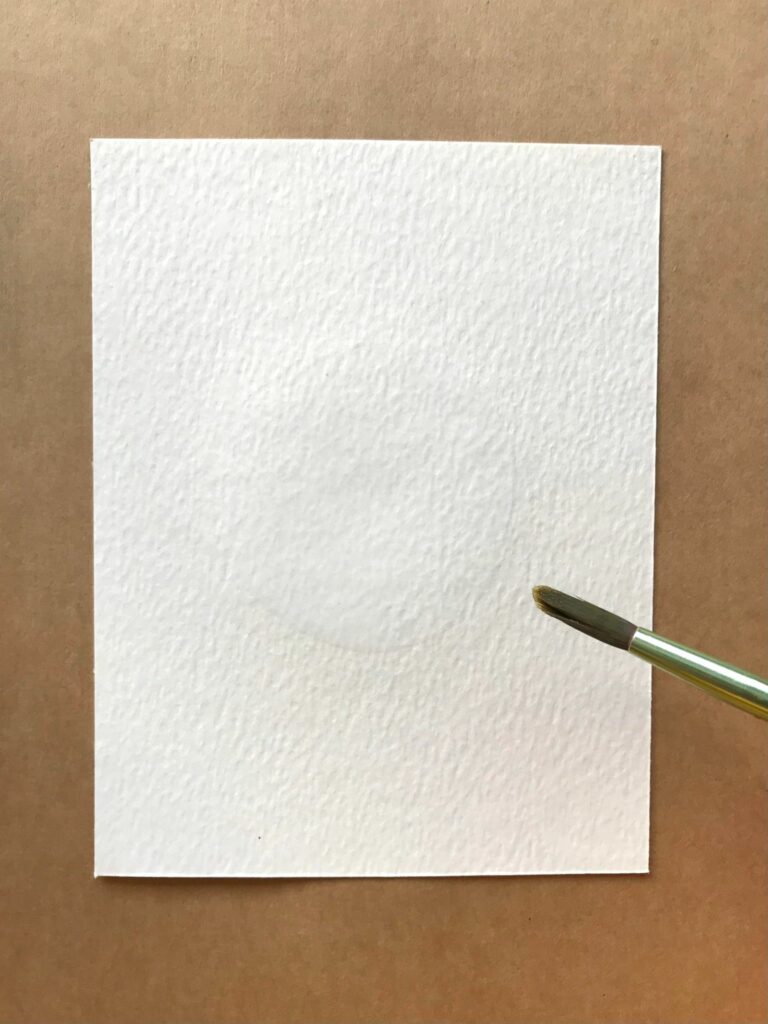
2. Swirl damp brush into watercolour paint to activate them. Paint the circle by dabbing colours around. It is called the wet on wet technique because we are applying paint to wet paper. It helps the paint spread out and is helpful for blending! Stick to a few colours to prevent the colours from getting muddy. It also helps to clean your brush in between colours. Don’t forget to add the little hook on top of the ornament!

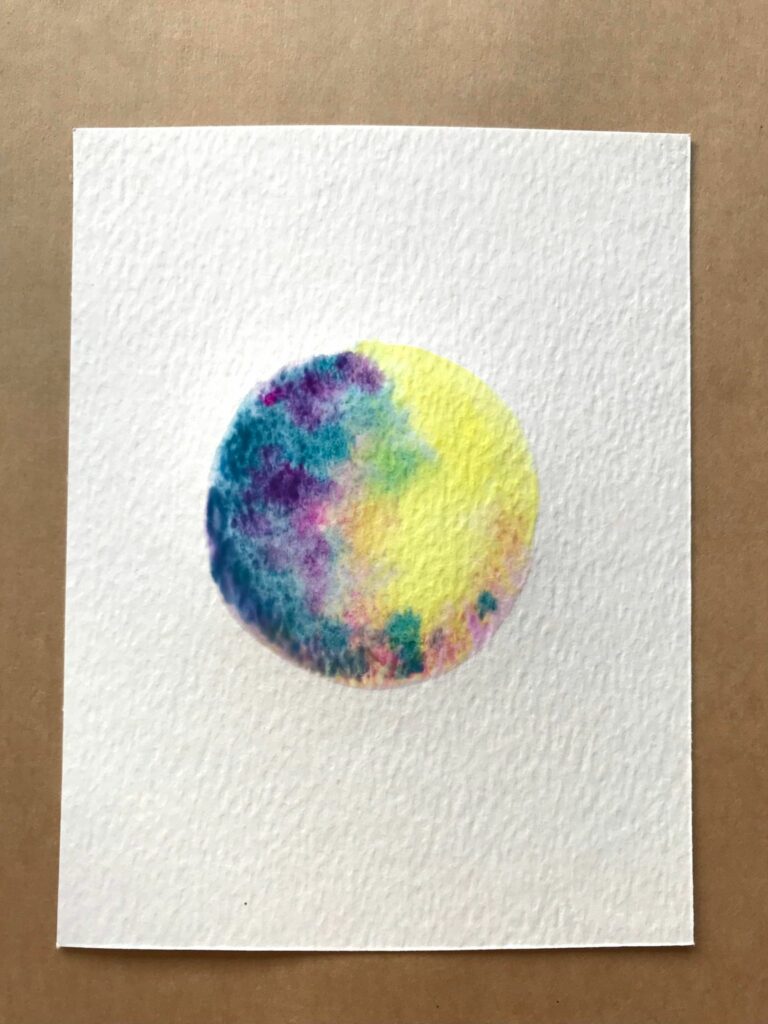
3. Use a small brush to clean up the edges.
4. Let dry completely. If the colours aren’t opaque enough, you can paint over it again.
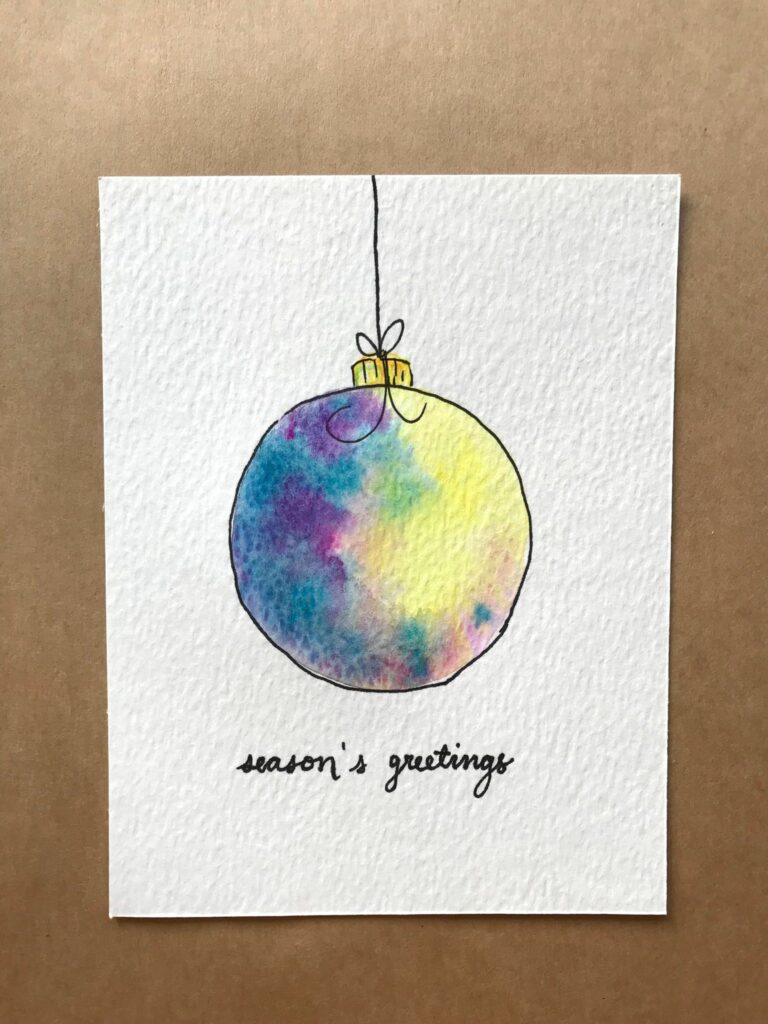
5. When the paint is dry, outline the ornament with a fine tipped black pen. Draw a string coming from the top. You can write a sentiment on the page as well.
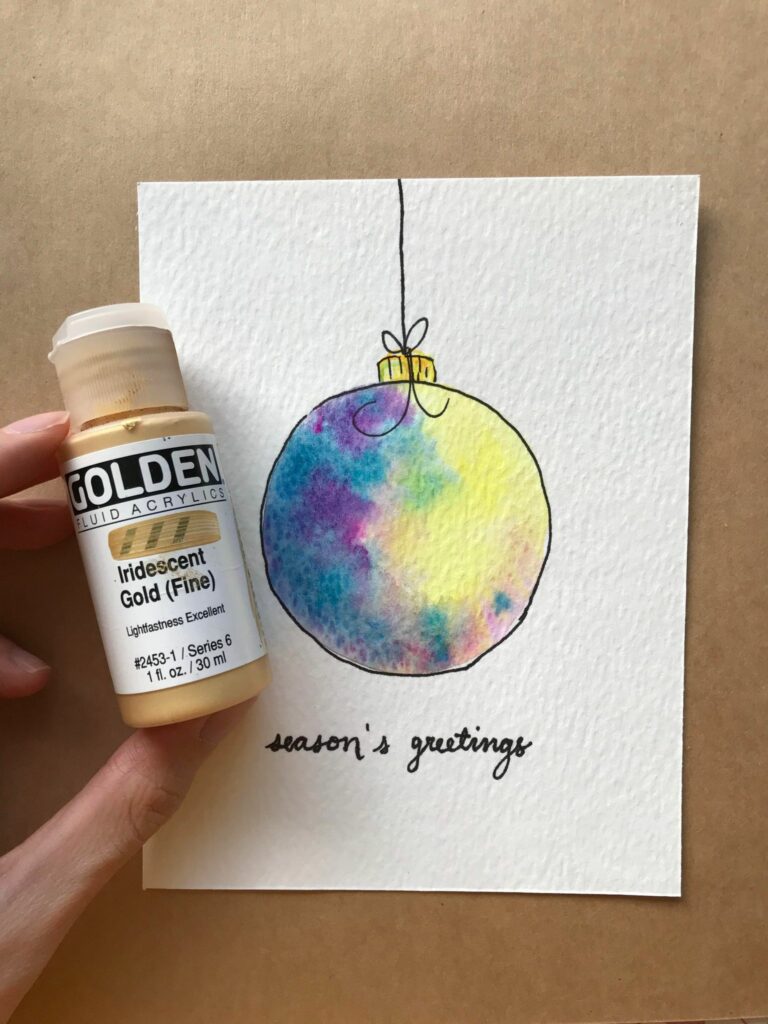
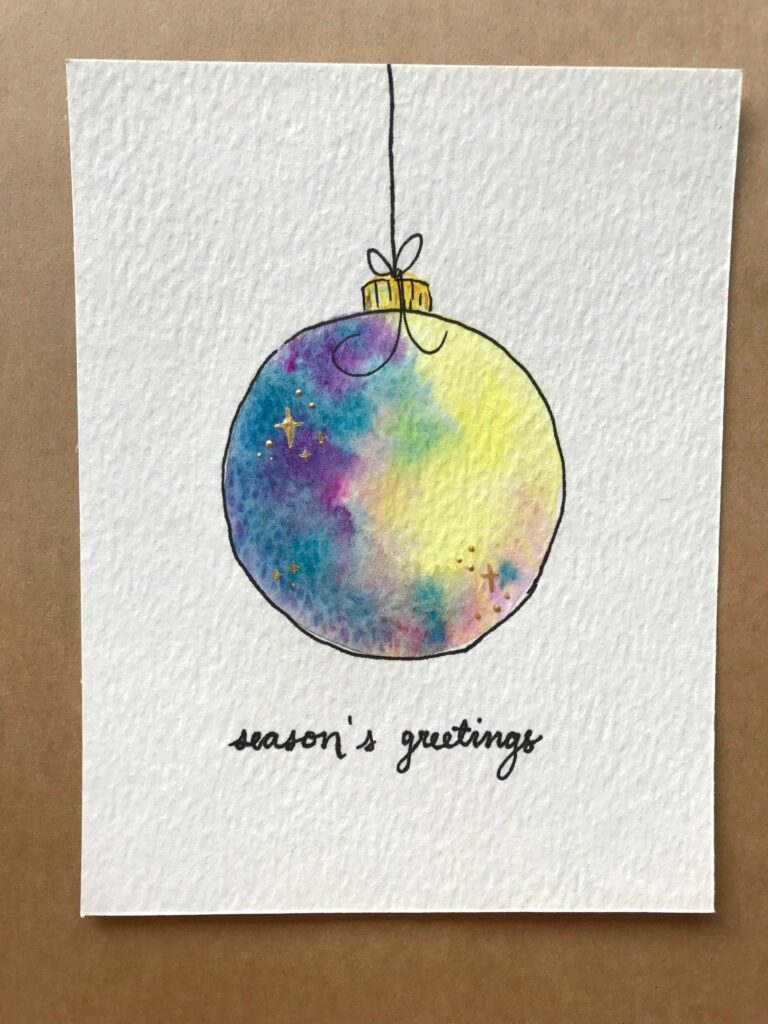
6. This is optional but you can add extra details if you’d like. I am painting gold stars and sparkles on the ornament. You can paint stripes or polka dots! Or glue on sequins or glitter.

7. And you’re done!
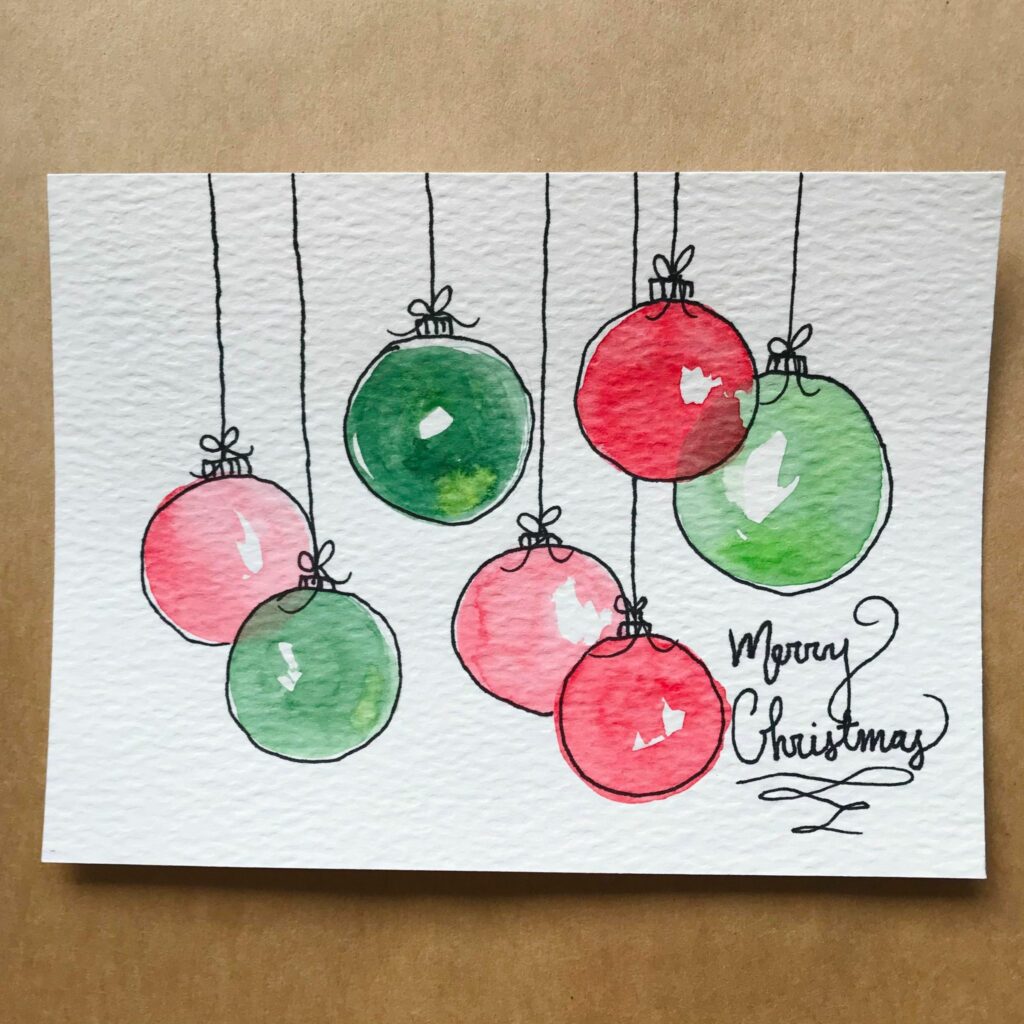
Technique #2: Dry on Dry
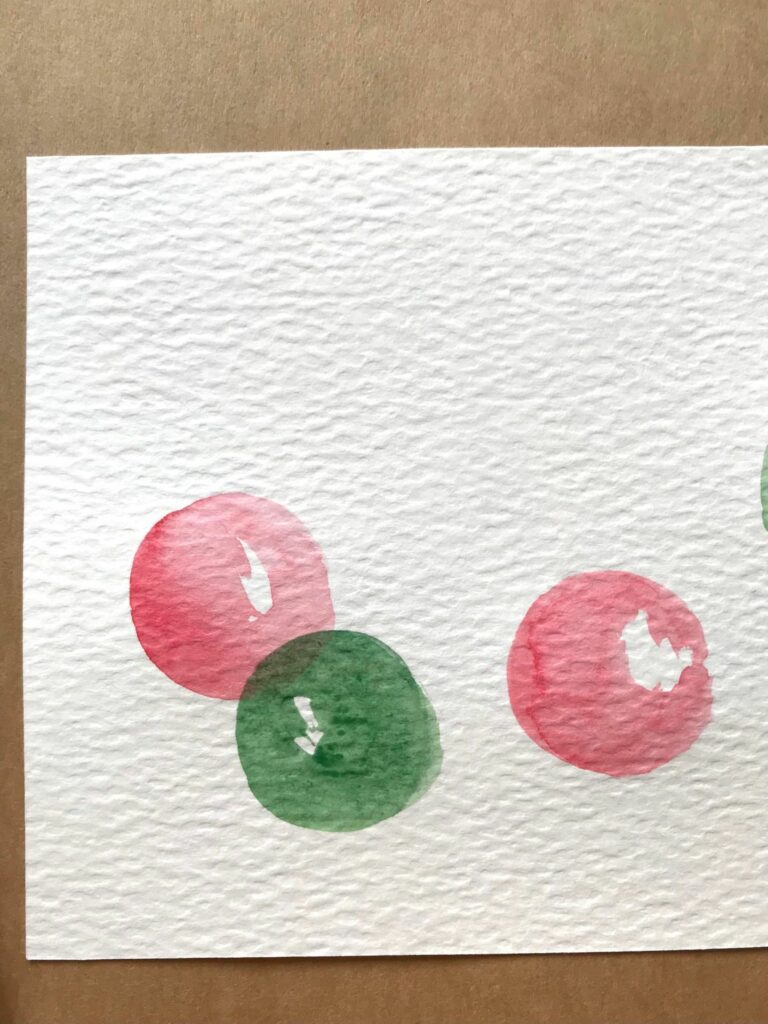
1. These ornaments are similar to the wet on wet technique but we are simply painting onto dry paper this time. Paint circles in any colour onto the paper. Leave a small spot unpainted, the white of the paper will make it look like a highlight on the ornament. Shiny!

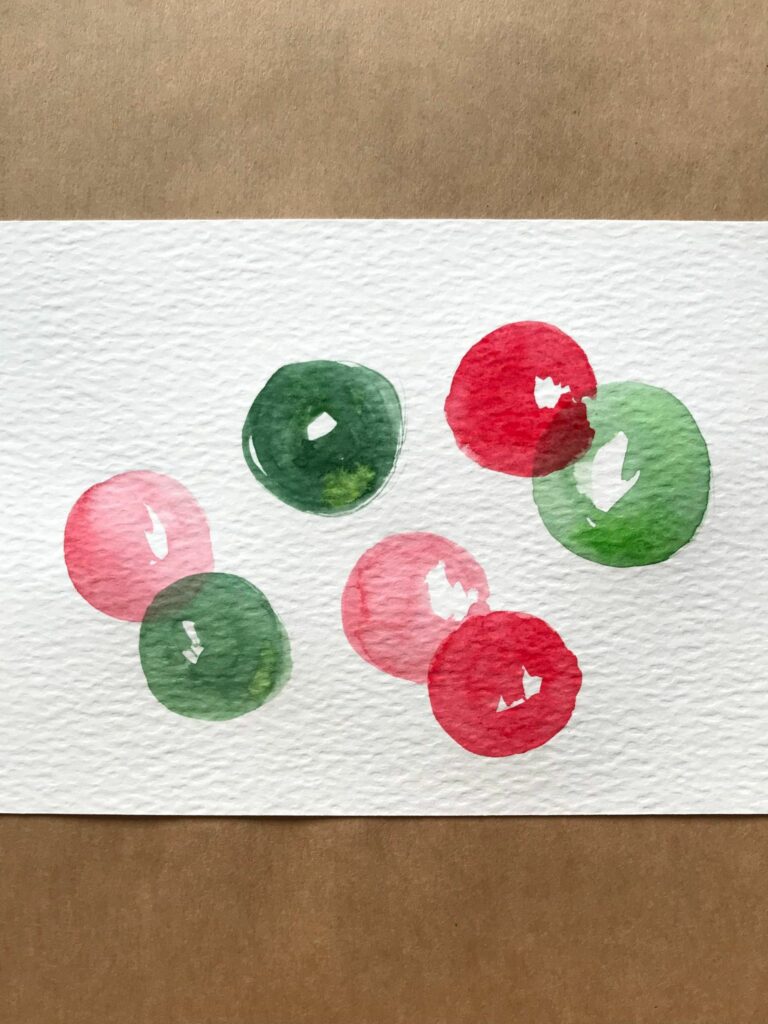
2. You can overlap colours as well. Just make sure the paint underneath is dry. I think it looks super cool when you can see the colour peeking out from underneath!
3. Continue painting more ornaments. The more water you add to the paint, the more transparent and light the colour will be. The less water you add, the more opaque and dark the colour will be. I did a mix of both light and dark circles.
4. When it is dry, outline the ornaments with a fine tipped black pen. Draw hooks and strings. I didn’t draw perfectly around the circles to give it a doodle-y look!
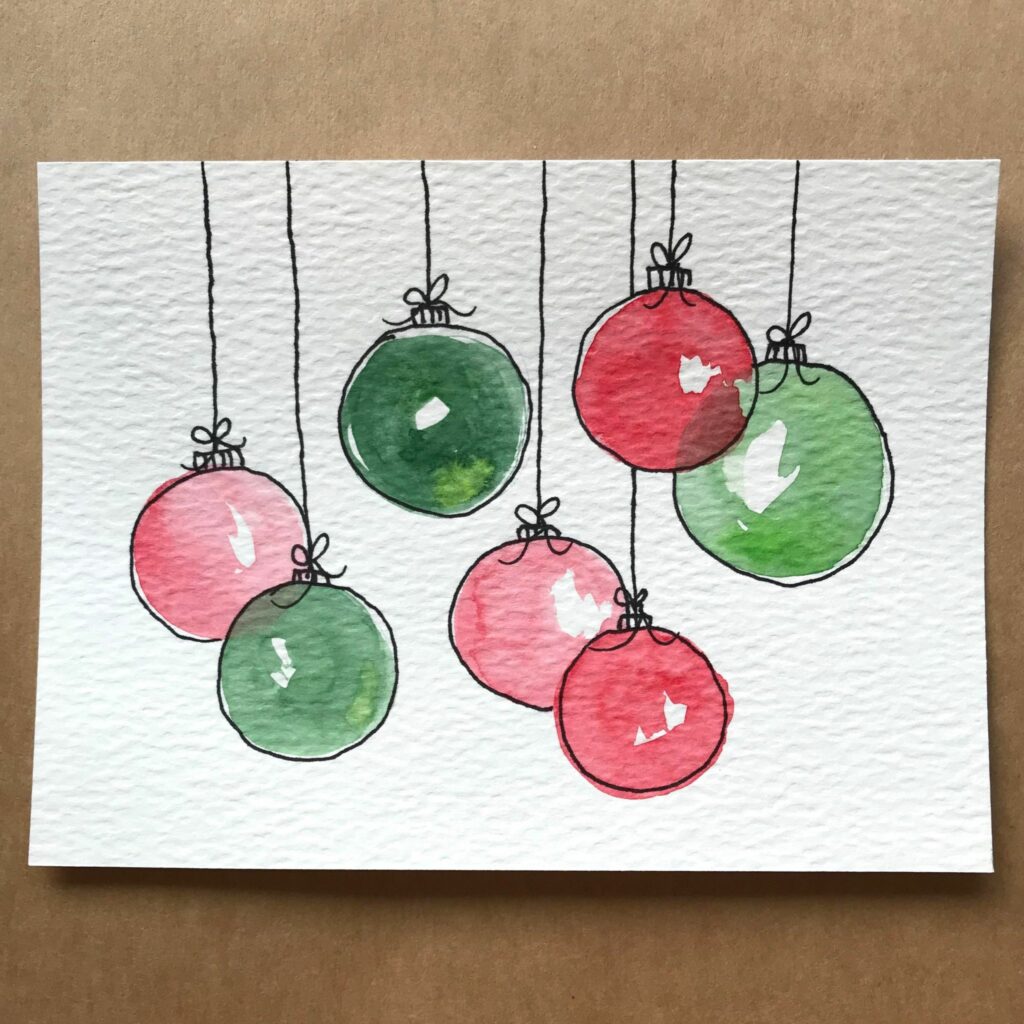
5. Add a sentiment! And you’re done!